I’ve shared a lot of gardening hacks on the blog, and this is no exception. If you missed my raised garden bed plans, or tips on square foot gardening, be sure to read those posts as well.
What is a Hügelkultur Bed?
Hügelkultur is a century-old gardening technique of multi-level gardening that started in Germany and Eastern Europe. Hügelkultur means “hill mound” or “hill culture”.
These mounds are made of rotting wood, sticks, wood chips, yard debris (like grass clippings and leaves), compost, and manure. The mounds are typically 3 to 5 feet tall, and can be made in a raised bed or straight on the ground.
Over time, all of the mound debris breaks down adding nutrient elements to the soil where vegetables, fruit, and flowers will flourish.
Building these mounds of debris forms an environment which is very similar to a natural forest or fertile meadow. You can create a healthy ecosystem right in your own backyard!
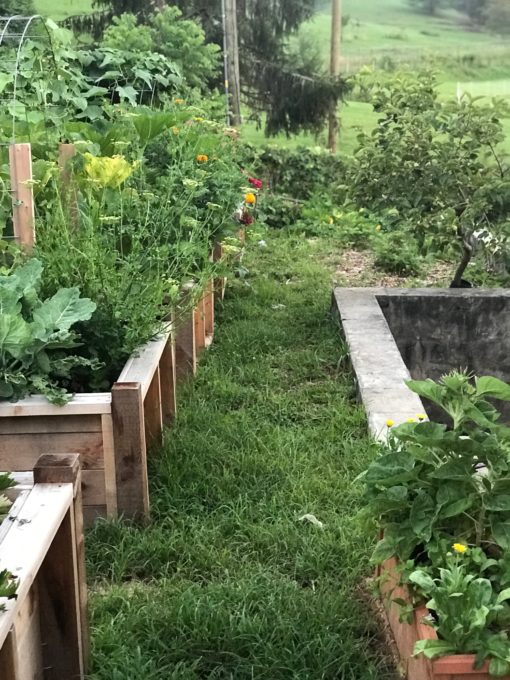
Is There A Difference Between Raised Beds and Hügelkultur Beds
There is a difference between a raised garden bed and a Hügelkultur bed. A Hügelkultur bed is a form of raised bed using a particular method the soil is built on.
While a raised bed is primarily a box that holds soil above ground, Hügelkultur beds are made with layers of wood and biomass debris. These layers can be built up into a mound from the ground, or within the confines of a raised bed.
Benefits of A Hügelkultur Bed
Let’s take a more in-depth look at how the Hügelkultur method can improve your garden.
- Healthier Soil – Hügelkultur is a natural way to garden. It only uses organic matter so you know your produce will be organic as well. This is a win-win strategy. The natural debris starts to break down from the presence of worms, microorganisms, bacteria and fungi which in turn creates healthy nutrient-rich soil.
- Cost Effective – Because Hügelkultur beds use natural debris, it is cheaper to build. The only thing you might have to buy is your topsoil and manure, depending on where you are gardening, and the resources you have available to you.
- Minimal Effort – Hügelkultur beds are easy to create and maintain. Creating the beds only takes a little time and patience. Maintaining the beds is also simple by adding compost and mulch each year to add nutrients. This also helps hold moisture in the soil.
- Retain Water & Promote Drainage – Hügelkultur gardens are great to use in drought-prone areas because the woody material in the bed will retain moisture and release water as needed. The retained moisture will help keep the soil damp and will conserve water, but will also provide good drainage when excessive rain floods the ground.
- Extends the Growing Season – These long-term multi-layered beds can have a longer growing season because the decomposing wood and other organic matter generates energy, which warms the soil and makes for a longer growing season. The growing season may not start months earlier, but it could start weeks earlier.
Some Things to Consider for a Hügelkultur Garden
There are some things to take into consideration when starting a Hügelkultur garden.
Initial Maintenance
Settling will always happen. The decomposing material is always breaking down and the mound will shift and settle with rain. You may have to “amend” or add soil yearly. In 3 to 5 years the bed will have settled and will become well established.
Proper Balance
Fresh wood is high in carbon and can use up the nitrogen in the soil as it is decomposing. To avoid this, choose rotting wood. It already has nitrogen in it and will release it back into the soil. Whenever in doubt, test your soil, and amend it as needed.

What Wood is Used for Hügelkultur
Any type of wood can be used, however, some are better than others. Keep in mind that hardwoods decompose slowly, which will allow them to release nutrients into the soil over a longer period of time.
One type of wood advised against is black walnut. It releases chemicals that are toxic to other plants. This wood could stunt the plant roots or even kill them.
A Word About Termites
If you live in an area where termites are found, they can be beneficial to your Hügelkultur beds. However, they are not so good for your house. Because Hügelkultur’s methods may attract termites, you will want to keep the beds at least 30ft. from your home.
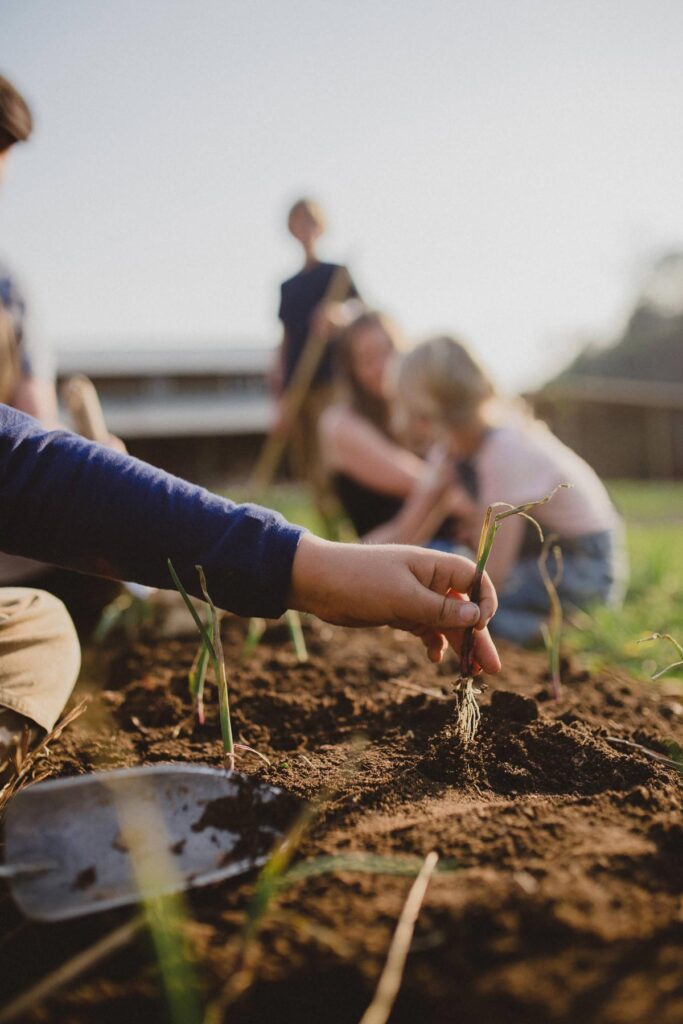
Plan Your Hügelkultur Garden
You will want to develop a plan ahead of time before you are ready to plant in your hugel garden, as it takes time for the materials to start breaking down.
It’s recommended to build your bed in the fall to allow the bed to start breaking down throughout the winter. Then, your Hügelkultur bed will be ready to plant the following spring.
As an added measure of maintenance, I put my chicken tractor on top of our raised Hugelkultur bed in the fall and let the chickens scratch, till and fertilize the surface area of the bed.

Supplies Needed
Go to your local woods, property, or yard and collect your material to build a Hügelkultur bed. If you live in an urban area it could be a little harder to collect these materials to start a bed. Just do a little research for your area to find places from your local arborist and garden shops to gather these natural materials.
- Logs – Collect large decaying logs. We went out into our woods and collected rotting wood from fallen trees.
- Sticks – Use sticks and branches that fall from the trees in your yard to put in your Hügelkultur bed.
- Wood Chips – Wood chips, wood ash and sawdust can be used to fill in air pockets at the bottom of the Hügelkultur bed.
- Grass Clippings (Straw) – After mowing your lawn save the grass clippings which act as a warming material to help with a slow breakdown. Caution: Grass clippings can have grass seeds which will grow weeds in your Hügelkultur bed.
- Leaves – Rake up your yard leaves, and add them to your bed to add good nutrients to your Hügelkultur beds.
- Compost – Compost is an organic material that is made up of food scraps and yard waste. Worms love compost which helps put nitrogen and other nutrients back into the soil.
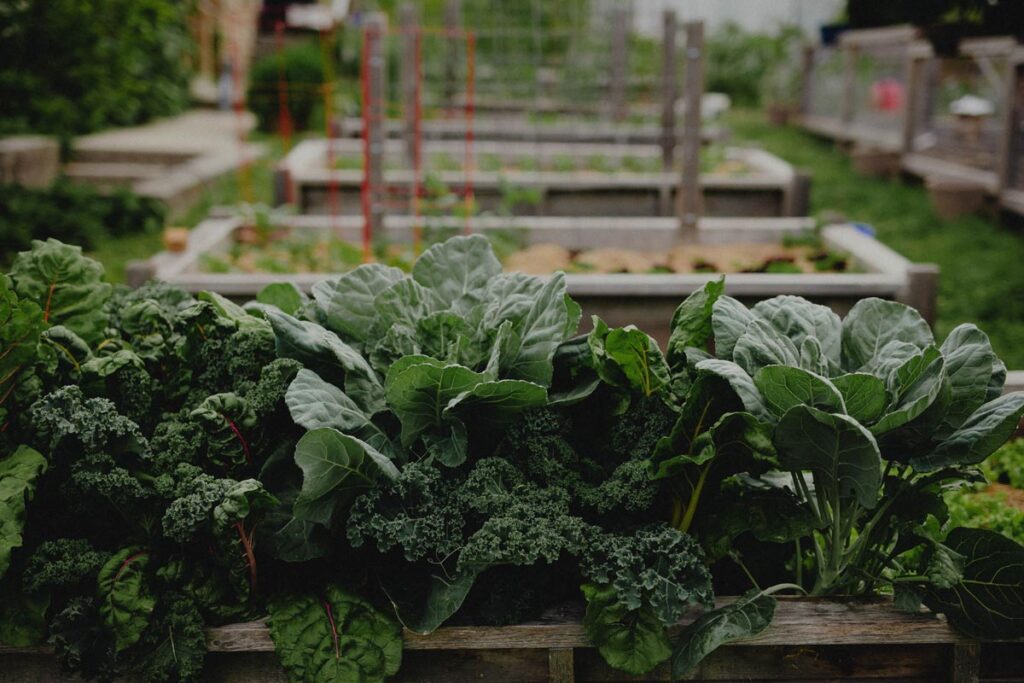
- Soil – You will need about 10 inches of topsoil to put on top of the wood debris. Use the soil around your bed if it looks good or find another source if your native ground is lacking good topsoil. It may cost a little more to bring in soil, but it is well worth it in the end.
- Mulch – Mulch is a layer of organic material (bark, leaves, wood chips) covering the soil which helps keep the weeds down, keeps moisture in the soil, and also keeps the soil cool on hot summer days. By holding moisture in the soil, mulching actually reduces the amount of watering and weeding needed.

Build a Hugelkultur Bed Step by Step
Layering and time are key to Hügelkultur. Begin your process in the fall to allow your garden bed to break down and be ready for planting by spring.
- Start by putting your logs down on the ground where you want to have your garden.
- Tuck in your branches and sticks to start filling in the gaps.
- Add wood chips, wood ash, and sawdust to fill in the remaining air pockets.
- Put your hot material on the pile (like grass clippings, straw, leaves, compost, and old manure).
- After the hot material, you can layer your soil around the mound about 10 inches thick.
- Top off the soil with a layer of mulch.
- For best results, allow the bed to sit and cure for a few months before planting.
Now that you’ve built your raised garden beds, learn more of my gardening tips with the blog posts below…
More Posts You May Enjoy
- How to Start a Garden
- Chickens in Garden Spaces to Till and Fertilize
- Soil Testing – Don’t Overlook This Crucial Step
- How to Grow More Food in Less Time (In Less Than 10 Hours A Week)
- Using Chickens for Garden Pest Control & Disease in Orchards
- Companion Planting with Asparagus and Strawberries
- How Much Does it Cost to Grow a Garden?
- Fast Growing Vegetables for a Quick Harvest
- How to Braid Garlic and Onions
- Planting Garlic the Easy Way
- Soil Blocking – Everything You Need to Know