Why You Should Learn How to Raise Baby Chicks
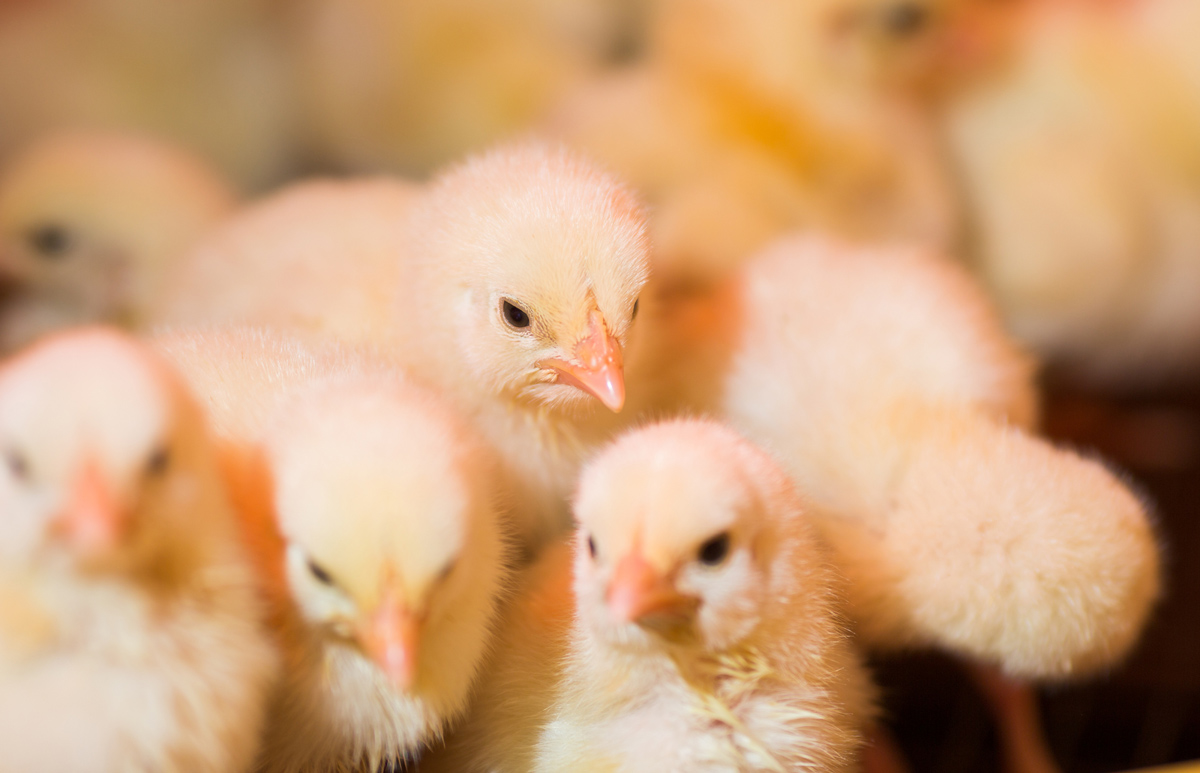
For most, the fact that they are fluffy and adorable is reason enough to raise baby chicks. However, there are so many ways that raising chicks can be a benefit to your family.
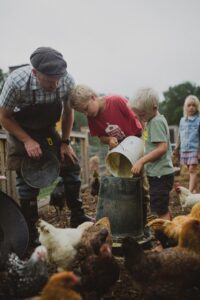
Family Time
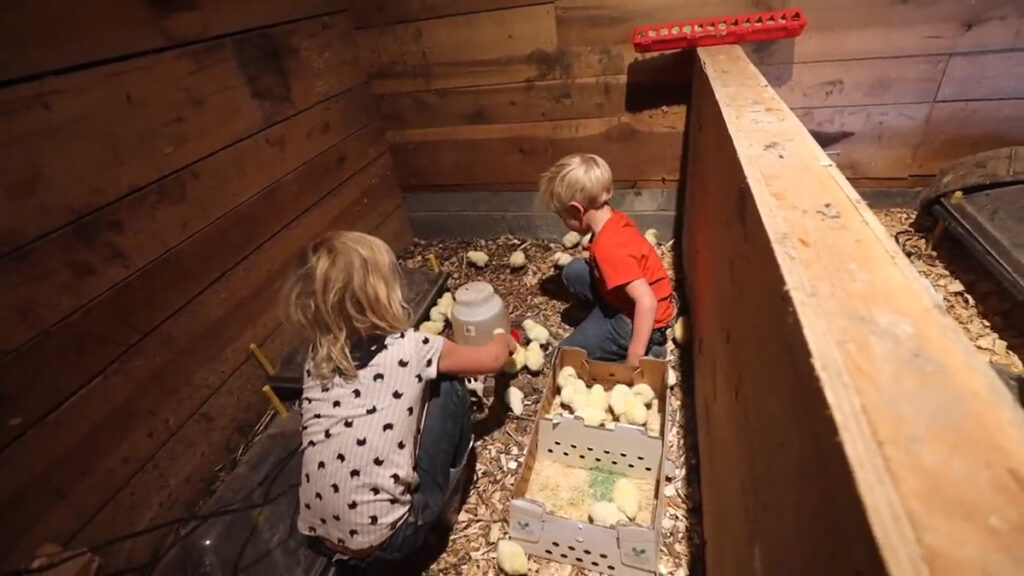
Whether raising chickens for egg layers or raising chickens for meat birds, feeding and tending to another creature creates wonderful teaching times with your children. Children as young as two can help feed and water your backyard chickens, creating strong family bonds.
Fresh Eggs
Having fresh eggs is the first benefit people think of when they think of raising backyard chickens. What other animal serves you breakfast every day? Different varieties of birds can give you different colored eggs, creating a beautiful basket of eggs each time you collect them.
Health
Raising healthy chickens produces healthy eggs. It’s so wonderful to know where your food comes from, and putting organic feed and fresh greens into your chickens will produce more nutrient-dense eggs and better tasting meat.
Income
Selling eggs, meat, or even baby chicks gives your family an opportunity to make a little extra money. It’s never too early to teach children about the value of a dollar, and selling eggs or chicks could be a really great first job for your child.
How Often Should You Hold Baby Chicks?
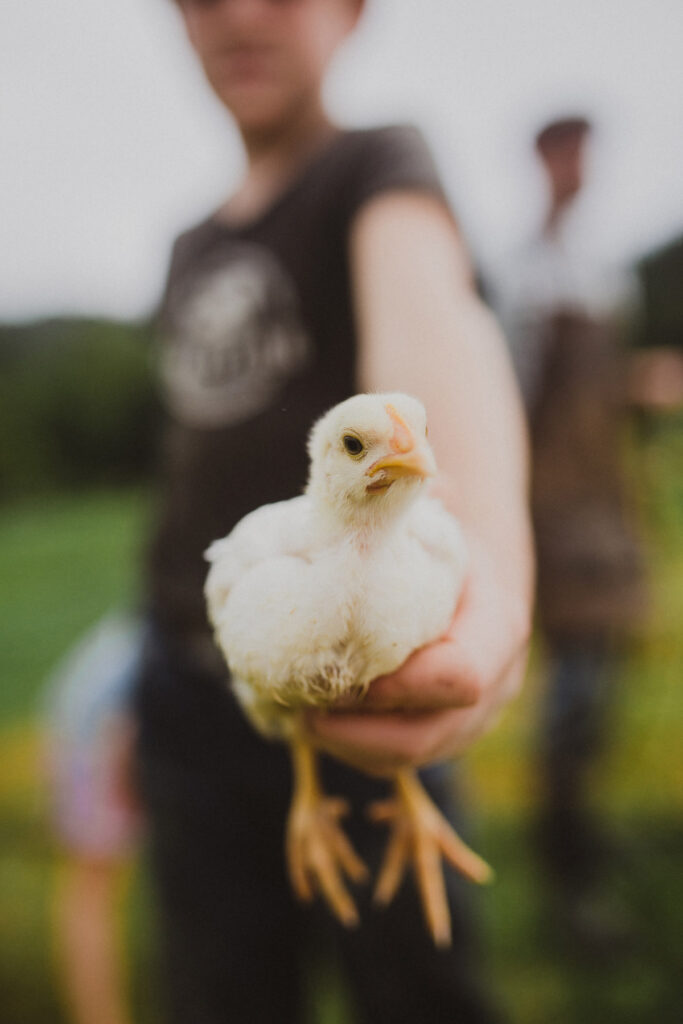
It is tempting to hold and snuggle baby chicks, especially when you have little helpers all wanting a turn.
Do keep in mind that baby chicks are already stressed from transport and will need time to adjust and acclimate to their new surroundings. While it’s OK to handle a baby chick from time to time, the best results come with as little handling as possible.
In order to allow the kids to hold a baby chick or two, you can have them help place the chicks from the transport box into the brooder when they first arrive.
How Long Do Baby Chicks Need a Heat Lamp?
For the first three weeks of life, baby chicks will need to be in a protected environment with a constant heat source. After three weeks, you can start moving the brooder outdoors during the day provided you have warm weather (around 70°F.)
Bring the brooder back inside under the heat lamp during the evenings.
When Can Newborn Chicks Go Outside?
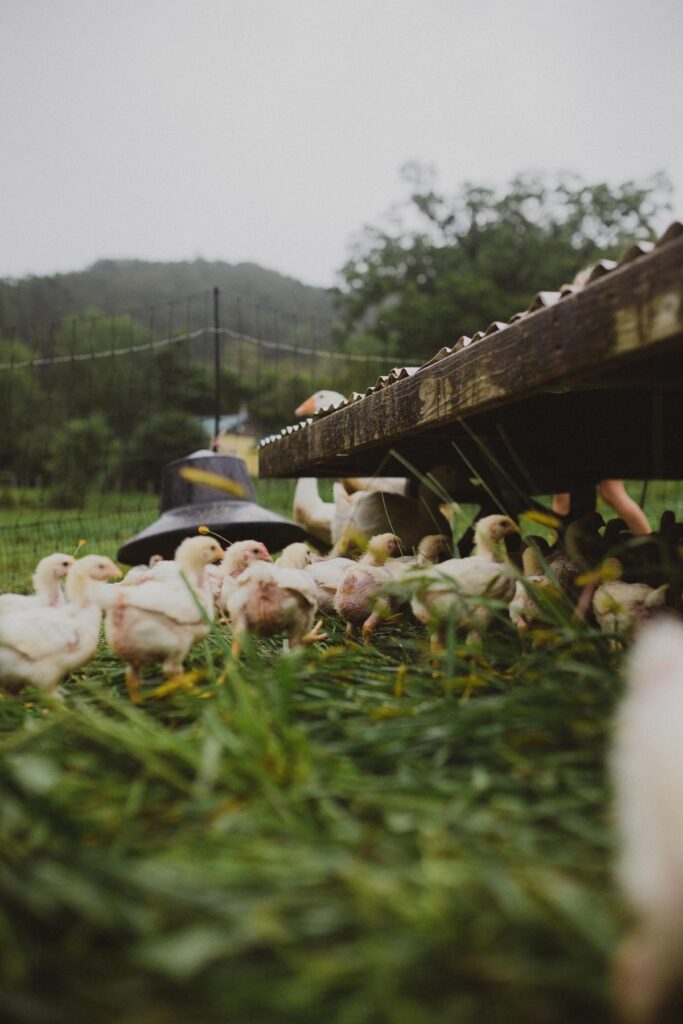
You will want to continue to acclimate the baby chicks to outdoor weather (as discussed above) for a little over a month.
Depending on the weather and breed of chicken, your chicks should be ready to be outdoors using a chicken coop generally between weeks 6 and 8.
What Should I Do if a Chick is Sick?
You may have losses of up to 10% of your chicks, which is perfectly normal. If you have a sickly chick in your brooder, the other chicks may peck at it. This is normal behavior.
Because of this, if you have an injured or sick chick, it’s a good idea to separate them from the rest of the chicks. Simply place the injured chick inside a cardboard box in the brooder under the heat lamp so that it stays warm but is protected from the other chicks.
Supplies Needed for Chick Care
Let’s look at what you’re going to need to care for your baby chicks.
- Brooder Box – We have both started our chicks in a brooder box made from a 40-gallon Rubbermaid container, or moved them into a walled-in stall in the barn. The brooder box is about 2X4 feet in size. This is an easy way for those without a barn or coop to get started. Simply poke holes into the sides for air when a lid is put on it. Since a Rubbermaid container has handles on it, it’s easy to carry in and out of the house. I like to refer to it as a “porta-brooder” because it’s portable. The rule for brooder size is four chicks per square foot up to the age of three weeks, so my Rubbermaid brooder box is big enough to house 25 chicks. I altered my container by adding a small door for easy exit and entrance by the chicks when it’s time for them to be outdoors. Using a Sawzall, I cut a hole in the container and used scrap wood to create a door.
- Lid – Around three weeks, your chicks will be ready for some time outside during the day in warm weather. You will need a lid when you’re moving your brooder box. Fresh air and sunshine are just as good for chicks as they are for humans.
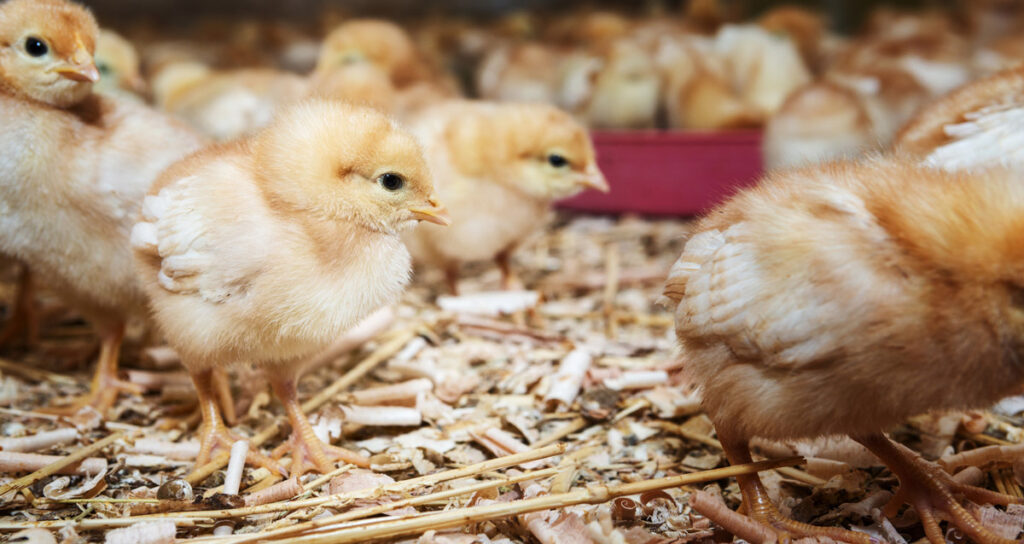
- Pine Shavings – I recommend putting 8 inches of Tractor Supply fine pine shavings down for your chicks. Pine shavings are better than other bedding at pulling the waste away from your birds. If it starts to get smelly, just sprinkle on some more over the top. These shavings will last until the birds are ready to be moved outdoors full-time.
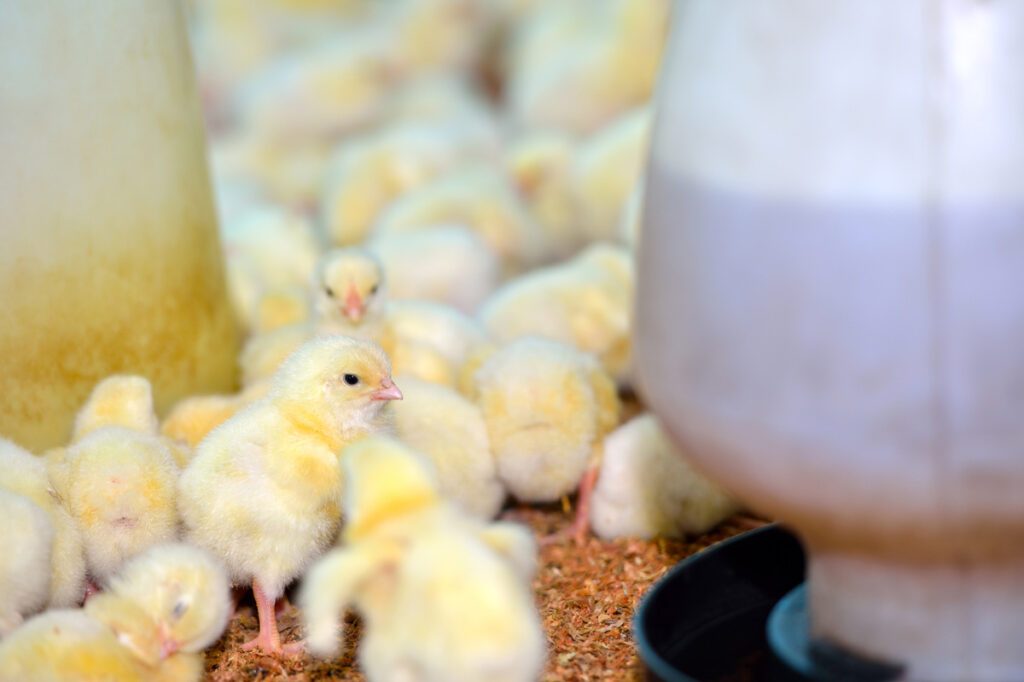
- Heat Source – A heat lamp is essential for chicks who aren’t yet old enough to regulate their temperatures. We have our brooder box indoors but still use a heat lamp for chicks. Remember, they’re usually nestled under the mama hen, so just the warmth of the house won’t be enough for them at this age. If the chicks are cold, they will huddle up together for warmth. If they are too warm, they will be on the far side of the brooder, away from the heat lamp.
- Waterer With Plenty of Fresh Water – We love these quart-sized water and food attachments that just screw onto a quart-sized jar. We start our chicks off on magic water. This gives the chicks all the nutrients they need for proper chick development.
- Feeder and Starter Grower Feed – Your baby chickens will do well on organic starter feed from your feed store. We prefer New Country Organic Starter Feed. Chick starter feed is high in protein and has everything a new chick needs for the first several weeks of life. Additionally, we like to use fermented feed because it is more easily digestible by the chicks and makes the feed go further.
- Grit – Chickens need grit to help break down their food in their gizzards. They don’t have teeth as we do, so grit helps with proper digestion. We’ve used the Flock Perfect Starter Grit with much success.
- Greens – Your chicks will love to have green treats. They can eat lettuce or other kitchen scraps like broccoli or even some fresh grass or clover from your yard will make for happy birds.
- Dirt Trap – A dirt trap is something I made to keep bedding from being tracked into the food and water containers. I just built a wood frame from wood scraps and stapled ½ inch wire mesh to it. Size it to the pan that you put under it.
How to Care for Baby Chicks
It may seem intimidating to have these little puff balls completely dependent upon you, leaving you asking, “How do you keep baby chicks alive?”. Following these steps will bring you the confidence you need to get baby chicks through this fragile stage of life.
Preparing for Baby Chicks
Before the chicks are due to arrive from the Post Office, start fermenting your feed. To ferment your feed, put it in a five-gallon bucket and cover it with water. Soak for three days. Then use a slotted spoon to scoop the feed out for the chicks.
Prepare the brooder box, and place it in an open space with good ventilation and with fresh sunlight streaming in.
Arrival Day
Be prepared to pick up your chicks early. The Post Office does not want to be responsible for them any longer than they have to and will likely call you first thing to let you know your chicks have arrived.
Mix up a batch of magic water on the day your chicks arrive. As you transfer the chicks from the transport box to the brooder, dip their beaks into the magic water.
How to Make Magic Water
- ½ Gallon of Fresh Warm Water – Tap water works fine.
- ½ Cup Honey – I recommend using local honey.
- 2 Cloves Garlic – Crushed garlic blends best.
- 2 Tbsp. Apple Cider Vinegar – We like Bragg’s raw apple cider vinegar.
Mix all ingredients directly in the chick waterer, add the base, and feed to baby chicks for the first week of life.
Daily Routine
During weeks 1-3, keep your chicks warm at all times with a heat lamp. Pay attention to see if your chicks are piling up on top of each other. If they are, they aren’t warm enough. If they are avoiding the heat lamp, they may be too hot.
At about three weeks of age, they may start perching on the side of the brooder and may even poop on your floor. You will want to come up with a lid for the brooder to keep your home from being overrun with tiny chickens.
- First thing in the morning, check on your chicks. Fill their food and water, and make sure they have a supply of grit. Pro-Tip: Grab them some fresh greens or some grass from your yard for those extra nutrients.
- After your chicks are several weeks old, you may want to move them outside during the day. If the weather does not permit moving the brooder outside, keep the brooder indoors, where it’s around 70°F, and start turning the heat lamp off during the day.
- Move the chicks back inside under the heat lamp for the evening. Refill the food and water and lay new pine shavings if their bedding begins to smell. Pro-Tip: The shavings make great compost when your chicks are done in the brooder.
After your first run through with raising baby chicks, I’m sure you’ll have the confidence to not only do it again, but pass along the wisdom you’ve gleaned through the process.
More Posts You May Enjoy
- Raising Meat Chickens
- Cost of Raising Meat Chickens Organically
- Using the Permaculture Approach for Your Chicken Flock
- Feeding Chickens Without Grain – Cut Your Costs 100%
- Chicken Coop Ideas – 5 Methods That Work
- Backyard Chickens – How to Get Started
- Using Chickens to Create, Turn, and Spread Compost
- How to Raise Baby Turkeys (Brooder Stage)