Tomatoes are a double-whammy for growing on your own homestead:
First, homegrown tomatoes are a healthier, more nutrient-rich option compared to store-bought. Tomatoes that you buy at the grocery store are typically harvested well before they have ripened because they have to withstand transportation to the store. They aren’t given time to fully ripen on the vine to the point they’re at their nutritional peak.
Second, your taste buds are going to instantly notice the difference between homegrown and store-bought tomatoes. I’ll be honest; not everything you grow at home produces a noticeable taste difference from the grocery store, but with tomatoes there’s a striking difference. Jessica from Roots and Refuge sums it up well when she says that grocery store tomatoes taste like disappointment. That alone should convince you to start growing your own tomatoes at home!

Step 1: Start with an easy variety.
You don’t have to be some kind of hero, growing a rare heirloom variety off the bat. Start with a variety that is readily available and that you’re used to and enjoy already. Here are a few I would recommend:
- Beefsteak Tomatoes
Beefsteak tomatoes are the large, sweet tomatoes, perfect for slicing. My dad used to cut them up for tomato sandwiches, or you can simply sprinkle some salt on them and eat them plain with a fork and a knife. They’re a versatile tomato good for almost anything. - Roma Tomatoes
This is Rebekah’s favorite all-around tomato. Generally, romas are great for canning and commonly used for sauces, though they’re also a good slicing tomato. - Cherry Tomatoes
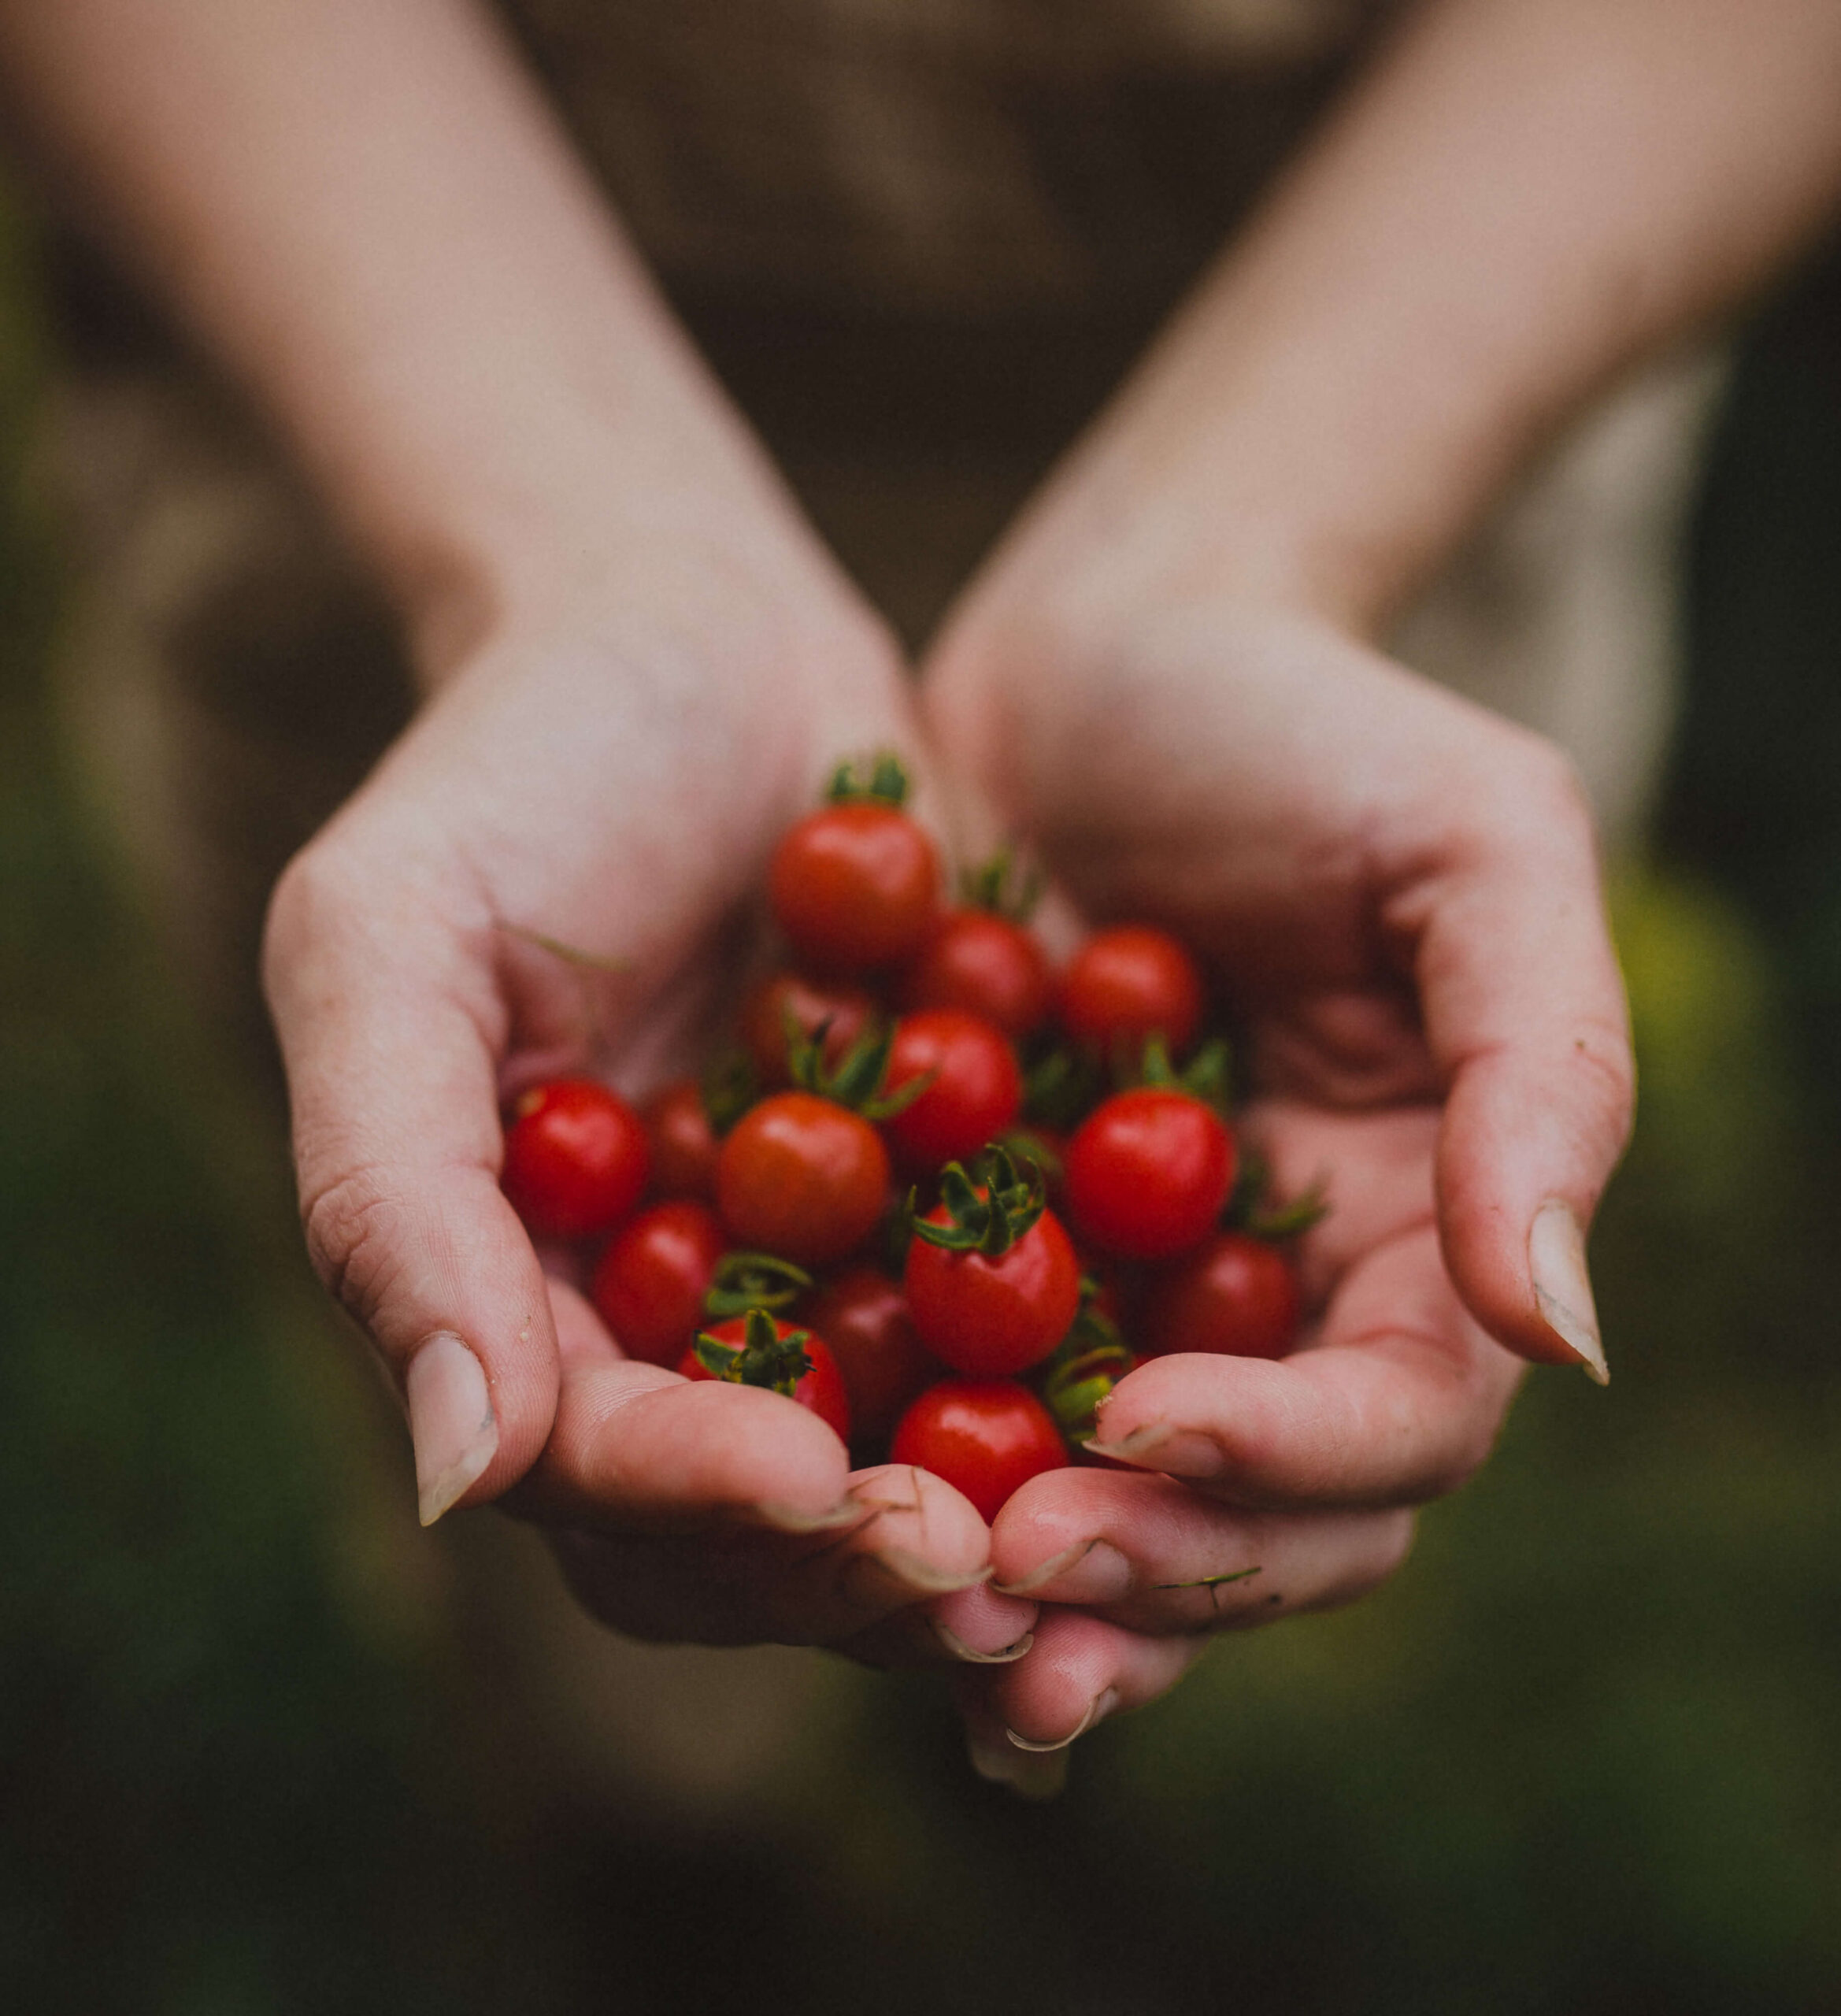
Cherry tomatoes are the bane of my existence because these are almost TOO easy to grow and they pop up everywhere as “volunteers.” So if you’re worried you can’t grow a tomato, start with cherry tomatoes! These are great for snacking or putting on salads. The Beautiful One slices these and sautes them in butter with diced onions, then adds eggs for a flavorful breakfast scramble.
Step 2: Wait for your last frost date to plant.
You’re not a market-grower who needs to be highly efficient, so there’s no rush to get your tomatoes in the ground too early. You can look up your last frost date on the Farmer’s Almanac website. Simply enter your city and state or your zip code and it will give you your last frost date for the season. Ours, for example, is May 10th.
Step 3: Buy started tomato plants.
On or around your last frost date, go to your local garden center or Lowes—whatever is easiest for you—and buy your tomato plant starts. These are tomatoes that have already been growing for 4 weeks, which is an advantage for you. It saves you from having to worry about germination issues, or needing to invest in a greenhouse or lighting setup.
I recommend buying more than what you need. If you just want one plant, buy two. Inevitably some plants won’t make it so it’s good to buy about 25% more than what you want to have for harvest-time.

Step 4: Plant in your garden and water.
Make sure to get your tomato starts planted and water them immediately. They’ve just been through a shock leaving the store and being transplanted to your soil, so watering will help with that transition.
After that, water them one inch per week when there’s no rain. How much is an inch a week? Get your watering can and an empty tuna can, yogurt cup, similarly sized container. Place your empty container on the ground, and count the seconds as you begin watering it with your watering can. The number of seconds it takes to fill your container to 1” is how long you should water each of your tomato plants on a weekly basis. So if you counted to 5, you’ll water your tomatoes 5 seconds each week that you don’t get rain.
Also note it’s best to water as close to the soil line as possible. Tomato leaves can be susceptible to fungus and other issues when they get too moist..
If you don’t have a garden or a plot of soil to plant in, don’t let that stop you! Tomatoes can thrive in containers. Look for a pot that is 18-24” in diameter and at least 12” deep. Get potting soil from the garden store when you buy your starts, and you’ll be ready to plant!
If you’re planting into a garden plot and don’t already have compost at home, you can also pick that up and add it to the soil when you plant your tomatoes.

Step 5: Stake and prune.
These are two different things, but they go hand-in-hand when maintaining your tomato plants. Once you plant your tomato in the ground, it’s going to need something to grow on as it vines upward. A stake will give it this support as it grows.
While pruning isn’t essential, your plants will reward you with a lot more produce if you do it. Pruning helps aerate the plant, and helps it get more moisture. It helps keep leaves from crowding and touching each other which can lead to fungus and other issues. Pruned plants will be overall healthier and more productive.
Think about it: When you prune plants, nature reacts in a panic thinking it’s under attack. It diverts its energy into producing fruit which of course contains seeds, to keep the generations of the plant alive. This ultimately produces bigger fruits for harvest.
Staking and pruning specifics are beyond the scope of this article, so I recommend you check out MIgardener’s video, How We Prune and Stake Our Tomatoes For Maximum Production and Health to learn more.
Step 6: Harvest
We like to harvest a few green tomatoes early, especially from the romas or beefsteaks, so we can enjoy them fried up southern style. They might not have their full potential and its nutrients harvesting them so early, but it’s a wonderful treat!
Of course, it’s best for health if you allow them to ripen on the vine. Try to harvest them when they’re at their full redness, but don’t worry if you get them a few days too early or too late. The main goal here is to just grow something, even if you make some mistakes!

Step 7: Uses
Slice them, dice them, eat them with a dash of salt, add them to a salad, fry them with eggs, make fruit leathers, transform them into salsa, and of course tomatoes can be canned in various forms (halves/quarters, diced, sauce, juice, etc.).
Tomatoes are so versatile and one of the first and most exciting things to grow on the homestead. You’ll quickly find they taste SO much better than the grocery store, likely because they’re actually reflecting all their nutrient density that their store counterparts just doesn’t have. When you’re harvesting from your homestead, you don’t have to worry about that transportation time grocery stores factor in, so you can pick the perfect vine-ripened tomato to enjoy!
Good luck! Just get out and PLANT and learn as you go!