When it comes to a backyard or full-farm operation, organic Cornish Cross is the best breed to keep your meat cost low. You can use this guide to show you how!
Why I Recommend Cornish Cross
We have tried other chicken breeds for meat birds (like Rhode Island Reds, Black Australorps and Barred Plymouth Rocks), but they take 16 weeks or more to get to butchering size.
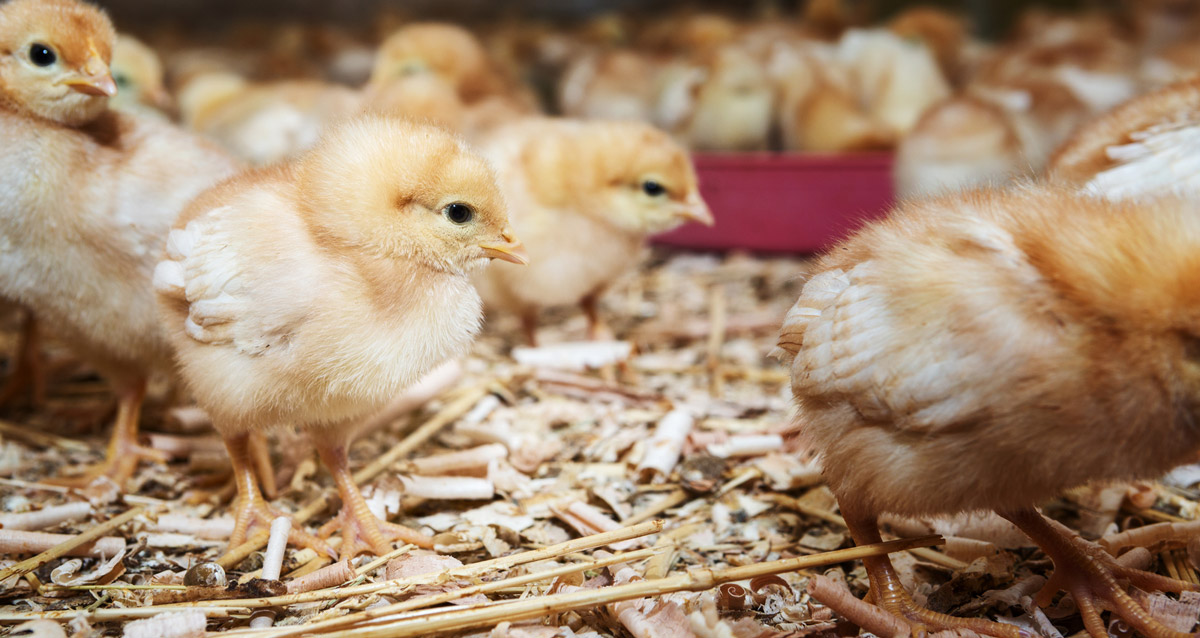
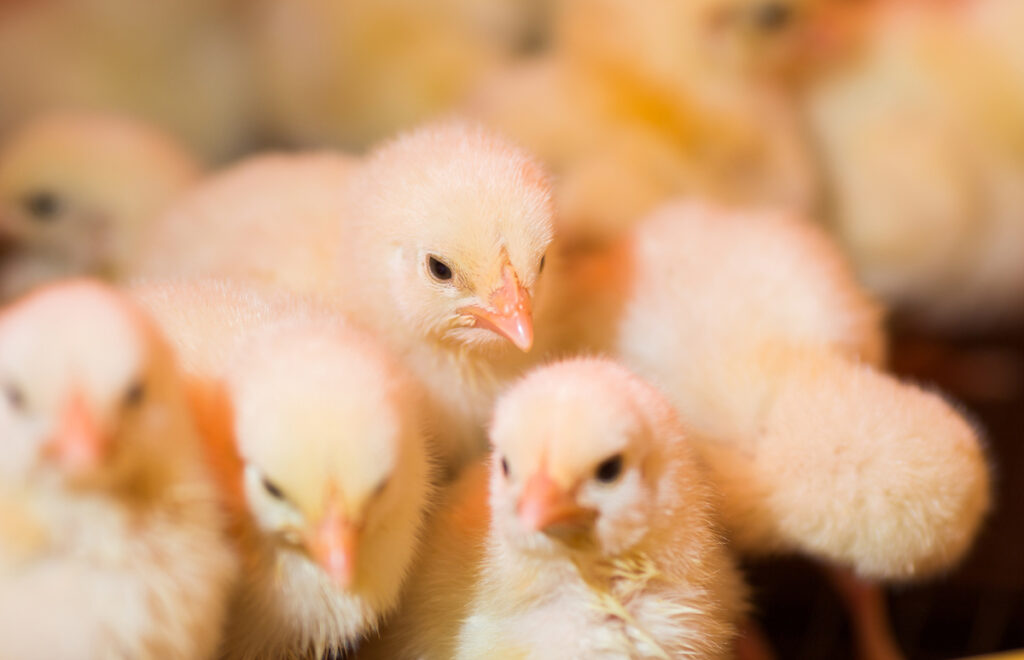
The chicken breed I recommend is the Cornish Cross chickens for the speed at which they grow. In fact, I’ve affectionately come to call them “C-monsters.” The C is for Cornish Cross, and the monster is because they grow like monsters! Let me tell you, these chicks are fast growing!
Let’s say that you purchase 100 Cornish Cross meat chicks. You may lose an average of 10. These guys’ freezer weight will be 4-6 pounds in just 58 days. That would be 450 pounds of meat if you took an average weight of 5 pounds.
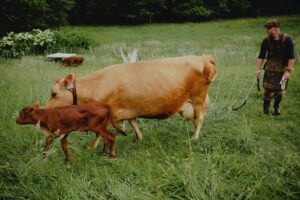
It would take a cow a couple of years to give you that much meat, and it would take 8-10 months to get that much meat from a pig. This is a lot of meat fast! And the taste? You won’t find chickens like this in the grocery stores.
Things To Know Before Getting Started
It’s never a good idea to jump into raising meat chickens haphazardly. Proper planning and preparation ahead of time is a critical key to success.
Check Your Dates
Baby chicks require warm weather to survive. You will want to check the almanac for your area’s last average frost date in the spring and your area’s first average frost date in the fall.
Order Your Chicks
You don’t want your chicks to arrive any sooner than three weeks before the last possible frost date, so order accordingly.
You also want to make sure that you get started plenty early. You want to be finished with your chickens before the first frost, so make sure they arrive six weeks before your first chance of frost in the fall.
If you’re doing one batch of chickens, I would suggest earlier rather than later.
We ordered our chicks from McMurray Hatchery. They carry everything from day-old chicks up to laying hens.
Gather Your Supplies and Prepare the Brooder
Having all of your supplies on hand when raising chickens will make everything go smoothly. Also, have plenty of organic starter feed on hand because 100 chicks go through a lot of feed.
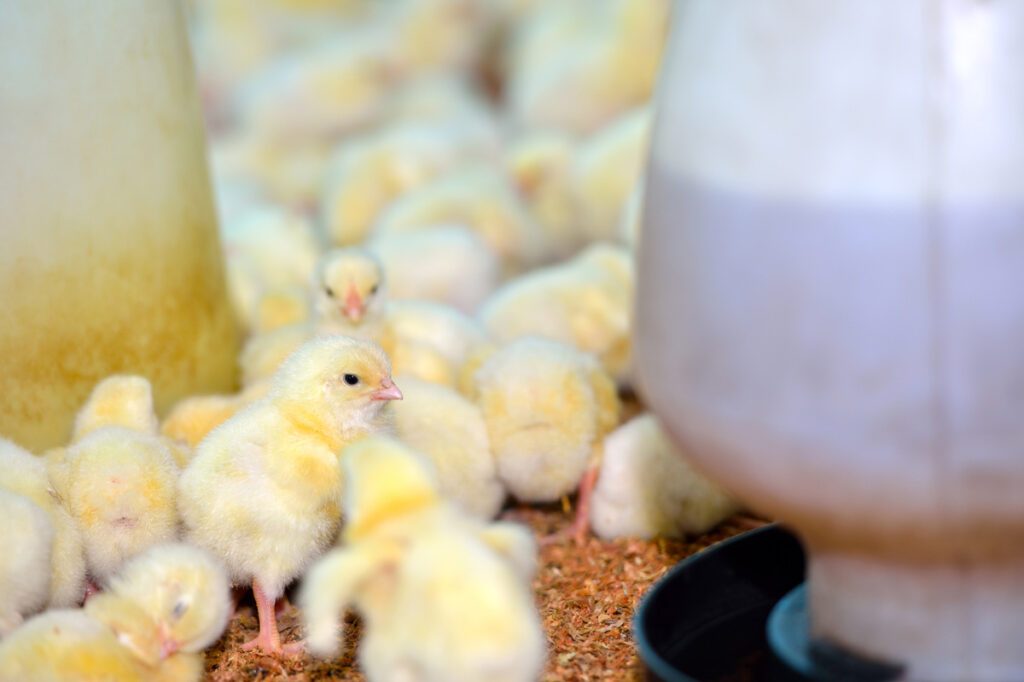
Prepare the brooder with several inches of pine shavings, waterers, feeders, and a heat source.
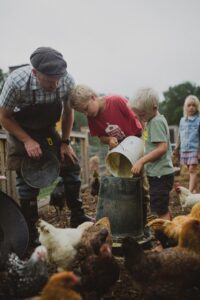
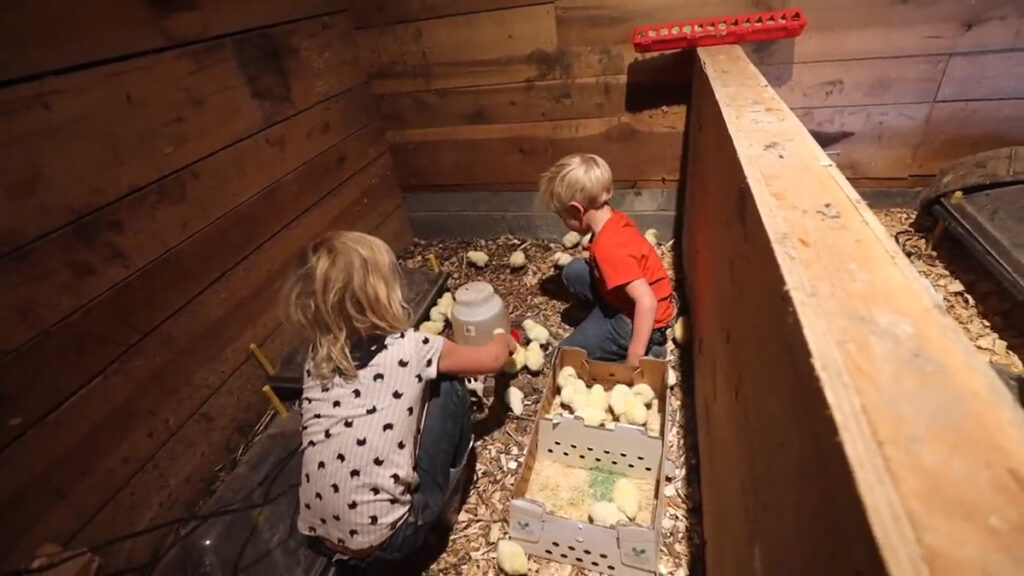
Chick Delivery Day
Your baby chicks could come a day early, so be prepared to have that day freed up. The post office will most likely call you early in the morning. They don’t want to be responsible for your little chicks any longer than they have to. Once the post office calls you that they’re in, you will want to get down there as soon as possible.
Before you leave for the post office, turn on the heat source in your brooder, mix up a batch of magic water (recipe below) and fill the feeders so that your chicks adapt happily in their new brooder.
Take the time to place your chicks one at a time into the brooder and dip their beaks into the magic water before setting them down. It’s also nice to have some green grass or salad greens available for their arrival.
Pro-Tip: Don’t be too alarmed if a couple of your chicks are dead upon arrival. It’s very stressful for them to be shipped. Sometimes the hatchery you ordered from will send a couple extra to cover this or you may be able to request a refund for the ones that die.
Magic Water
What is magic water? Magic water will help your chicks recover from the stress of being shipped.
To make magic water, mix the following ingredients together:
- 1-gallon warm water
- 1/2 cup honey
- 4 Tablespoons Braggs apple cider vinegar
- 4 cloves of minced garlic
Supplies Needed For Raising Meat Chickens
Although it takes a lot of supplies to raise 100 chickens, most of these items (like the feeders and waterers) are not things you’ll have to replace yearly. Invest in good supplies your first year, and it will pay off.
- 100 Cornish Cross Chicks – We get ours unvaccinated. You certainly don’t have to start with 100 birds, but that’s what our supply list is based on, so adjust accordingly.
- Brooder – You will need one square foot for every four chicks up to three weeks of age. I repurposed an old barn stall to accommodate 100 chicks.
- Heat Lamp – During the brooder stage, chicks need help regulating their heat.
- Pine Shavings – We started our chicks with two bags of Tractor Supply fine pine shavings. Start with a depth of 4-8 inches and add as needed.
- Waterers – Baby chick’s water needs will be less. You can use these quart-sized water and food attachments that just screw onto a quart or a half-gallon-sized Mason jar. You will need two 5-gallon waterers for the late brooder stage and when you relocate them outside.
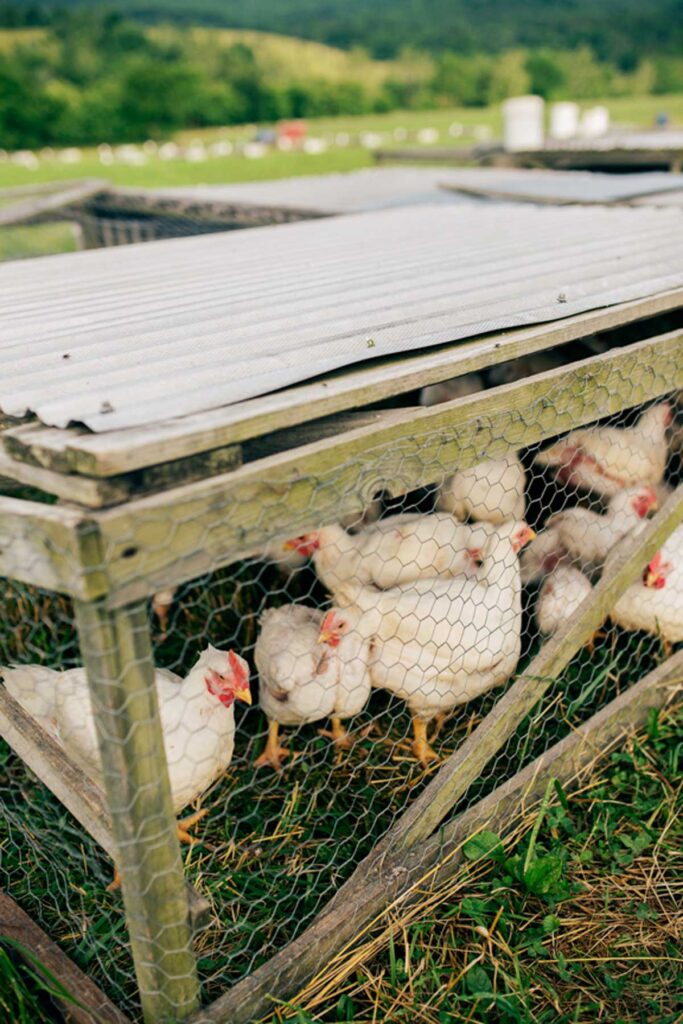
- Meat Shaw – We made a portable chickshaw that works for up to 100 birds (pictured above). It’s on wheels, so it’s easy to move in the pasture, and it has open sides which the chickens love.
- Chicken Tractor – A chicken tractor is a chicken coop on wheels, making it easy to move around your pasture. These work best when you’re raising less than 20 chickens. Check out my mobile chicken tractor plans here.
- Food Grade Buckets w/Lids – 5-gallon buckets work well for this. When raising chickens for meat, they eat constantly.
- Premier 1 King Feeders – Once you move your chickens outdoors and they are eating more, these Premier 1 King Feeders work beautifully as an automatic feeder. I’d recommend two of them.
- Premier 1 Broiler Trough Feeder – The Premier 1 Broiler Trough Feeder also works well outside.
- Fencing – I prefer the Premier 1 Shock or Not Electric Poultry Net. The tighter netting works well for keeping smaller chicks in. I use two sections of fencing.
- Solar Fence Energizer – We choose to use the Premier 1 Intellishock 60 Solar Powered Fence Energizer.
- Organic Starter Feed – We prefer the New Country Organic Starter Feed. To raise meat birds (especially 100 of them), you will need approximately 25 50-pound bags. Be sure to use a starter feed with a minimum of 20 grams of protein per serving.
- Starter Grit and Bowl – Chickens need grit to process their food efficiently. We like Flock Perfect Starter Grit from New Country.
Raising Meat Chickens
The process of raising meat chickens can be divided into three manageable phases (brooder, pasture, and butchering). For step-by-step instructions on the brooder stage (the first three weeks) refer to my guide on how to care for baby chicks.
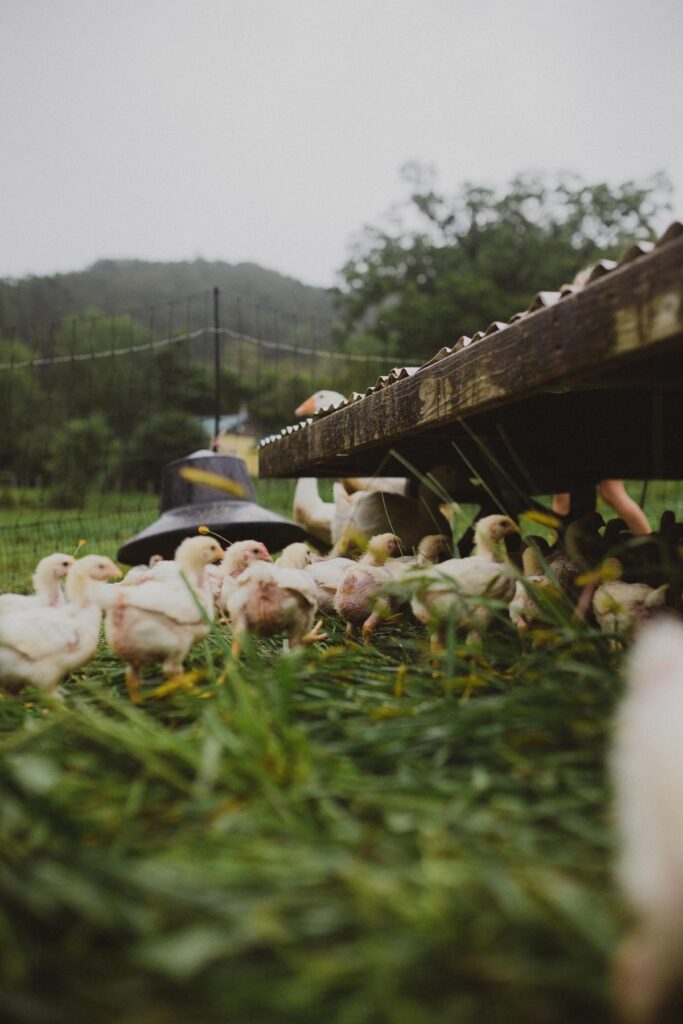
- Unlike other breeds, Cornish Cross are ready to go out to pasture full-time in just three weeks. Set up the fencing in your pasture. These chickens will be great little fertilizers, so go ahead and put them in the area that needs fertilizing the most. Your chickens will love to free range, and they will eat up many pests for you besides fertilizing your pastureland. Pro-Tip: I like to make my pen two posts wide and five posts long. This narrow formation keeps the chicks closer to the coop so that they can quickly hide from predators if necessary.
- Switch out your smaller waterers for the five-gallon ones and make sure the waterers and feeders are always full.
- Set your chicks out to pasture in the afternoon when the grass is dry and there’s no chance of rain.
- Collect your chicks into a box or poultry crate and move them to the outdoor pen. Pro-Tip: As you take them out of the box, dip their beaks in the water and then place them under the shaw. This will help to get them acclimated to their new home. Having the food and water close to the shaw is a good idea.
- Install something to scare away predators. If you use a scarecrow, move it every couple of days so the predators don’t get used to it. We use a guard goose. Geese make great guard animals, and they get along very well with chickens. Interesting Note: Tufted Roman geese were what sounded the alarm when Rome was being invaded by the Gauls.
- Start your meat shaw at one end of the pen and move it a shaw length each day. It should be in three different locations inside the fencing. After those three days, move the fencing and start again.
- Keep your birds in grit.
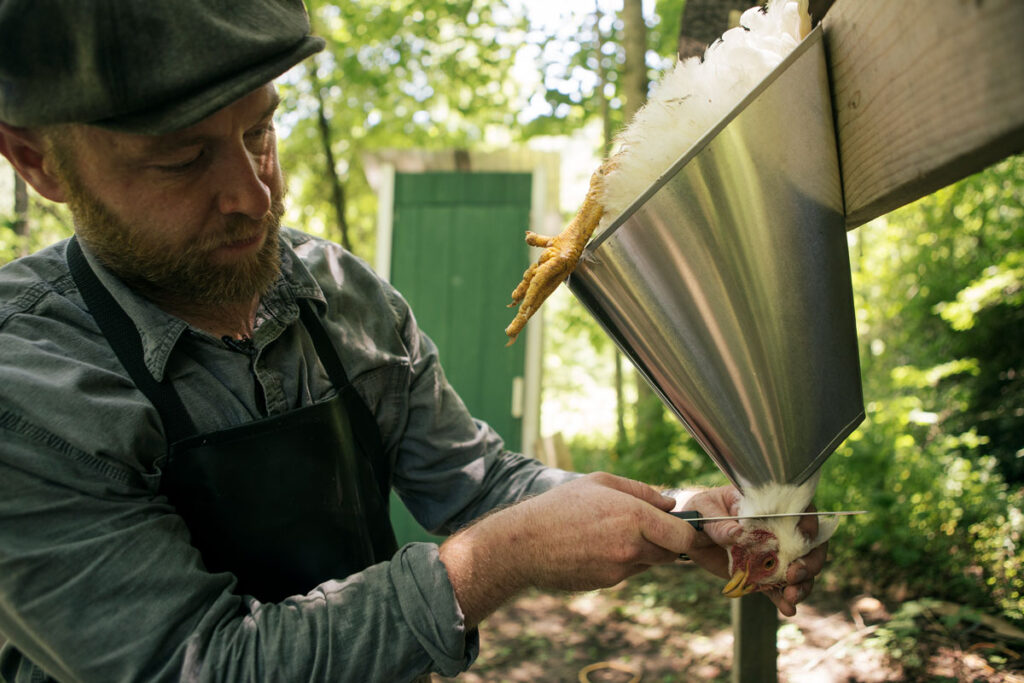
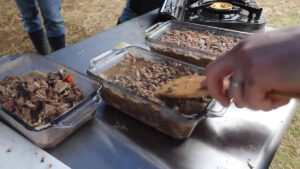
Butchering your Chickens
Plan to butcher your chickens at eight weeks. These chickens grow so fast that you don’t want them to go much past that. You can read here for step-by-step instructions on how to butcher a chicken.
Pro Tip: Don’t overload your freezer with all 100 chickens. I would recommend adding one-third at a time. Keep the others refrigerated during this time.
Congratulations! You just raised hundreds of pounds of delicious meat for your family in under two months.