Whether you need to plant a small herb or a large-scale vegetable garden, take the time to learn the best garden design for you.
Why We Love Gardening
Our family set out to grow most of our food in 100 days in less than 10 hours a week, and we were astounded at all of the benefits.
Looking back, we identified some obvious benefits such as food security, self-sustainability, and improved produce quality. In addition to these critical elements, we enjoyed quality time working together as a family.
The Best Time to Start a Garden
There are two dates you should know when starting a home garden. Your last frost date is the date for your area when the last expected frost should happen. Your first frost date is when you should expect your first frost in the fall.
The time between these two dates is your growing season.
Not sure where to find your average first and last frost dates? The Farmers Almanac will estimate your region’s dates based on your zip code.
What to Plant in a Garden
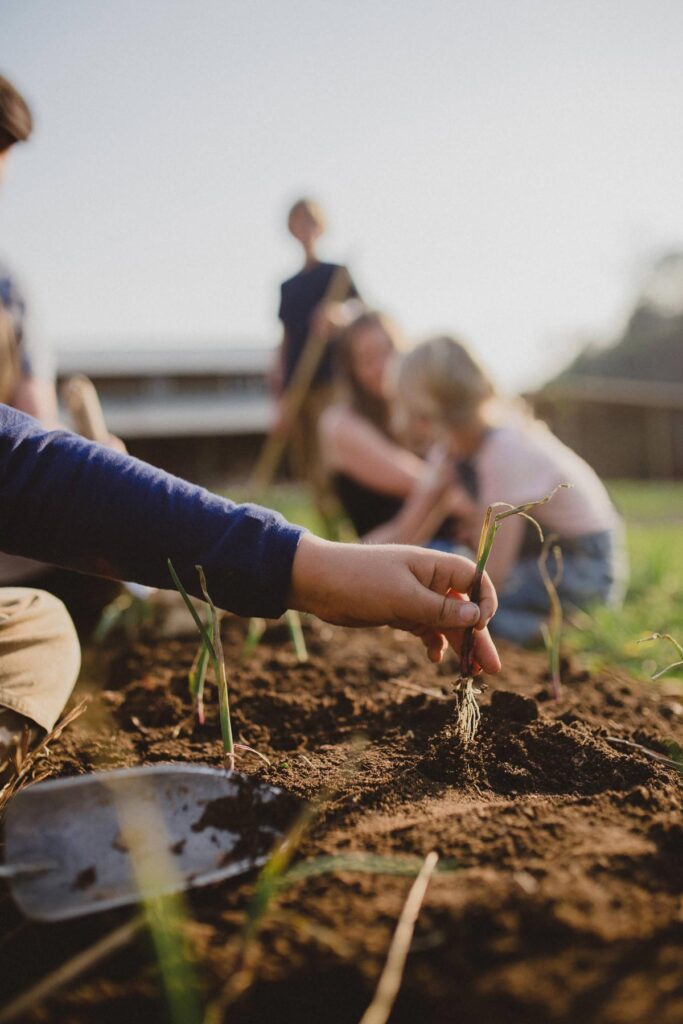
To know which plants will do well in your garden, check your seed packets. They will tell you when to plant based on your first or last frost dates, the temperature of your soil or your plant hardiness zone.
The Plant Hardiness Zone Map shows gardeners which plants are most likely to thrive in their hardiness zones.
Is Soil Testing Important?
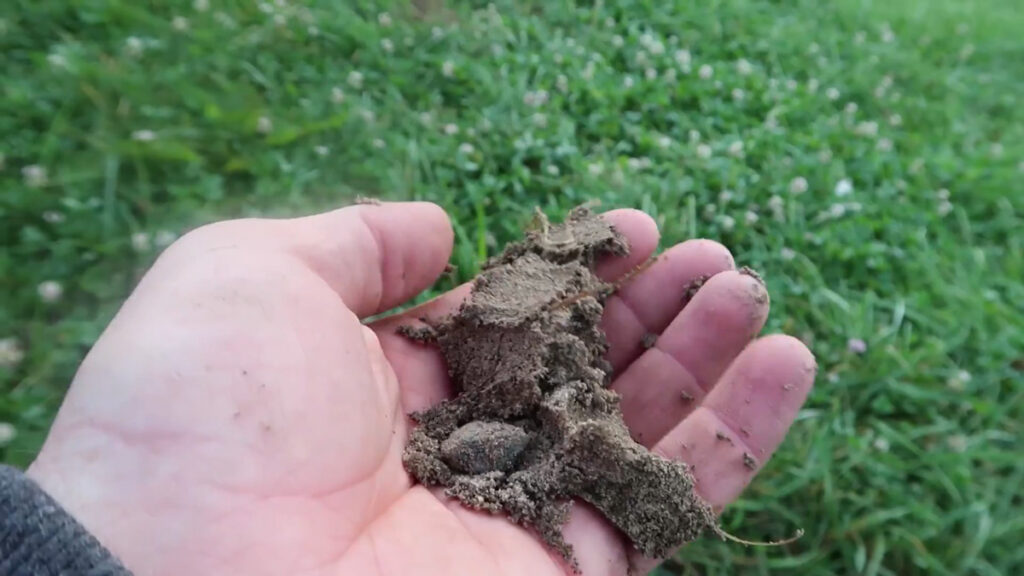
Soil testing is optional but highly recommended. Get a soil test with amendment recommendations. You can usually get these for free through your state’s extension office. Pro-Tip: Find this by asking Mr. Google Pants for a “state extension office near me.”
If there isn’t an extension office near you (or you’d like to geek out on more elaborate test results), there are private companies you can use. Use this step-by-step tutorial on how to test your soil and the information to the private company I use.
Most plants prefer a pH level of 6.2-6.8. If you’re like me and have acidic soil, you’ll fall short and need to add lime to raise the alkalinity. If you’re above, you’ll add sulfur to lower the pH.
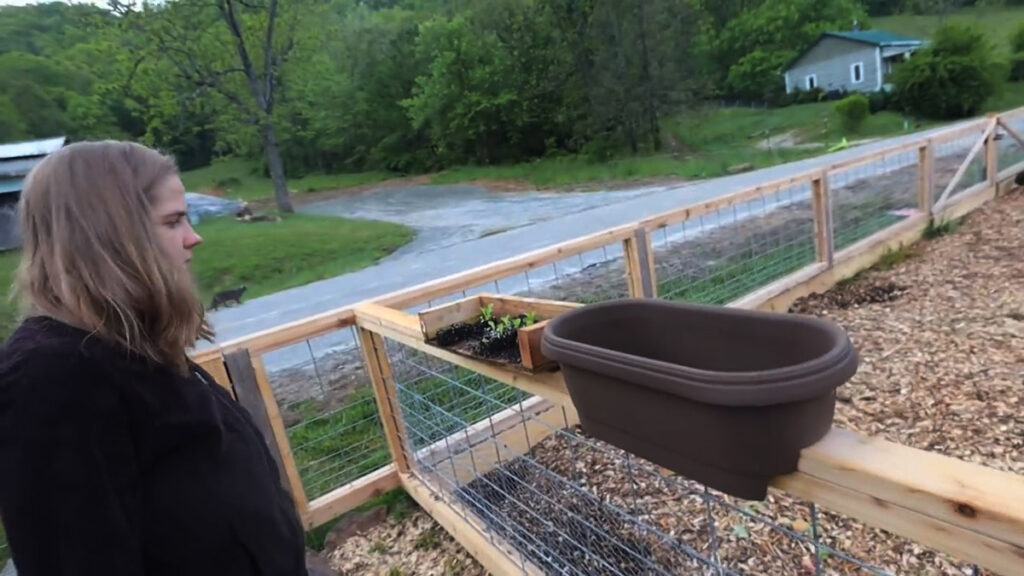
Start a Garden in a Container
You don’t have to own acreage to grow a garden. There are so many options for container gardening, and it’s a great way to start your first vegetable garden.
Who Should Container Garden?
Container gardening is something that absolutely anyone can do. You’ll be amazed at how much food you can grow in a small container. Consider using container gardens if the following applies to you:
- You have a disability and need a garden that’s easily accessible.
- You want to start small.
- You are intimidated by planting a big garden.
- You are renting your home and don’t have space for a traditional garden.
- You’re moving soon and want to take your garden with you.
- You are dealing with contaminated soil or soil that floods.

Types of Containers
- Terra Cotta – Terra Cotta pots are beautiful and excellent for container gardening. They tend to wick moisture away from the plant, so keep them watered.
- Plastic – There are so many choices for plastic containers, and you don’t have to spend a lot of money. Use what you have already laying around the house but be sure to put drainage holes in the bottom.
- Hanging Baskets – You can use hanging baskets to increase your vertical growing space. They tend to dry out quickly, so water them often.
- Fabric Pots – Fabric pots are great for container gardening, and you can move them easily to follow the sunshine or take them with you if you move. I have a friend who grows potatoes in these Root Pouch bags, and Gorilla Pots makes a large variety of sizes of fabric pots as well.
- Wooden Pot – If you’re skilled with wood, you can build a wooden container. Ensure drain holes in the bottom, and don’t use pressure-treated lumber.
How Big Should the Container Be?
If you aren’t sure how big certain plants grow or how much room to allow for plant roots, this chart will come in handy to help your garden plans.
| Container Gardening Planting Guide | ||
| Basil/other herbs | Container Minimum size | Spacing |
| Beets | Large, 10″ depth | 2-3″ |
| Bush Beans | Small, 6″ depth | 6″ |
| Broccoli | Large, 10″ depth | 10″ |
| Cabbage | Large, 10″ depth | 10″ |
| Carrots | Large, 10″ depth | 2″ |
| Cucumbers | Medium, 8.5″ depth | 6″ |
| Cauliflower | Large, 10″ depth | 10″ |
| Collards | Medium, 8.5″ depth | 12″ |
| Eggplant | Large, 10″ depth | 12″ |
| Kale | Medium, 8.5″ depth | 12″ |
| Lettuce | Small, 6″ depth | 4″ |
| Melons | Large, 10″ depth | 18″ |
| Onions | Large, 10″ depth | 2-3″ |
| Peas | Small, 6″ depth | 2″ |
| Peppers | Medium, 8.5″ depth | 8″ |
| Potatoes | Large, 10″ depth | 6″ |
| Radishes | Small, 6″ depth | 1″ |
| Spinach | Small, 6″ depth | 3″ |
| Squash | Large, 10″ depth | 18″ |
| Swiss Chard | Medium, 8.5″ depth | 12″ |
| Tomatoes | Large, 10″ depth | 18″ |
| Small | 1 Gallon, or 6″ soil depth | |
| Medium | 2 Gallon, or 8.5″ soil depth | |
| Large | 5 Gallon or 10″ soil depth |
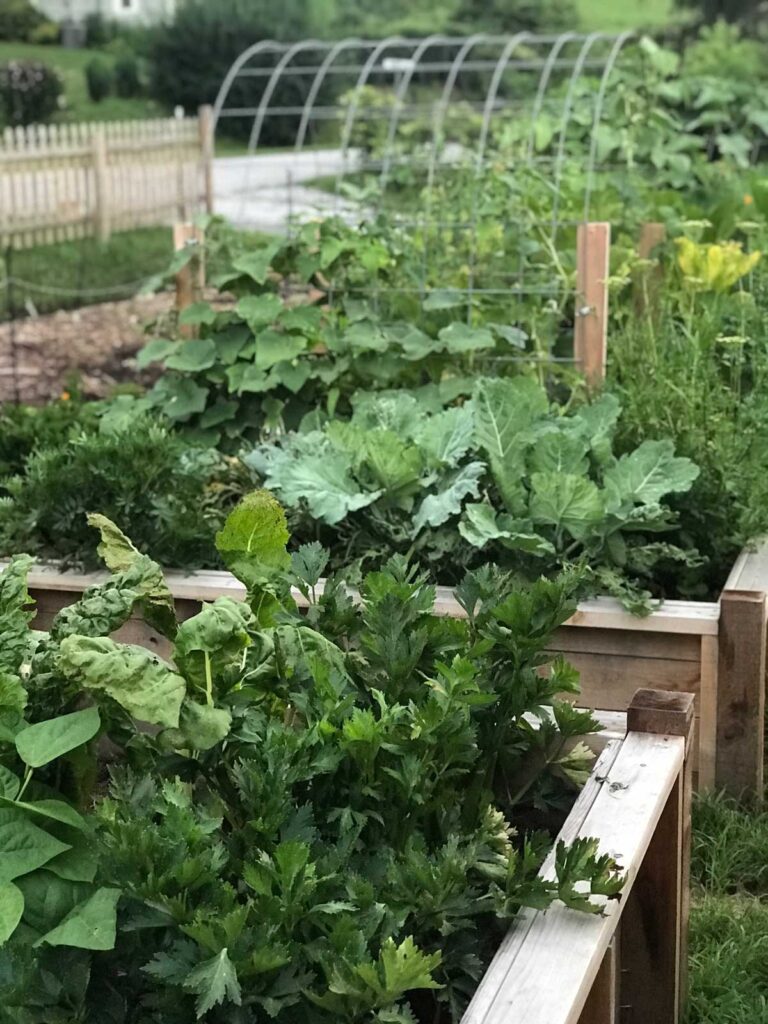
Start a Garden in a Raised Bed
Raised bed gardens are not only beautiful but wonderful to work in because you don’t have to bend down to reach them. Raised beds are a great option if you have poor soil. An additional benefit is less weeding when filling your garden bed with quality soil.
Check out my free step-by-step tutorial on building raised garden beds, and then learn how to fill them inexpensively using the Hugelkulture gardening method.
Who Should Garden in Raised Beds
- You are disabled or don’t want to bend to the garden.
- Your property has poor soil.
- You need to elevate your garden from slight flooding.
- You want a beautiful-looking garden.
- You want a high yield from a small area.

Benefits of Raised Bed Gardens
Raised bed gardens are so easy to maintain. Put down a good layer of mulch such as grass clippings, leaves or organic straw around your plants, and you’ll barely have to water.
I prefer grass clippings because they are easy to come by and add nitrogen to the soil. Adding down a good layer of mulch will hold in moisture, suppress most weeds, and add organic material to your garden.
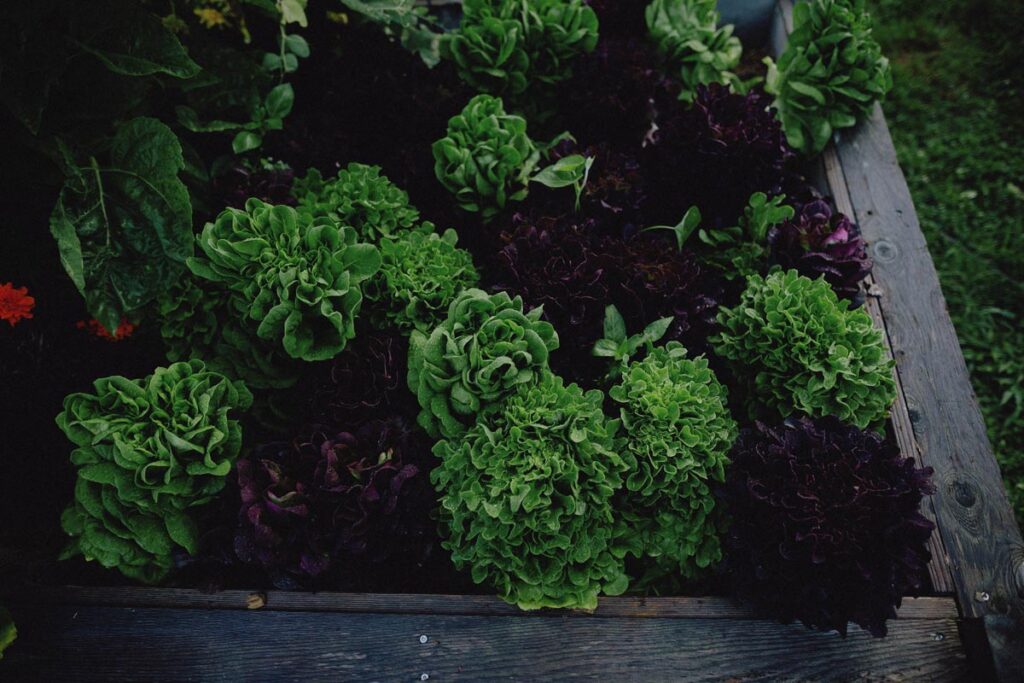
What to Plant in a Raised Bed Garden
Plant what you love! For the garden bed layout, I love the spacing concept of the square foot gardening method.
Start a Garden Using Chickens
Who should garden with chickens? Anyone who owns chickens! Put those chickens to work for you.
Did you know you can use chickens to help you start a garden? That’s the whole idea behind using the permaculture approach. It’s using everything on your farm to work together. And chickens are the perfect little tillers to get your garden started.
While your chickens are tilling the garden space, you can begin seed starting in your greenhouse, and your young plants will be ready to plant after the chickens do their work.
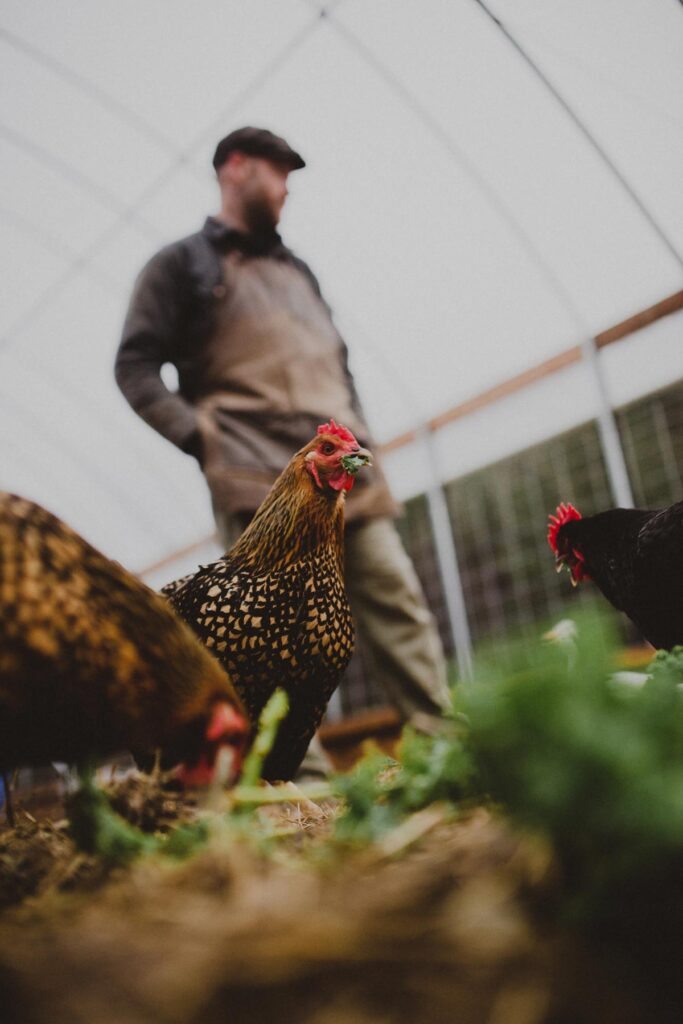
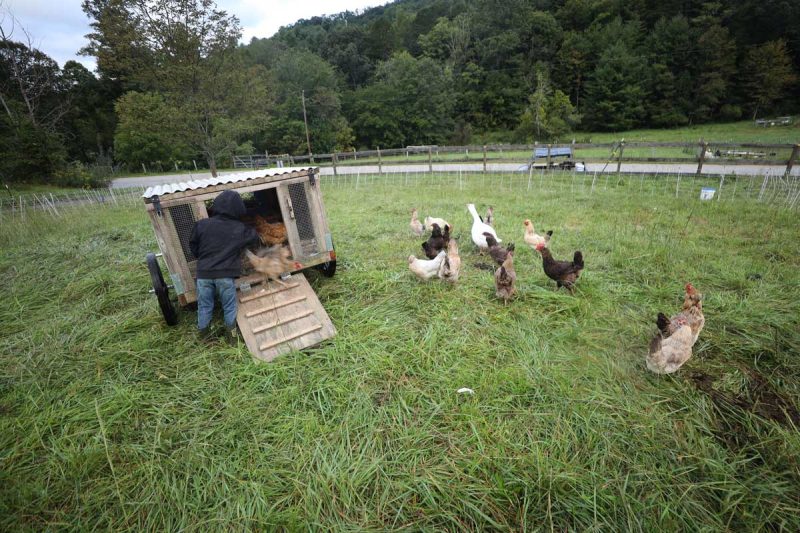
Using a chickshaw or building your own chicken tractor to park your chicken coop over an area of grass you want to turn into a garden is easy, and your chickens do most of the work.
They eat the weeds already there, but they also eat weed seeds to keep them from returning. It’s a great way to suppress weeds naturally.
If you have a stationary chicken coop, you can still use chickens to make compost. Chicken manure is one of the very best organic manure-based fertilizers available. It has potassium, phosphorus and nitrogen in it. These are all incredibly important for garden soil.
Fast growing leafy vegetables like lettuce, arugula, and spinach will benefit from chicken manure compost.
Start a No-Till Garden (Bullet Proof Mulching Method)
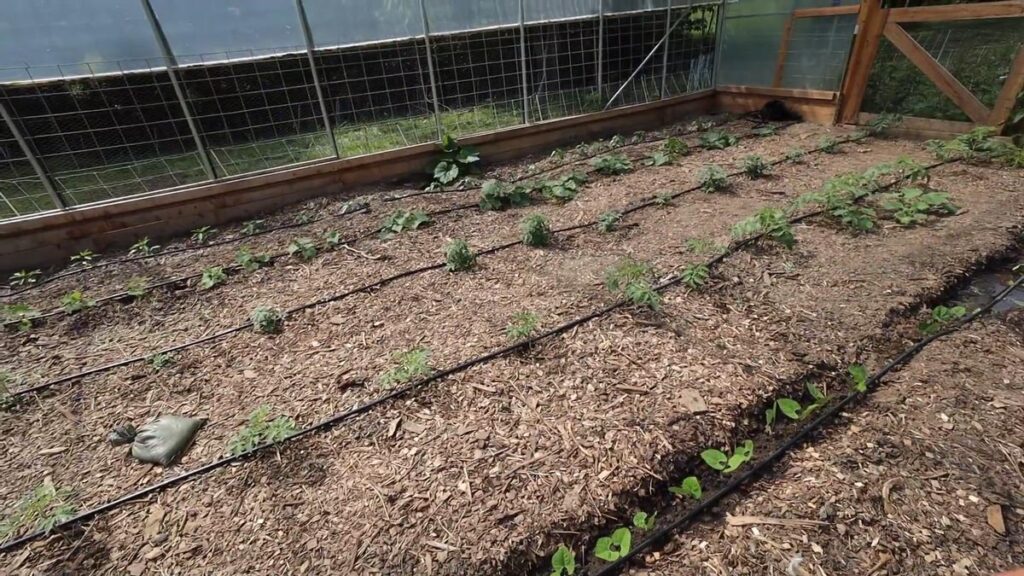
Don’t have chickens? Don’t despair! This no-till bulletproof method is the answer.
Who Should Use the No-Till Garden Method
- You need a garden immediately, like this afternoon.
- You don’t have chickens.
- You lack resources.
- You want a permaculture-friendly, no-till, mulch garden.
- You only need a small garden (I’d say 1,000 square feet max. Ideally 500 square feet or less).
It turns out Mother Nature is a modest lady, and she likes to be covered. When tilling, you expose the soil, which is subject to erosion (wash away your good stuff).
You might be tilling to eliminate weeds, but you’re also stirring up weeds. There are thousands upon thousands of weed seeds in a seed bank. It sits just below the surface of the soil.
Tilling brings these up for air, and those seeds explode. Weeds love bare ground the most. Why? They’re just doing Mother Nature’s job and getting her covered ASAP.
As it turns out, tilling isn’t necessary, and it disturbs the organisms in the soil that are beneficial to your soil. And tilling is back-breaking!
No-till gardening simply involves mowing down the area, adding amendments, mulching, adding a weed barrier and composting. All of this leaves the microorganisms in place to do their job. It works by adding to the soil, not taking away what’s already there.
Abundance Plus
Need step by step instructions on setting up your own bullet proof garden? You can access an easy to follow tutorial when you sign up for Abundance Plus.
A membership to Abundance Plus is full of in-depth how-to and quick-tip videos from me and many others sharing their knowledge as they learn in their homesteading journey (with new content added weekly).
Bonuses include a private community group where you can ask fellow homesteaders questions and exclusive discounts from Premier1, New Country Organics (where we get our organic alfalfa feed pellets), McMurray Hatchery, Johnny’s Selected Seeds, Meadow Creature and many more.
