It just takes a few simple steps to prepare, and you will have plenty of green beans put up to cook with meals long after fresh greens for salads are gone.
Why We Freeze Fresh Green Beans
Have you ever had green beans fresh from the garden? When you pick green beans, they will only stay fresh for a couple of days before they start to go limp and lose their flavor, texture, and color. This loss of quality is why fresh green beans from the store don’t taste the same.
Homegrown green beans taste better and are a great source of nutrition. They contain antioxidants, vitamins, and fiber which are all beneficial for the whole family.
We prefer freezing green beans over canning because, quite frankly, The Beautiful One doesn’t like canning that much! She’d prefer to process them by freezing.
Freezing a green bean will preserve the nutrients, flavor, texture, and color better than canning. Our family prefers the taste and texture of frozen green beans to canned green beans (we’ve had them turn out pretty mushy in the past).
Canning is not a bad option (especially if you are off-grid or using gas), but we are on the electric grid and choose the freezing method because it’s faster.
Green beans don’t just have to be used in side dishes but are great in stews, soups, stir fries and green bean casserole.
The Best Time to Freeze Green Beans
Green beans are usually ready to harvest from late May through October, depending on your growing zone. After harvest, green beans stay fresh in the refrigerator for up to five days. When possible, it’s best to freeze your green beans the day you harvest them.
Frozen green beans will last up to 8 months in a freezer.
The Best Way to Freeze Green Beans
It is crucial to blanch your green beans before freezing them. Blanching is an essential technique that cleans vegetables of dirt and microorganisms and stops enzymes from breaking down your vegetables’ color, texture, and flavor.
We snap the ends off the beans then give them a quick rinse in the sink before blanching. The basic process is to bring a large pot of water to a boil, boil the green beans for a few minutes and dunk them into ice water to stop the cooking process.
Blanching helps maintain vitamins and nutrients when preserving for long-term storage.

Supplies Needed
- Knife or Scissors – Having a sharp knife or pair of scissors helps cut the ends off the green beans.
- Pot – A pot is needed to hold boiling water.
- Blanching Basket – A blanching basket is a heat-resistant colander with fine mesh. This basket will also help get all the beans out of the boiling pot simultaneously. The basket is not necessary, but it makes the blanching process easier.
- Bowl – A large bowl is needed to hold your ice water.
- Baking Sheet – The baking sheet is needed to place your green beans on after they are blanched, which allows the beans to be laid out in a single layer to dry.
- Towel – Useful for soaking up excess water on the cookie sheet.
- Freezer Bags or Vacuum Sealer Bags – Freezer bags help preserve frozen food by preventing air contact. We use vacuum seal bags because the vacuum sealer machine gets almost all the air out of a package, which allows the food to last even longer in the freezer. They are more expensive than freezer bags, but they work well.
- Vacuum Sealer – A vacuum sealer sucks the air out of the seal bags, and then heat seals them so they’re airtight.
- Freezer – Any standard freezer will work.
Ingredients Needed
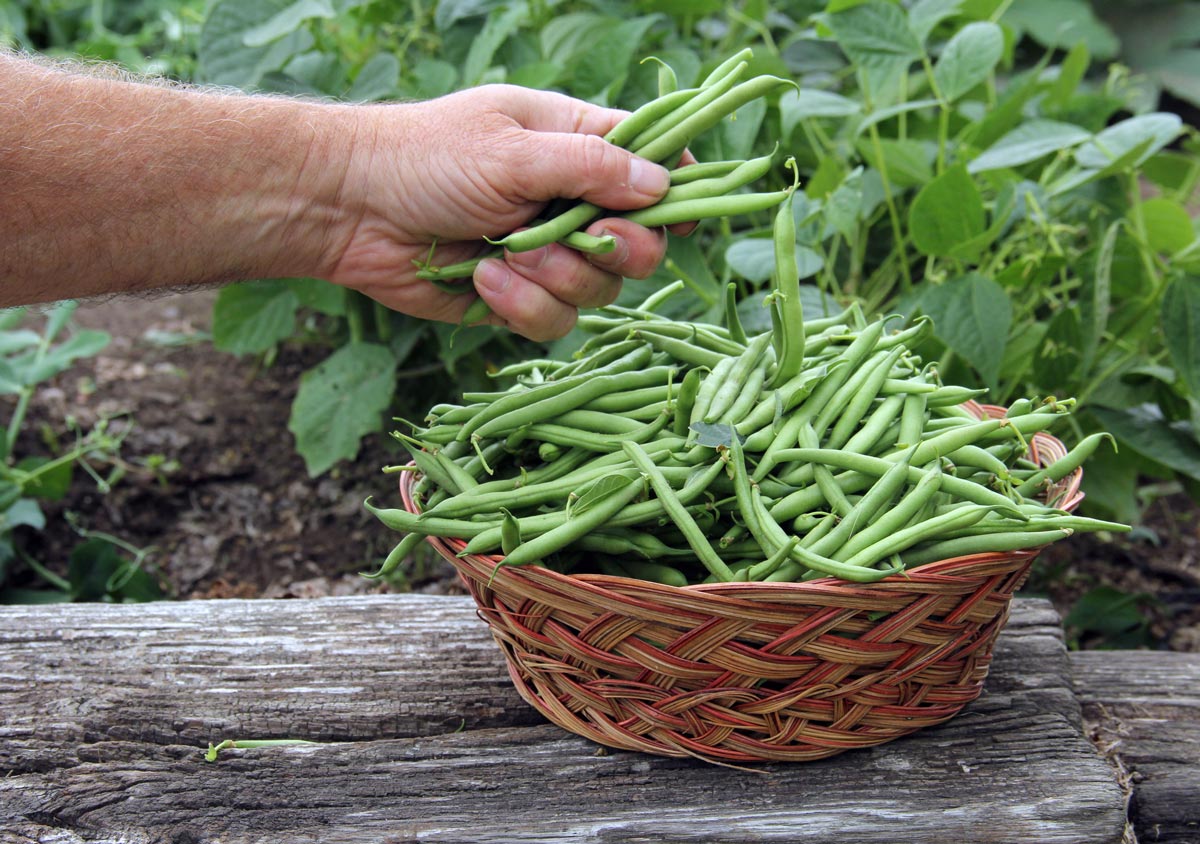
- Green Beans – You can get your beans from your garden, farmers’ market, or grocery store.
- Water – You will need water to boil in a large pot and water to make an ice bath.
- Ice – Ice is needed to make the water extremely cold. The cold water stops the cooking process after boiling the green beans.
How to Freeze Green Beans Step-by-Step
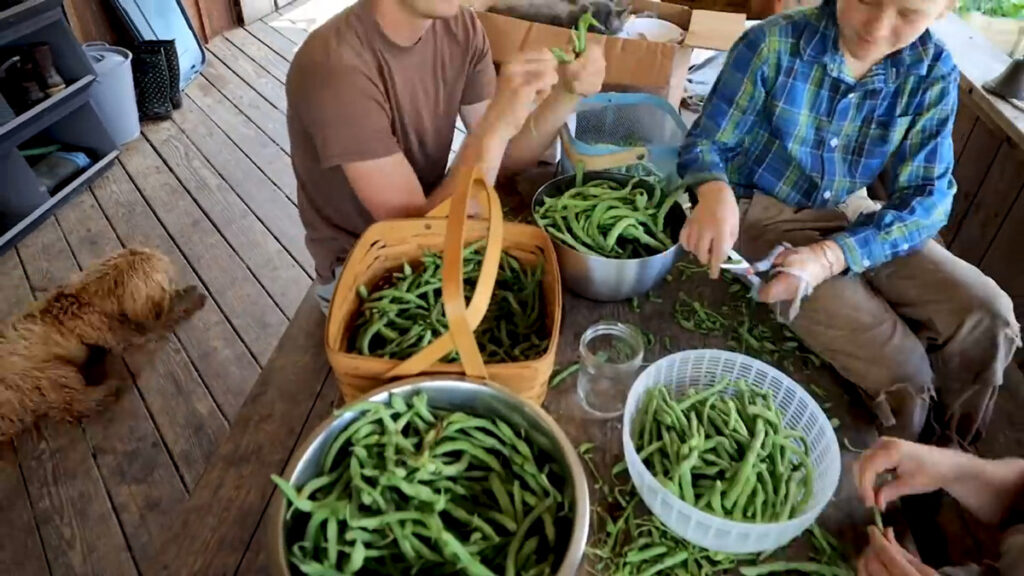
- Pick fresh green beans from the garden or buy a box of organic green beans from your local market.
- Take a knife or scissors and cut the end off of each bean. You could also just snap the ends off. Some green beans have strings. I recommend removing them before the next step.
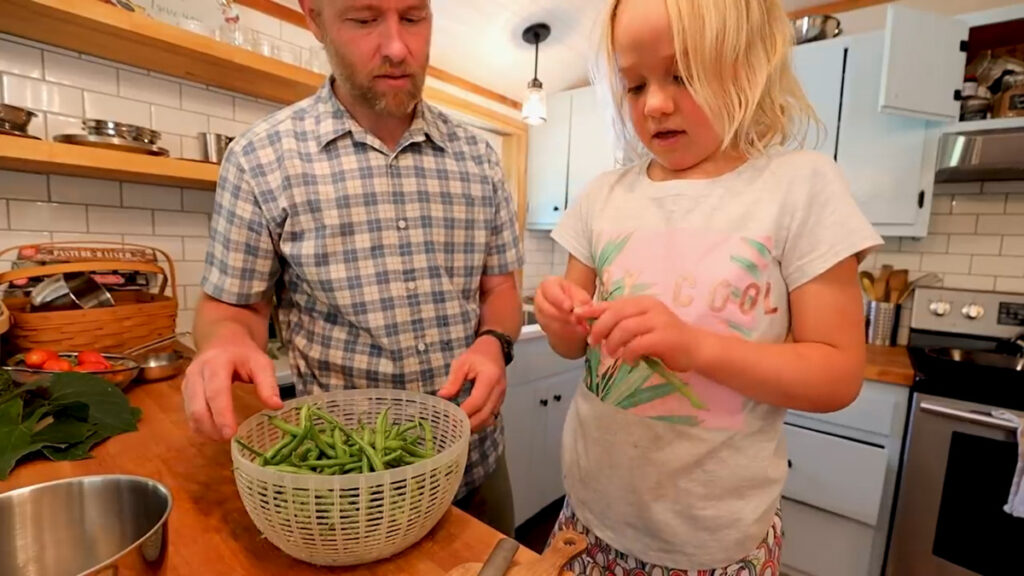
- Next, snap or cut the green beans into bite-size pieces, about 1 inch in length. Pro-Tip: This is an excellent time to get the whole family involved in a little green bean snapping party.
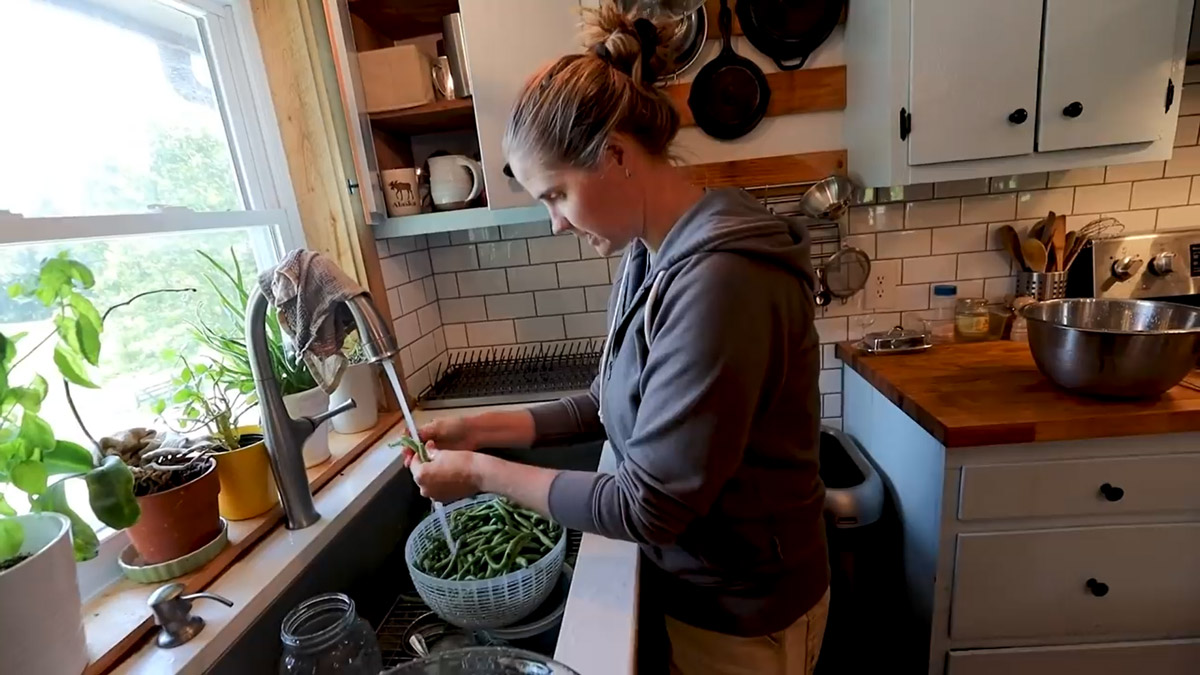
- Put your cut green beans into a clean bowl.
- Now, take your cut green beans and rinse them off. Rinsing will get rid of any dirt and bugs on the beans.
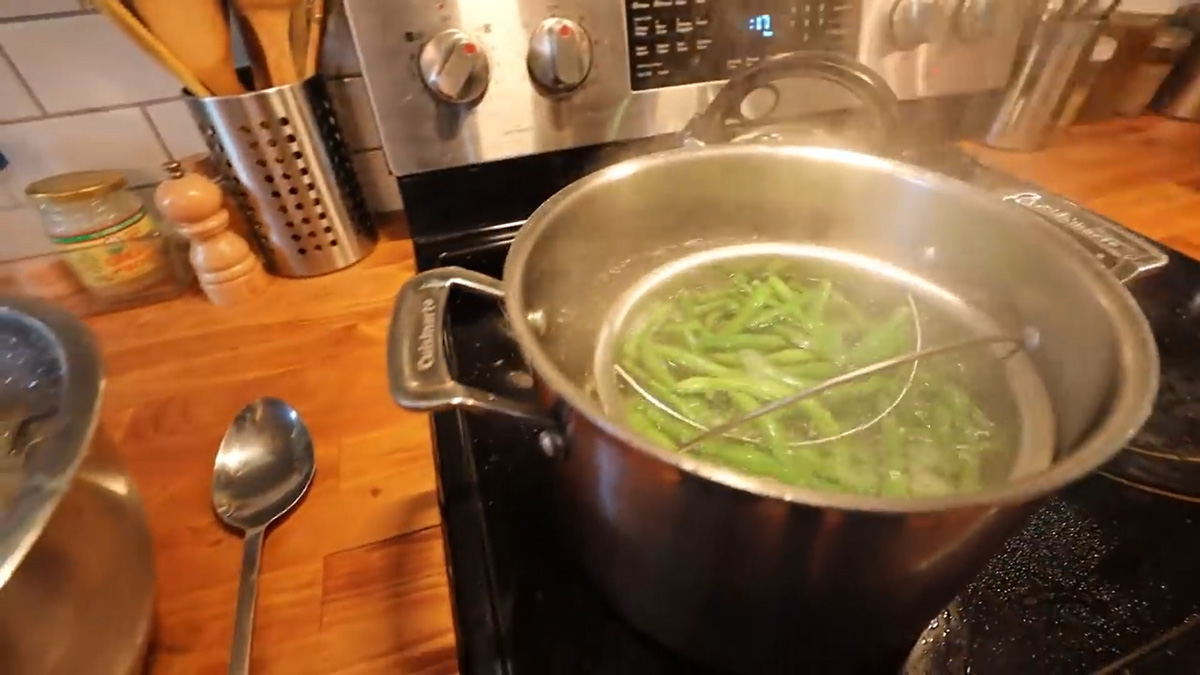
- Bring your large pot of water to a boil.
- While the water is coming to a boil, fill a large bowl with ice water.
- Once set up, it’s time to blanch the green beans.
- Take your bite-size green beans, place them in your blanching basket, and then put them in the boiling water. You will want to make sure the water returns to a boil after you place the beans into the pot.
- Boil the green beans for 3 minutes. Time only starts when the water is boiling.
- Take the beans out of the boiling water and place them directly into your ice water for 3 minutes.
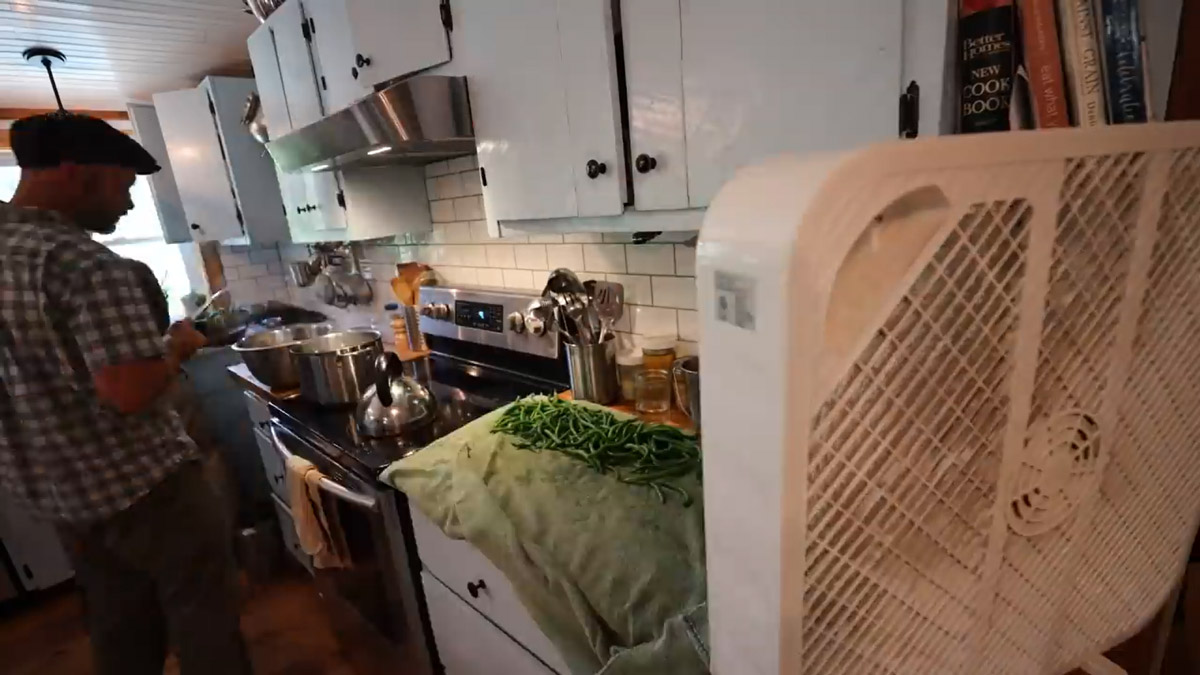
- Now, the blanching process is complete. Take the beans out of the ice water and place them on a baking sheet to pat them dry with a towel. Pro-Tip: Lay the beans in a single layer. It helps the beans dry faster. Allowing the green beans to dry is essential because freezing too much water with the beans can cause them to be mushy and cause a freeze burn. We even set up a box fan to help speed up this process.
- You can place your cut-up green beans in a freezer or vacuum-seal bags.
- If you use freezer bags, get as much air out of the bags as you can when sealing the bags.
- If you use vacuum seal bags as we do, take your vacuum sealer and place your bag in it and push on. The vacuum sealer will take any excess air out of the bags and then seal the bags with heat.
- Before you freeze, put the date on the bags with a permanent marker. The date will help keep the freezer organized. It will also help you to know what green bean packages to use first.
- Now, place the green bean packages in the freezer and enjoy your green beans all winter!