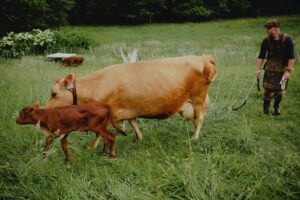
However, don’t feel disqualified if you’re not raising your own pigs. There are still ways for you to acquire pasture-raised pork fat to make lard.
Let’s look at what lard is, why it’s a healthier choice than other fats, and how you can render lard at home using pork fatback or pig leaf lard using this slow-cook method in a crock pot, stovetop, or Dutch oven.
What is Lard?
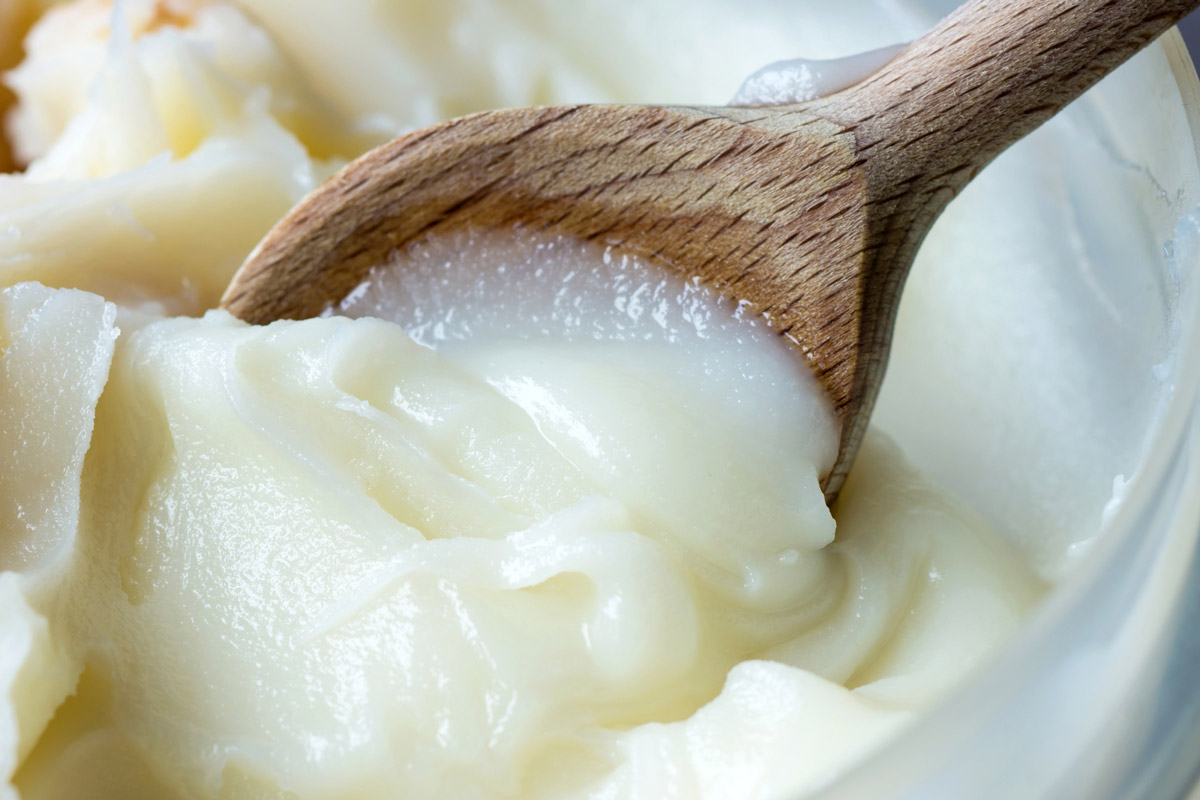
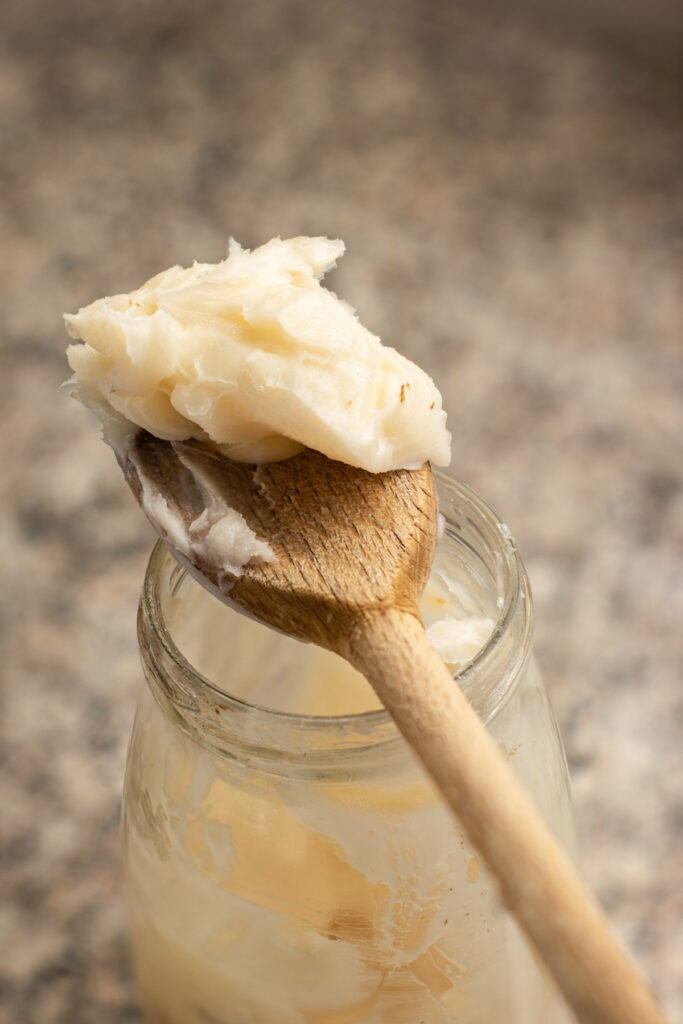
Lard is the result that comes from cooking down pork fat until the meat, tendons, and tissues separate from the fat. After it’s strained and cooled, it will turn white and have a creamy texture similar to the modern-day Crisco used for cooking and baking (see photo above).
Why Has Lard Received a Bad Rap?
In the early 1900s, cottonseed was an unwanted and useless part of the cotton plant. Intense cottonseed processing and hydrogenation of the extracted oil gave birth to a product we know today as Crisco.
Until Crisco, lard had been a staple in every kitchen, and lard was a tough competitor. As a result, excessive marketing dollars propagated a misconception that lard was dangerously unhealthy.
Studies revealed the dangers of hydrogenated oil when previously unknown health conditions started to occur. The high-fat content of lard continues to make consumers shy away from it, but we believe in the motto of “all things in moderation.”
Eating foods in their natural, raw form will always be healthier than highly processed junk!
Uses for Rendered Lard
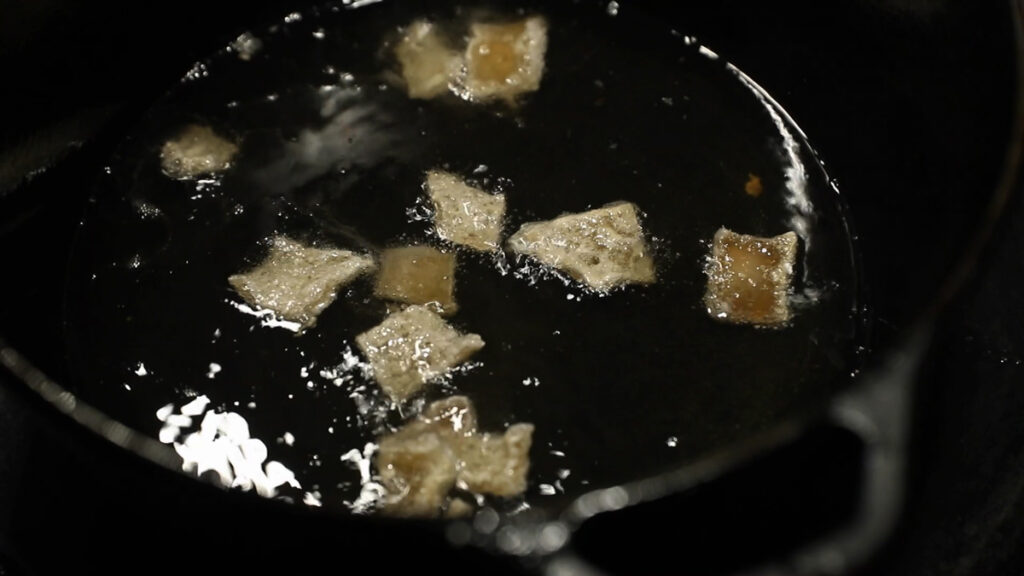
Lard can easily be substituted for butter, Crisco, or oil in most baking and cooking recipes. It makes the best flaky pie crust you’ll ever eat! It’s excellent to use as a frying oil and adds a delicious flavor to any meat you cook. I use it to fry up my homemade pork rind chips!
Another great use of lard is to season cast iron pans. If those pans are getting a little rusty and your food is sticking, re-season them with a generous coating of lard.
Types of Fat for Rendering Lard
The best lard comes from homegrown pasture-raised pork. There is no way of knowing what commercially raised pigs eat or how they are medicated. The fat is where the harmful toxins are stored, and we don’t want to make our lard from that.
Also, be very careful when buying lard at the grocery store. If you don’t have pastured pigs, check with a local butcher you trust. He will likely have pig fat available or be able to send you in the right direction to find some.
The three types of pork fat are as follows:
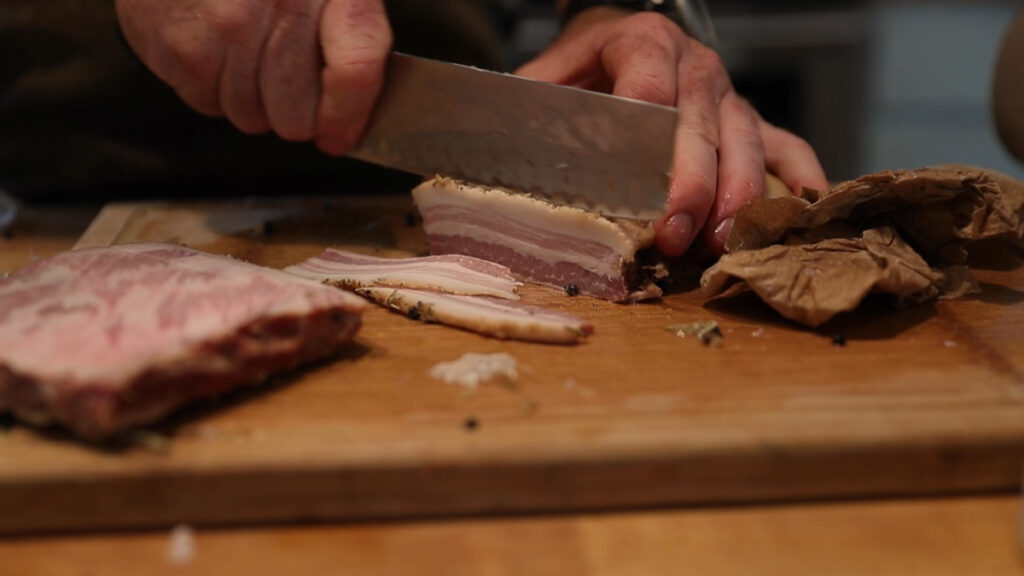
- Pork Belly – This is the area where the bacon resides. Because meat is mixed with fat, it isn’t a good choice for rendering lard.
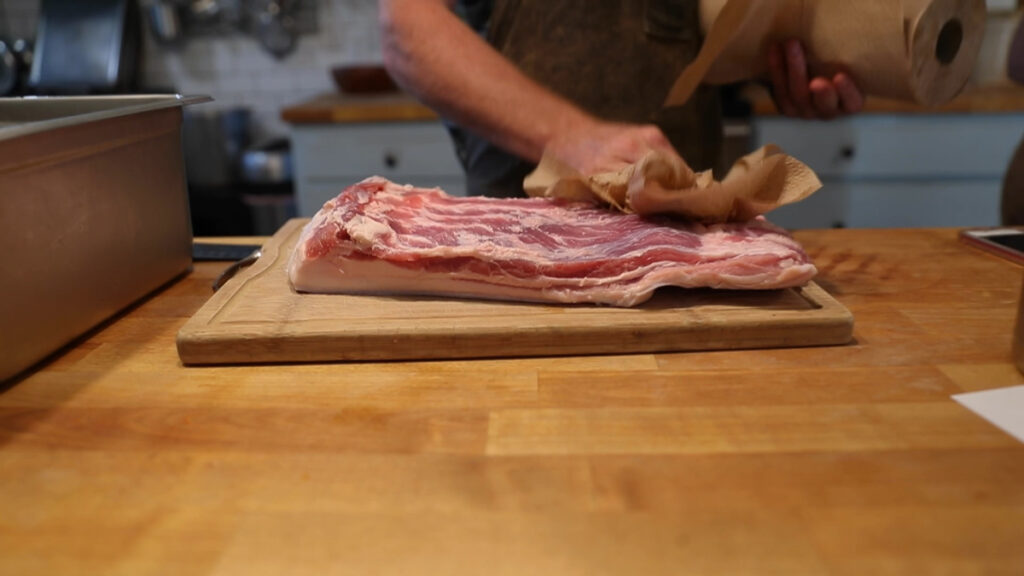
- Fatback – The fat comes from the back end of the pig – pretty much what the name suggests, huh? It has a more pungent pork smell, so it’s not ideal for baking but adds delicious flavor to fried foods or sauteed vegetables.
- Leaf Lard (or Leaf Fat) – We get this fat from the area around the kidneys. When rendered correctly, it has a mild flavor and turns creamy white when cooled. Your pastries, biscuits, and cookies will taste like your grandmother’s!
Tips for Rendering Lard
- It’s best to start with cold pork fat. Store it in the refrigerator or freezer until you are ready to render it.
- Cut the fat into small pieces or grind it with a meat grinder. The less surface area to cook, the quicker the fat will separate.
- Cook it low and slow!
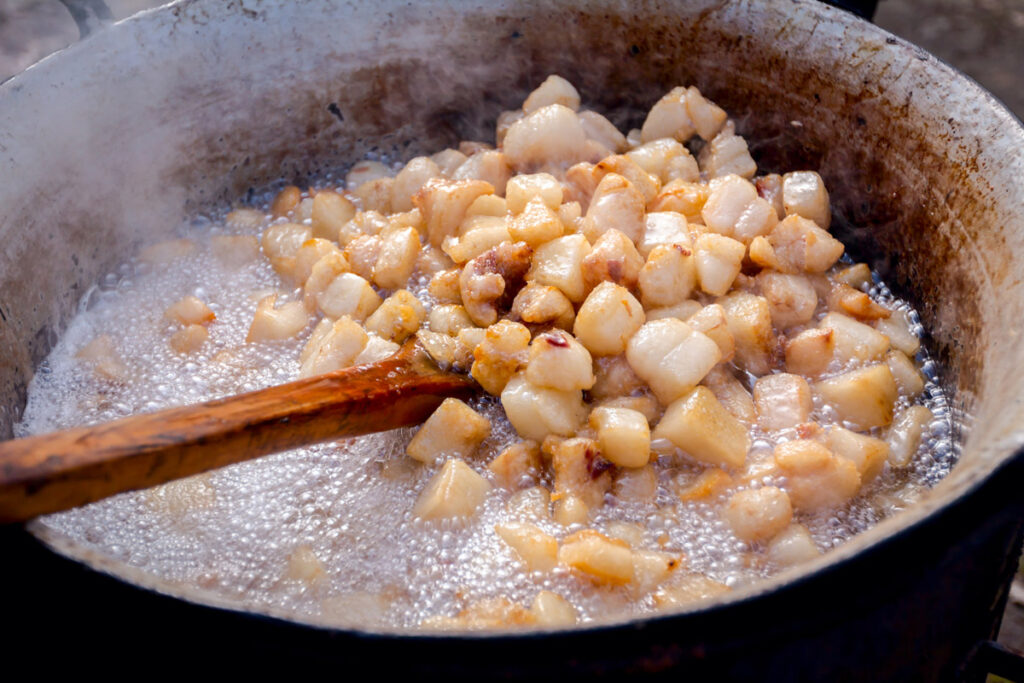
- Rendered lard is complete when it reaches a light, golden brown color and the water has evaporated.
- If your lard stinks, it has probably been cooked too long.
- Stir the lard every 30 minutes to keep it from burning to the sides.
- Make sure to cook until all the water has evaporated. Some people say not to add water, others say to add a small amount to the bottom of the pan. If you leave water in it, it will spit and pop like bacon grease when you cook with it. If you don’t cook all the water out, it can go rancid when you are storing it.
- Always strain the lard through several layers of cheesecloth or a fine mesh sieve. Any bits of meat that are left will turn rancid while storing lard and spoil the entire container.
How to Store Rendered Lard and Shelf Stability
After the lard is strained, pour it directly into a clean, sanitized glass jar and allow it to cool. As it cools, it will turn a white color with a creamy texture. It should be shelf stable for at least one year, but some people recommend storing it in the refrigerator. After you open a jar to use it, store it in the refrigerator.
Supplies Needed
- Pig Fat – As much as fits into your cooking pot. It really cooks down, so stuff it full.
- Cooking Pot – You can use a crock pot slow cooker on your countertop, a cast iron Dutch oven and cook on low in your oven, or an outdoor cooking pot over a low fire. Just remember long and slow!
- Spoon – A slotted spoon works well to stir and separate the meat pieces from the liquid.
- Ladle – Needed to spoon into the strainer.
- Strainer – A fine mesh strainer or several layers of cheesecloth or both. The more you strainer, the less chance of meat pieces ruining the lard.
- Glass Jars – To store and keep the lard. Mason jars with two-part lids work well.
How to Render Lard
- Cut the pork fat into small pieces or have it ground.
- Pour ¼ cup of water into the bottom of the cooking pot.
- Fill the cooking pot with the pork fat.
- Cover and cook, stirring every 30 minutes.
- When the liquid fat begins to separate from the meat pieces, scoop out the meat (also known as cracklings). These can be cooled and used as a delicious snack or added to salads or sandwiches.
- Cook the remaining fat until it is a light, golden brown color and all the water has evaporated. This can take several hours.
- Pour through a strainer and make sure all the pieces of meat are completely removed.
- Pour into the glass jars, allow to cool at room temperature, and cover with a lid.
- Store in the pantry or refrigerator.
Now that you know how to render lard, be sure to check out some of these other posts…