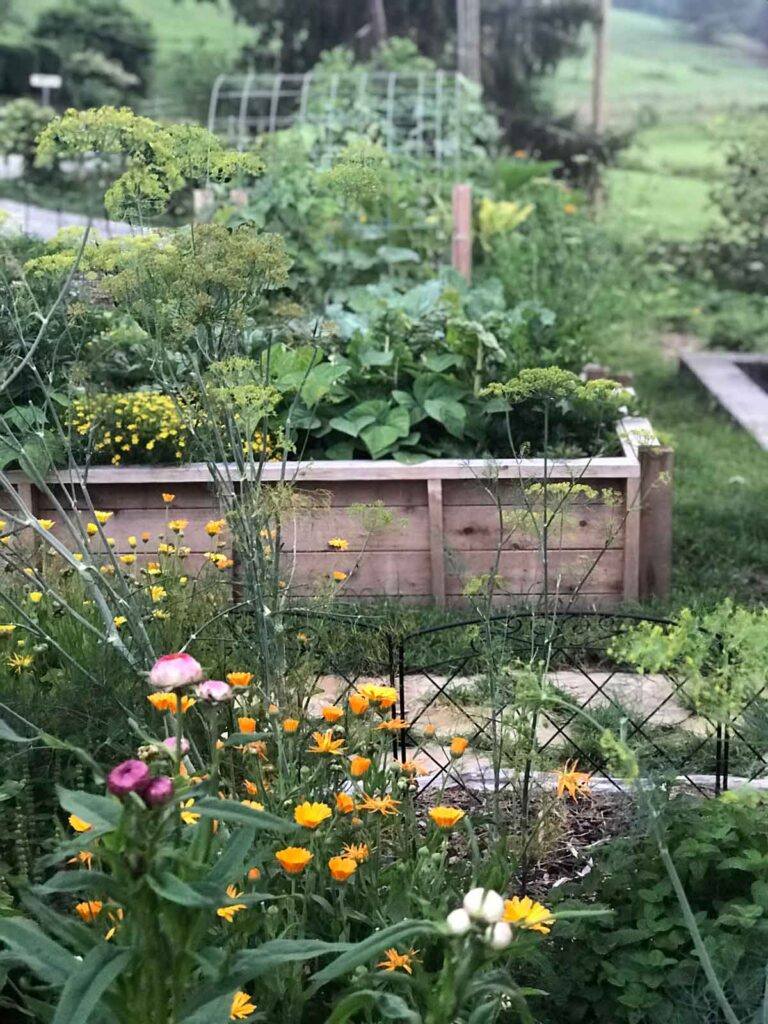
Once you grow your garlic and onions, you’ll need to properly cure and store them to make them last throughout the year.
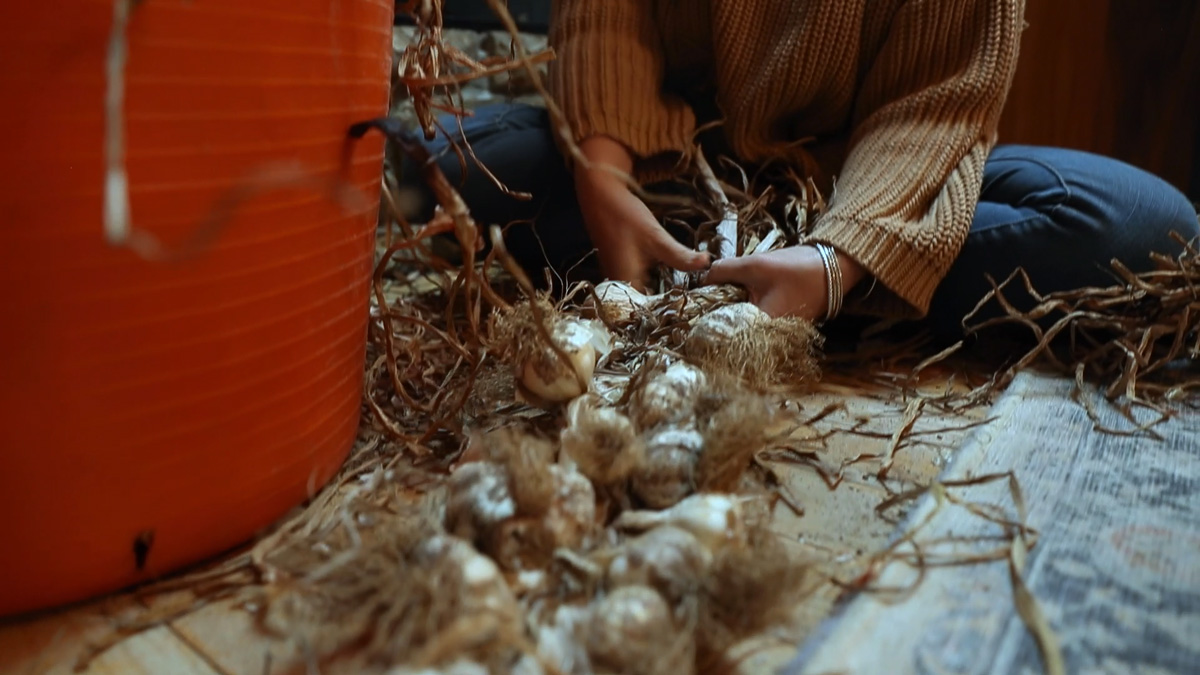
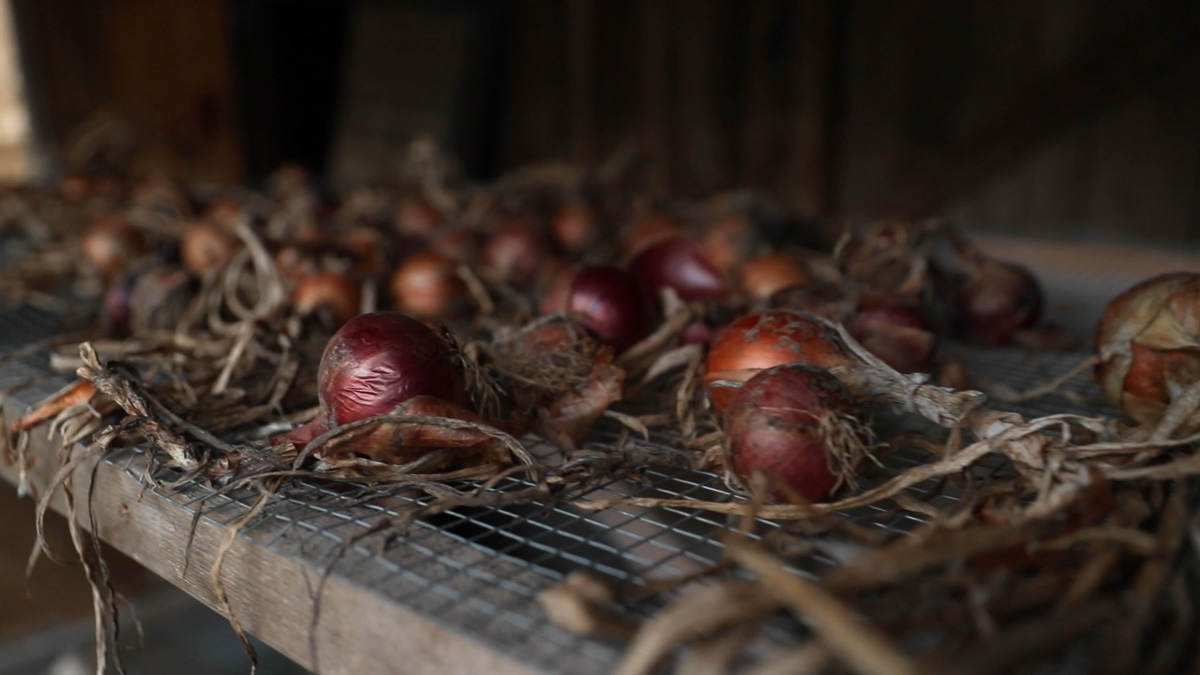
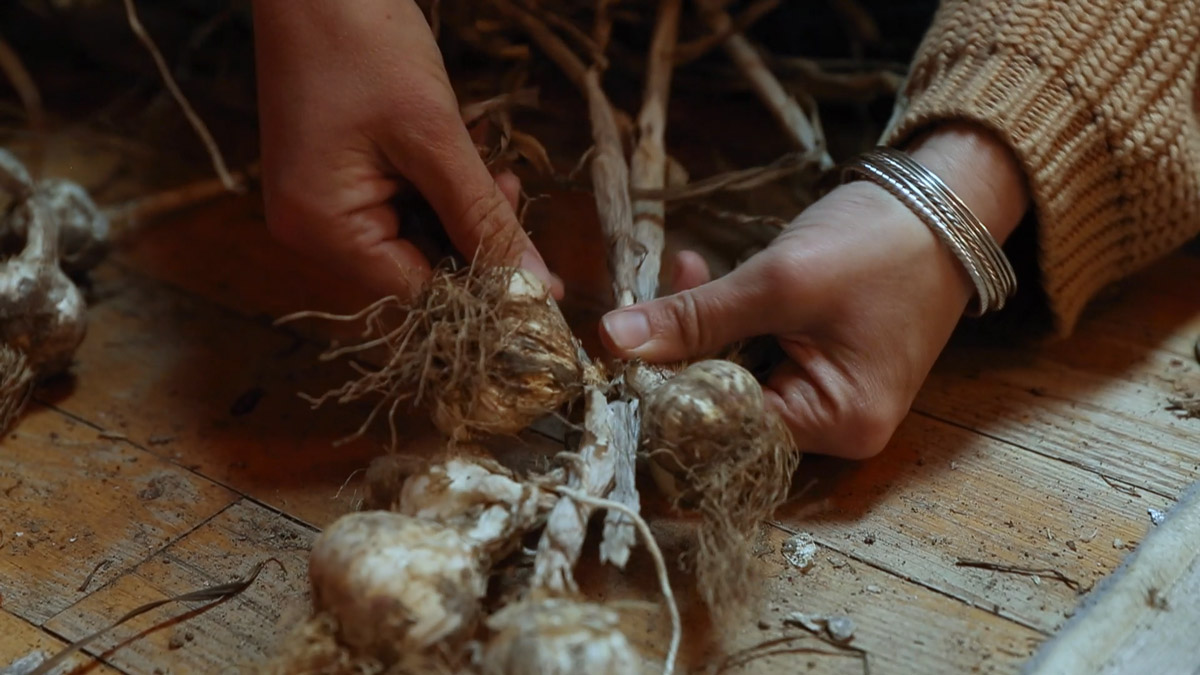
When you harvest your onions and garlic, there will be dirt on them. But don’t be tempted to wash them off or peel the skins off, you’ll need these left on for proper storage.
You also don’t want to introduce moisture to the plant by washing them. Just brush off the excess clumps of dirt. You can trim the roots to 1/2 inch, but this step isn’t necessary, it just means less mess later on.
Abundance Plus
Abundance Plus is full of in-depth how-to and quick-tip videos from me and many others sharing their knowledge as they learn in their homesteading journey. In fact, there’s an entire video where Rebekah (aka, the Crazy Plant Lady) demonstrates how to braid garlic and onions.
A membership will give you access to my DIY video library (with new content added weekly). Plus, a private community group where you can ask fellow homesteaders questions.
Sign up for a FREE seven-day trial of Abundance Plus right here.

Drying and Curing Garlic and Onions
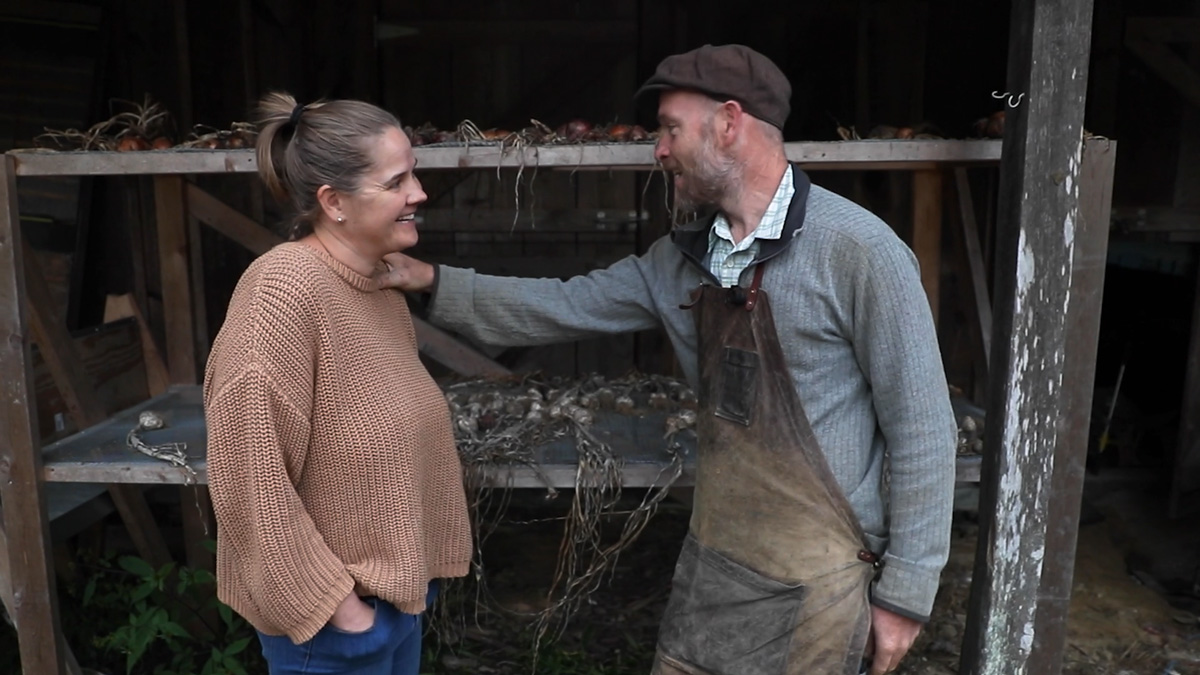
Next, you’ll need a well-ventilated covered area where your garlic and onions can cure. We have a shed off our house that allows for plenty of airflow and is undercover.
We designed a sturdy rack out of 2x2s, some 1/2 inch hardware cloth and u-nails to hold it on.
If you don’t have a covered porch or a space to allow your harvest to cure, you can introduce airflow with fans and cure your garlic and onions indoors or in a garage or carport.
You’ll want to cure your onions and garlic for a minimum of two weeks, but you’re looking for the tops to be completely dry and crispy.

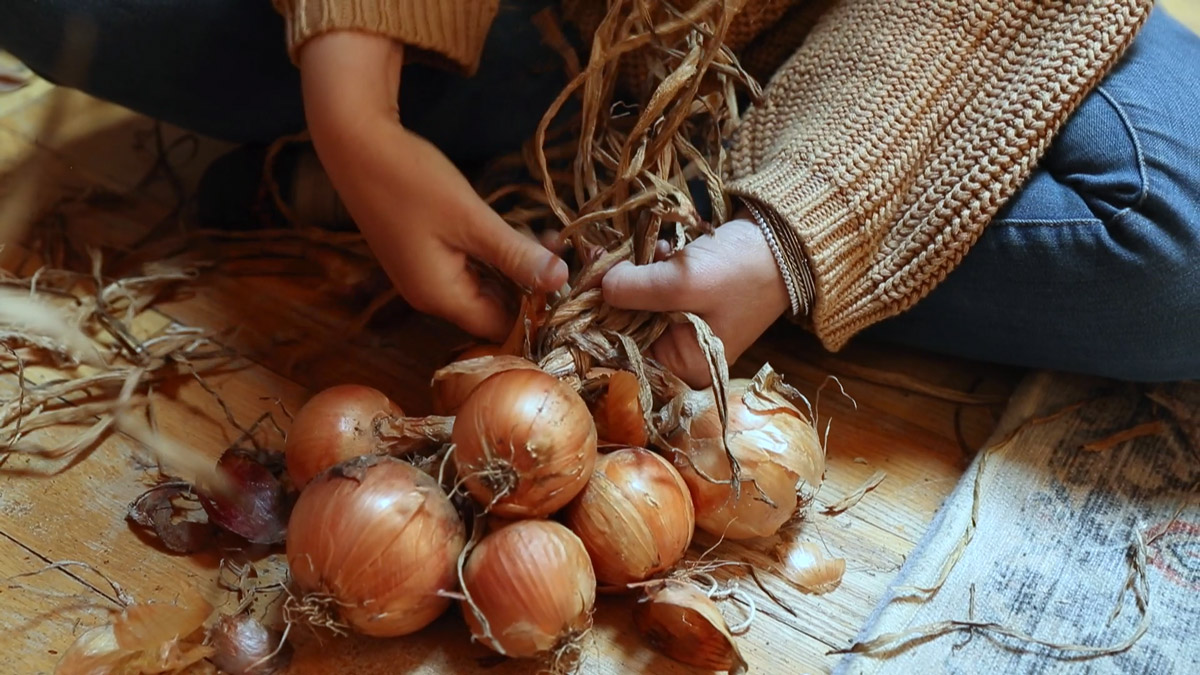
How to Braid Onions
You’ll want to braid your onions in an area you don’t mind getting dirty. If you’ve never done a braid before, check out a YouTube tutorial, so you’re familiar with that first.
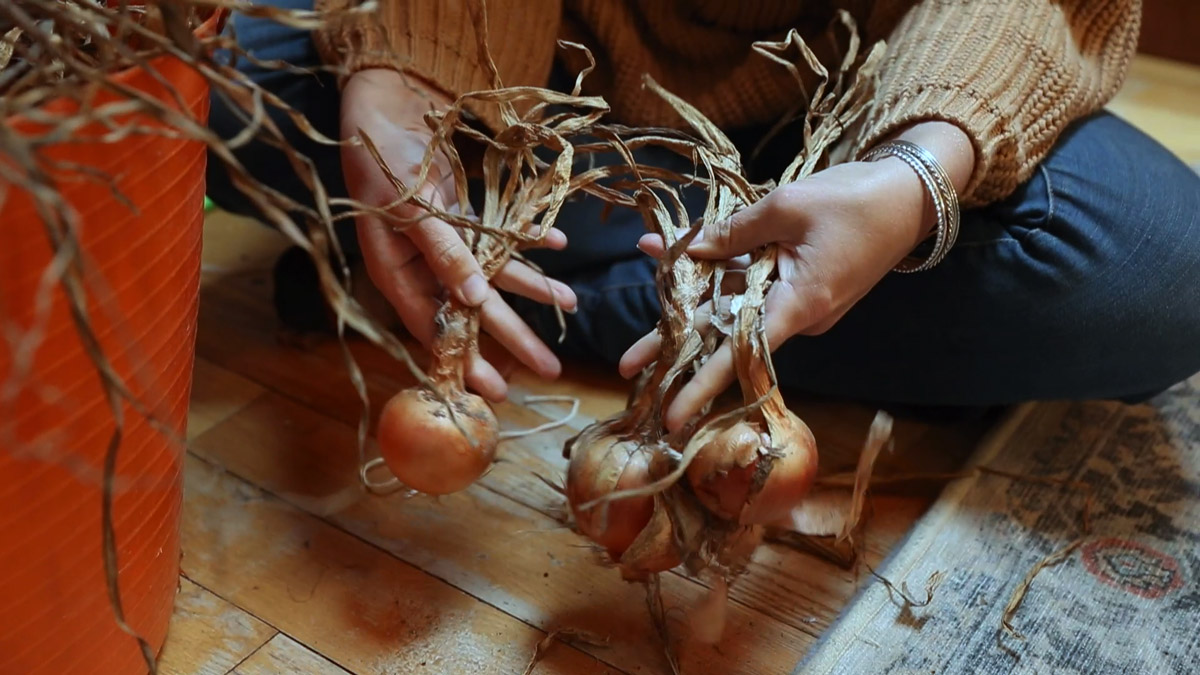
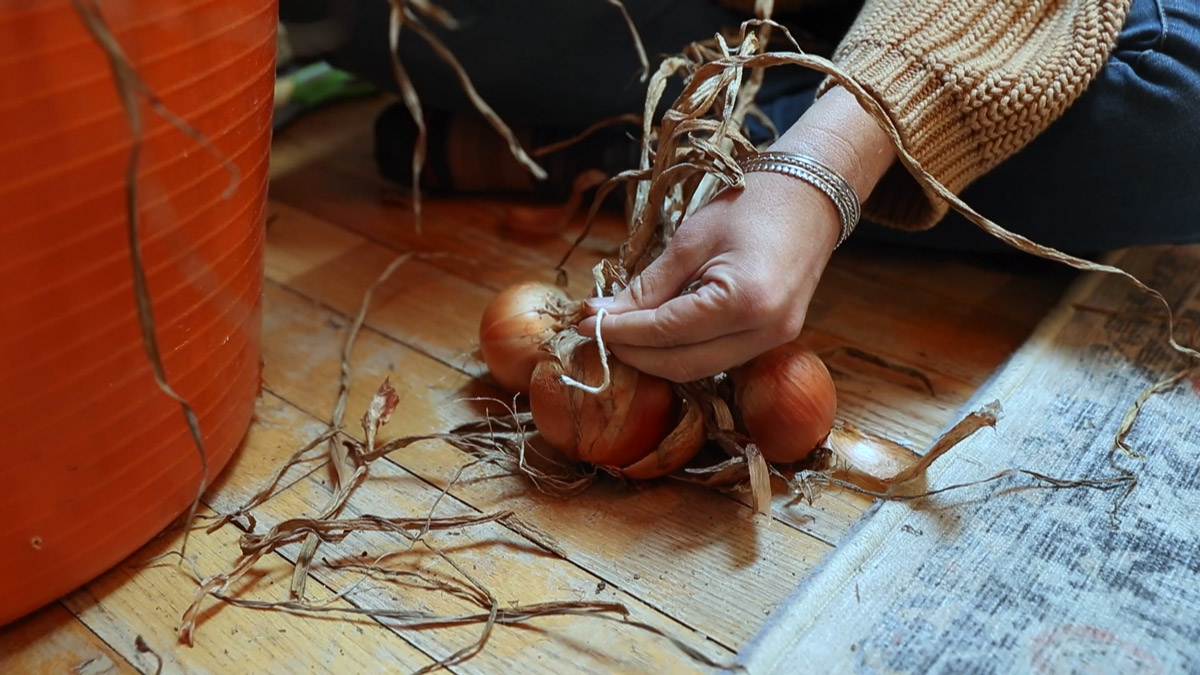
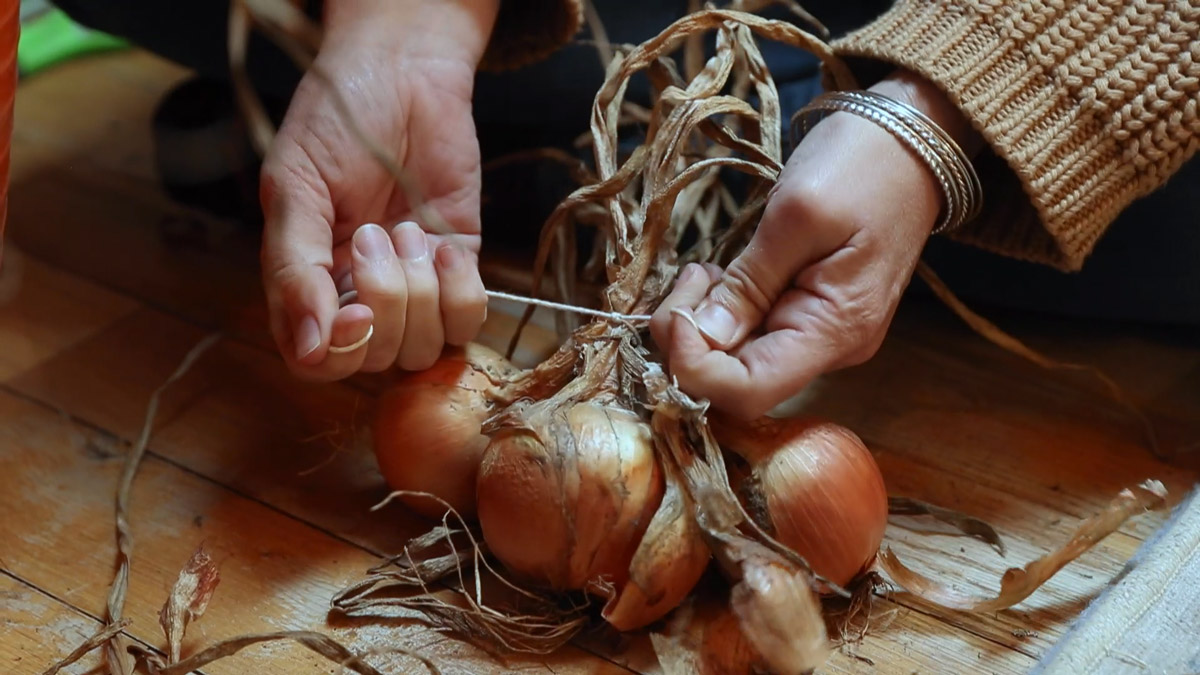
- Start with three onions and tie them with twine to secure them together.
- As you add each onion, you’ll add the stem into the braid with each crossover, keeping three distinct sections.
- Continue adding onions and braiding until you get to a size you’re happy with. The braid can be as long or as short as you’d like. Just be ensure your twine and hook are strong enough to support the weight of your braid.
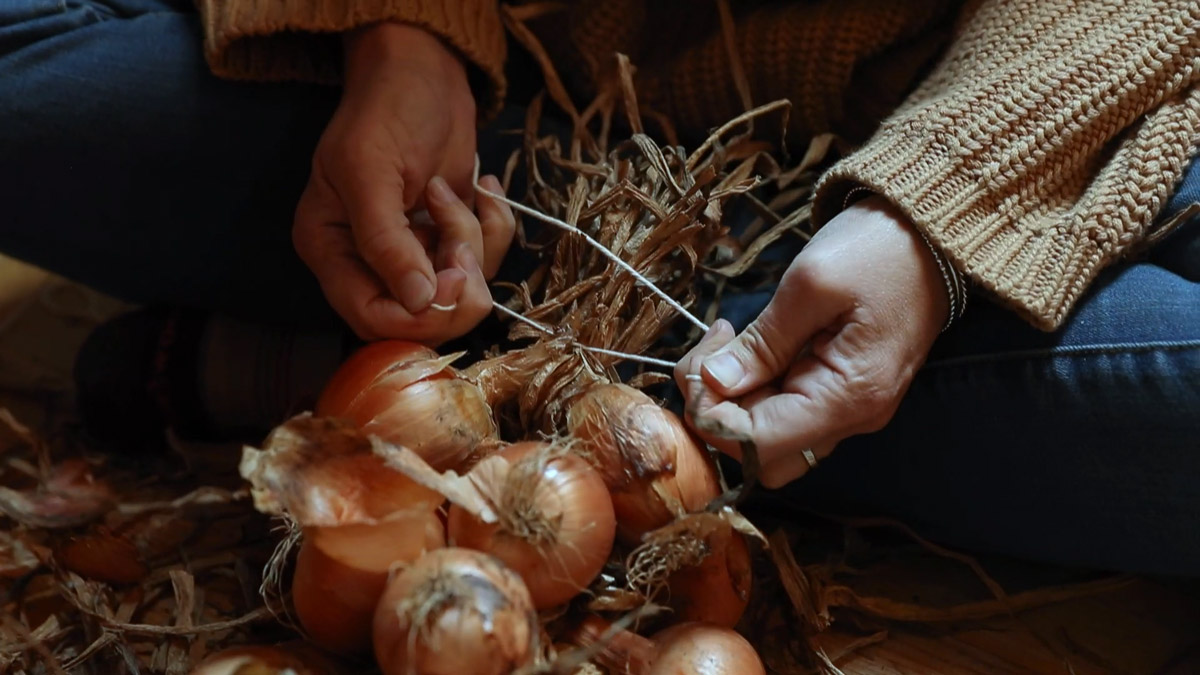
- Secure the top of the braid with more twine to finish the braid.
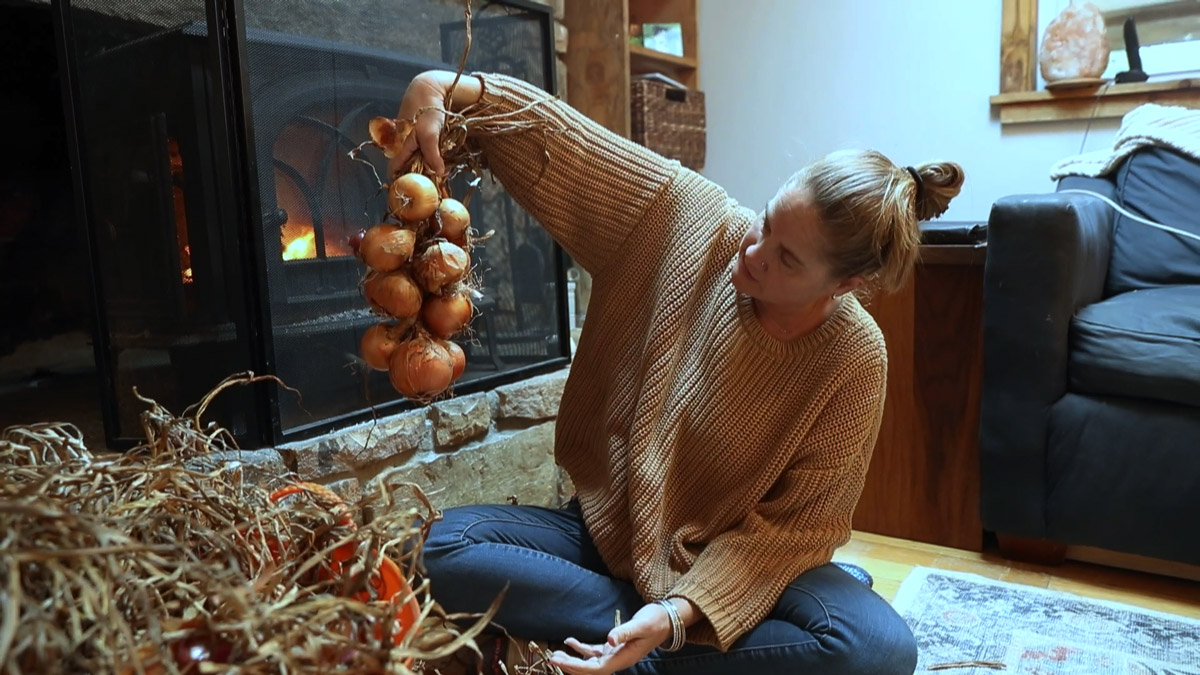
- When using the onions, grab an onion from the bottom of the braid and break off one at a time, as needed.
Onion Storing Tips
- I like to braid onions in like varieties, so I know how many of each I have. In other words, I like to braid yellow onions together, red onions together, white onions together. That way, I can quickly look to know if I’m getting low on a specific variety.
- You can tie your onions as loose or tight as you’d like.
- Consider the space where you’re storing your onions to know how long to make each braid.
- Be sure your hook and twine are strong enough to support the weight of your onion braid, so you don’t end up with onions on the floor!
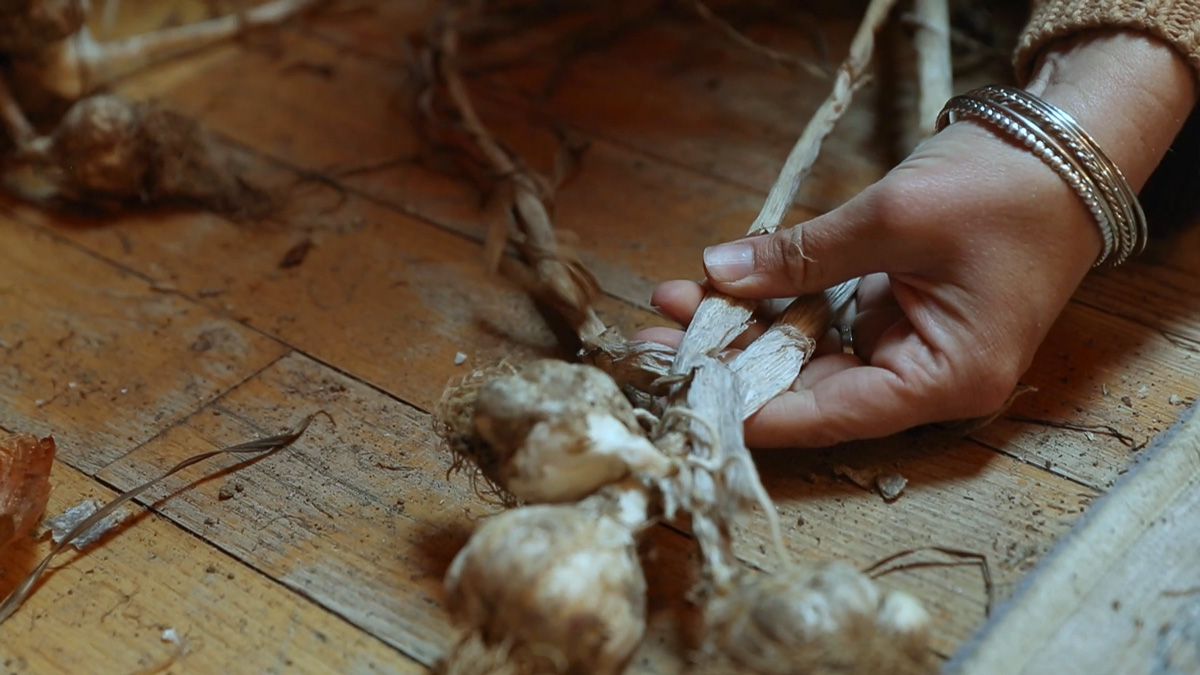
How to Braid Garlic
As with onions, braid your garlic in an area you don’t mind getting dirty. It’s important to note that hard-neck garlic is best for this method. If you have soft-neck garlic it tends to be too soft and brittle, but some have found success.
If you’re storing a soft-neck variety, simply cut off the stalk, cure as mentioned above, then store in hanging wire baskets or mesh bags that allow for plenty of airflow.
- To braid garlic, start with three bulbs and tie them with twine to secure them together.
- As you add each bulb of garlic, you’ll add the stem into the braid with each crossover, keeping three distinct sections.
- Continue adding garlic and braiding until you get to a size you’re happy with. The braid can be as long or as short as you’d like. Just be sure your twine and hook are strong enough to support the weight of your braid.
- Secure the top of the braid with more twine to secure.
- When using the garlic, grab a bulb from the bottom of the braid and break it off one at a time, as needed.
Garlic Storing Tips
- You can tie your garlic as loose or as tight as you’d like.
- Consider the space where you’re storing your garlic to know how long to make each braid.
- Be sure your hook and twine are strong enough to support the weight of your garlic braid, so you don’t end up with onions on the floor!
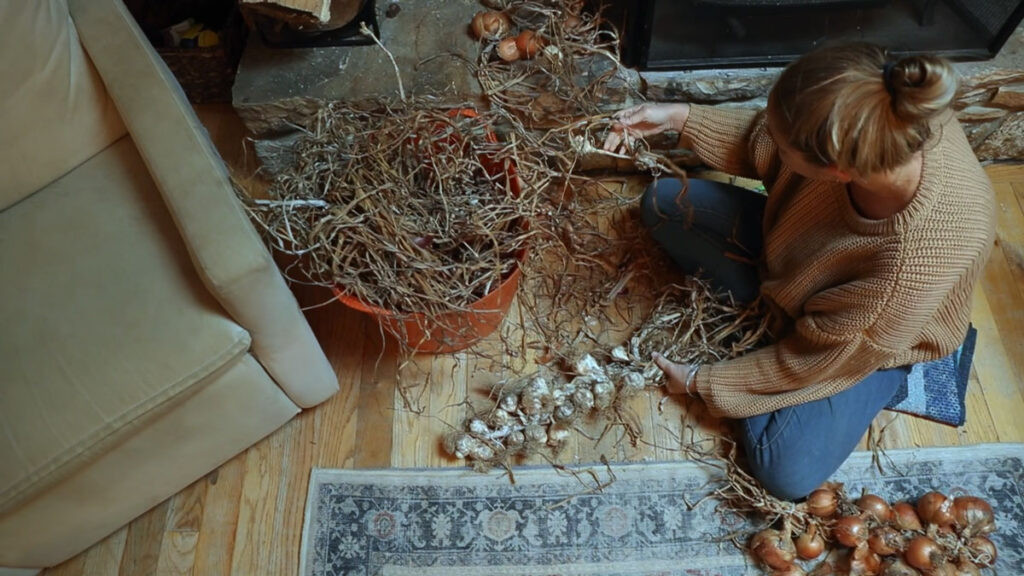
There you have it! You now know how to braid garlic and onions for long-term storage. We really like this method because it gets the harvest off the floor or shelves and frees up a lot of space in our basement.
Have you braided garlic or onions? If so, snap a photo and tag us on social media @thejustinrhodesshow so we can see!