We set out to find a cost-effective DIY bed that works, is easy to build, and looks great. That ended up being a list that was difficult to accomplish. So we went with our own design, and now we want to share that with you.
To get started building raised beds, read on for a complete list of tools needed, a cut list, step-by-step instructions, and this FREE printable pdf!
Why I Love These Raised Bed Plans
We garden using several methods to grow vegetables, including planting directly in the ground, container gardening, and these DIY raised garden beds (aka planter boxes). We’ve even designed a portable chicken coop that can be used at the end of the season with chickens, as well as turned into a greenhouse to extend the growing season in the spring and fall.
Raised bed gardening can solve a lot of obstacles, as well as make the entire process easier. Here are a few examples of how elevated gardens can improve your gardening experience.
- Drainage – The main reason we built our raised beds is that our soil was not draining, and the excess water drowned our plants. Your soil and plants will always have proper drainage with raised planter beds.
- Soil Warms Up Earlier – Because raised beds are above ground level, moisture will seep through at a more regulated rate. When the soil is prepared correctly, it will warm up faster, and your growing season can start sooner.
- Soil Control – Raised beds can start with the soil of your choice. Choosing quality garden soil that is organic will be better for your plants in the long run. You must treat the soil with mulch, compost, and organic matter to put nutrients back into the soil. Because you provide the soil, raised beds can be used anywhere. Even if you find yourself without a lot of room, you could use a parking lot where there is no soil! In places where the ground soil is contaminated or unhealthy, a raised bed can still produce a garden or a beautiful array of flowers.
- Easier to Manage – Anyone can manage a small garden space when the beds are raised. They also save your back from bending over like when working in an in-ground garden. Even if you are disabled or need a walker, you can wheel up to a raised bed to tend to your growing plants or pull a few weeds.
- Fewer Weeds – If you use mulch, compost, or organic matter in your raised beds, you will have fewer weeds over time. These options help keep the soil covered, so weeds do not grow. This, in turn, helps the soil maintain its nutrients, benefiting any type of plant you are growing.
- Animal Control – Another benefit of a raised bed is that they deter pesky animals. Gophers, moles and voles can be blocked from the bottom of a raised bed. It is also easy to put nets on raised beds to keep birds out or even cats from using it as a litter box.
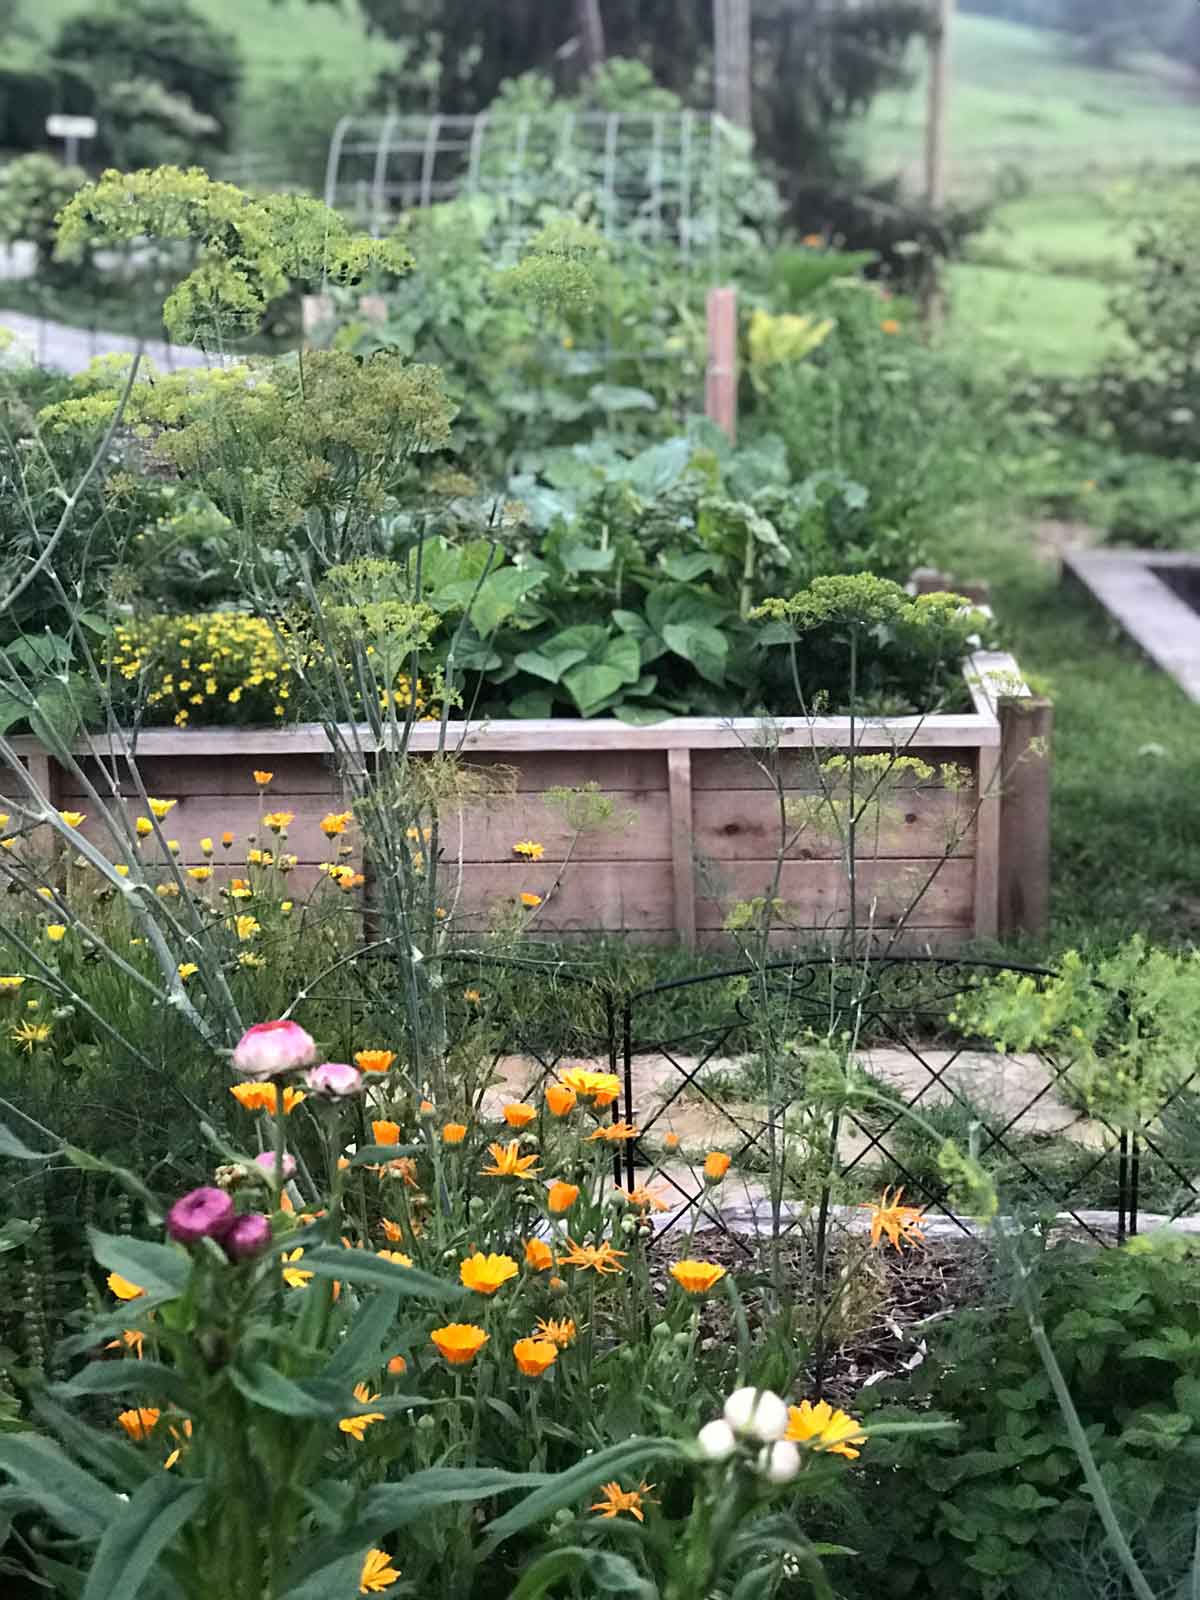
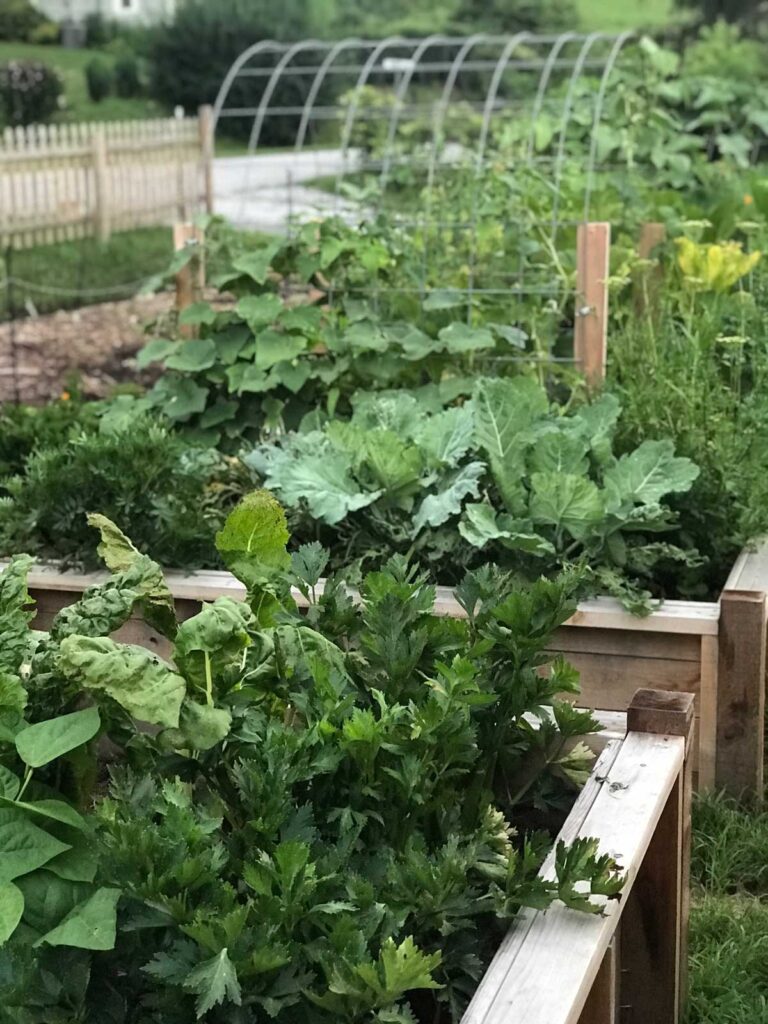
- Beauty – The best benefit is that they can make any space more beautiful (we put ours on our front lawn!) We made our elevated garden bed in a rectangular shape using cedar wood, known for its beauty and naturally occurring oils that improve rot resistance.
Raised Garden Bed Cost
One raised bed will cost about $330, but they will last for years. Buying garden soil, purchasing plants, and gathering the tools can add up, but you will reap the benefits over time.
Some estimates show a profit of almost $3 to every $1 investment if you build and use your raised bed efficiently.
Tools Needed
- Chalk Line – A chalk line is a tool that is used to make straight lines with chalk.
- Chop Saw or Skill Saw – The chop saw is a table saw used to cut wood at precise angles, while the skill saw is a hand-held saw typically used for cutting 2X4s.
- Tape Measure – Everyone is familiar with this fun little device which can be picked up at any hardware store.
- Cordless Screw Gun – A battery-powered tool for drill bits, screws and even socket attachments.
- Angle (Speed Square) – The speed square is an easy way to quickly mark your lumber for cutting with a skill saw.
Supplies Needed
- 10 – 2x4x8 Cedar Lumber – These boards will be used for framing the box.
- 8 – 5/4x6x12 Cedar Decking Boards – The decking will be used for lining the raised bed.
- 1 – 4x4x8 Cedar Lumber – This will be cut for the corner posts to hold the side and end walls together.
- 1lbs. Box Stainless Steel #10 3” Screws – Stainless steel screws last longer and will be used on the thicker wood.
- 1lbs. Box Stainless Steel #10 21/2” screws – These screws are for putting together the thinner pieces of wood.
Cut List:
- Four 2x4x4 – These can be made by cutting 2x4s in half.
- Sixteen 2x4x19” – You will get five 19” pieces from each 2x4x8.
- Four 4x4x23½” – All four pieces can be cut from a single 4x4x8.
- Eight 5/4x6x8 – Cut these boards from your 5/4x6x12ft.
- Eight 5/4x6x3’10” – Cut these from the remaining 5/4x6x12ft deck boards.
- Four 2x4x8 – Leave these 2x4s full length.
How to Build a Raised Garden Bed
- Assemble The Short Sides – Take two pieces of the 2x4x4 and three pieces of 2x4x19” and use two screws per intersection and screw them together with 3” screws. Repeat for the second short side.
- Assemble the Long Sides – Grab two pieces of the 2x4x8 boards and five pieces 2x4x19” screw together with 3” screws. Use two screws per intersection of the boards. Repeat for the second long side of the raised bed.
- Build the End Walls – Pop a chalk line an inch in on each side of the end pieces. Take four pieces of the cut 5/4x6x3’10’ match up on the chalk line and screw two 2 ½” screws into the end of the board. Repeat at the other end of the 5/4 board it will take 12 screws per wall. Now do the same to the second side wall.
- Build the Side Walls – Screw four 5/4x6x8 boards onto the long side walls with 2 ½” screws at an angle. Repeat on the other side wall
- Attach the Corner Pieces – Take all four walls and attach them to the 4x4x23 ½” boards with the 3” screws. Face the wall with ribs facing out. Facing the ribs out will add strength to the walls to hold soil.
More Posts You May Enjoy
- How to Build a Drip Irrigation System
- Chickens in Garden Spaces to Till and Fertilize
- Hügelkultur Bed – A Natural Way to Garden
- Gardening Hacks
- Soil Testing – Don’t Overlook This Crucial Step
- How to Grow More Food in Less Time (In Less Than 10 Hours A Week)
- Using Chickens for Garden Pest Control & Disease in Orchards
- Companion Planting with Asparagus and Strawberries
- How Much Does it Cost to Grow a Garden?
- Fast Growing Vegetables for a Quick Harvest
- How to Braid Garlic and Onions
- Planting Garlic the Easy Way
- Soil Blocking – Everything You Need to Know
- Square Foot Gardening (What, Why & How)