Why We Plant Garlic
We plant over 400 cloves for our family to use year-round and enjoy the health benefits of garlic, such as antioxidants, antibacterial properties, and anti-inflammatories. Homegrown garlic just tastes better, enhancing the flavor of a wide variety of foods.
It feels good to know your food was grown organically and that no chemicals have been added or sprayed on the soil. You can be sure of this when you grow it yourself.
Not only is garlic easy to grow, but it also stores well and provides a sustainable crop (learn how to braid garlic here). You can save cloves from last year’s harvest when grown in abundance and replant them again the following growing season.
Want to see a full garlic planting tutorial in video form? Check it out inside Abundance Plus!
Types of Garlic
Garlic is from the allium family, which is related to onions and leeks. Over 700 different species of garlic divide into two distinct categories, softneck and hardneck.
- Softneck Garlic – Softneck garlic has a soft, flexible stem with a smaller bulb. This type of garlic is commonly sold in supermarkets. They are easily grown in mild climates because they do not require a deep freeze. Softneck garlic matures faster, has a milder flavor than hardnecks, and can store for up to a year.
- Hardneck Garlics – Hardneck garlic has a hard stem that sprouts up the center of the clove and produces a scape flower. You will want to cut the scape off so that more nutrients go to the garlic bulb. You can eat the scapes, which have a delicious garlic flavor. Hardneck varieties will produce larger bulbs with a more robust taste. They like cold winters and grow well in the northern planting zones. A downside to hardneck varieties is that they do not store as long as softneck varieties.
- Elephant Garlic – This garlic really isn’t garlic at all. It is actually from the leek family, but it has a garlic-like bulb that has a sweet taste. Elephant garlic takes two years before it produces breakable cloves, which you will need for replanting. You can harvest it after a single season if you simply want to eat it.
When and Where to Plant Garlic
To plant garlic, you must find the right location and plant it at the right time. In most climates, planting garlic is best done in the fall. For some milder climates, garlic can be planted in the spring.
Planting garlic in the early fall allows the roots time to become established, but once the frost comes, the garlic will go dormant. When spring weather returns, the garlic will resume growing where it left off.
Garlic likes sunlight so finding a place with full sun is the best idea. Garlic also likes well-draining soil that is loose and full of nutrients. If you do not have well-drained soil, it could rot the garlic roots. For this reason, some have found growing garlic in a raised bed to be more successful.
Supplies for Planting Garlic
You will only need a few supplies to plant your homegrown garlic.
- Garlic Bulbs – Heads of garlic (or bulbs) consist of multiple cloves covered in a papery husk on each clove. These individual cloves will produce one garlic head. Pro-Tip: Avoid using grocery store cloves for planting because they are not certified disease-free. Bulbs purchased from garden centers are typically certified.
- Gridder Spool or String – Gridder spools create nice straight lines and good spacing for your garden. A gridder spool is a rolling dippler that lays out the exact grid you want in your garden. If you don’t have one, you can pull a string and make straight lines to measure your spacings.
- Drill with Auger – I have found using a drill will a small auger (drill bit) makes a perfect 3-inch deep hole to place a garlic clove into for planting. Alternatively, a hand spade works well.
- Organic Straw – We use straw to protect garlic during winter. Organic straw should not contain chemicals.
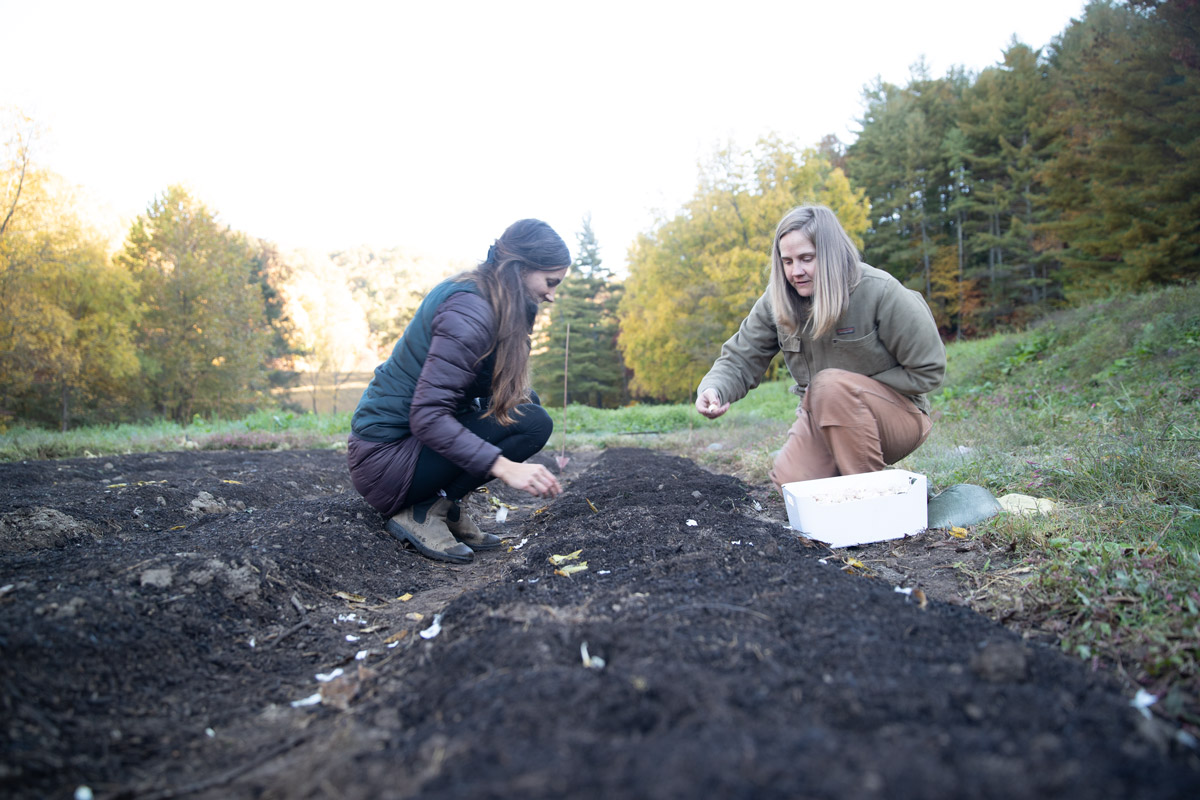
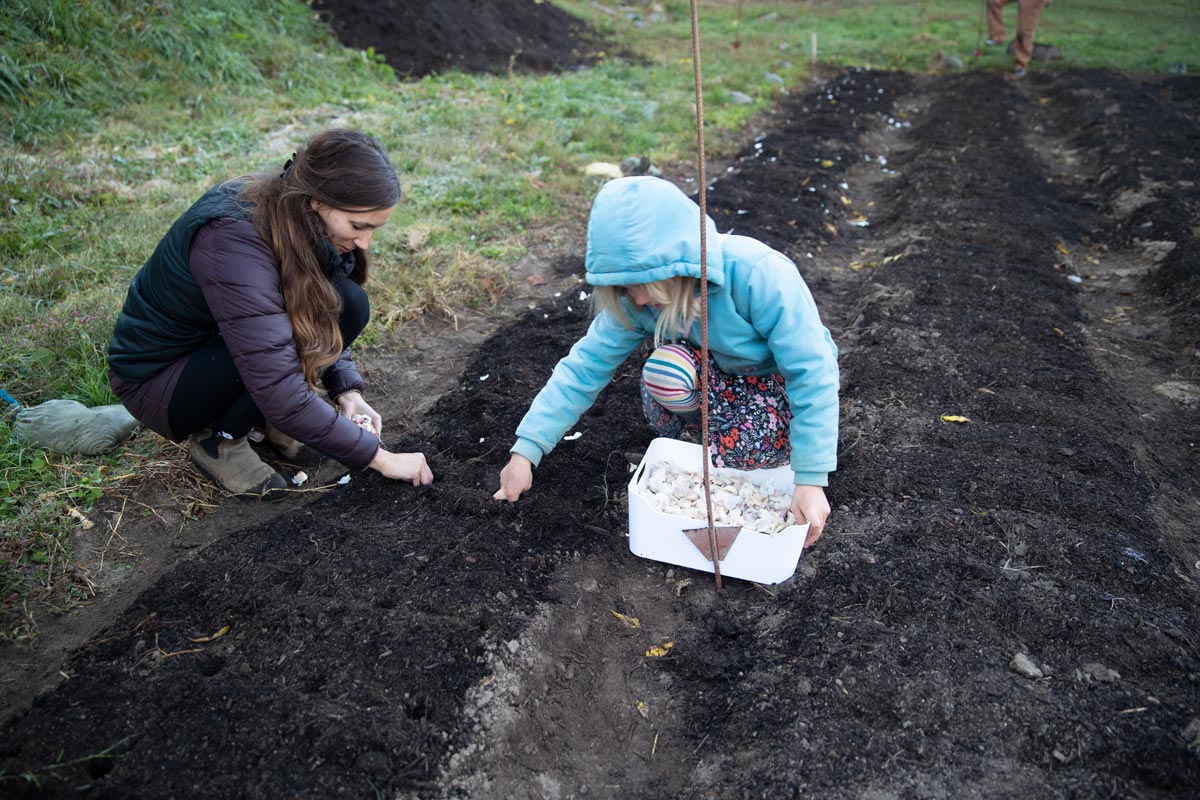
Planting Garlic Step-by-Step
Once you pick your varieties of garlic and have a planting space chosen, it is time to plant.
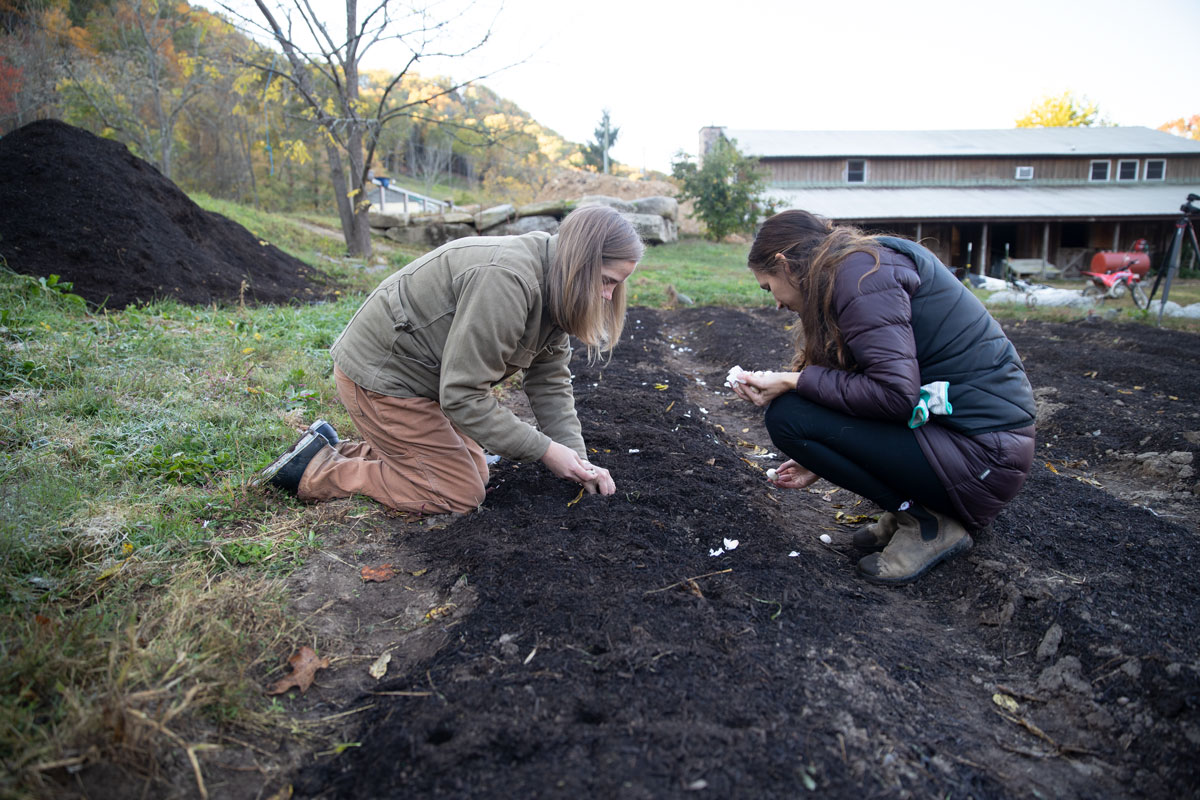
- Ensure your gardening space is weed free.
- Use the gridder spool to create straight rows. You can also pull a string to make a straight row.
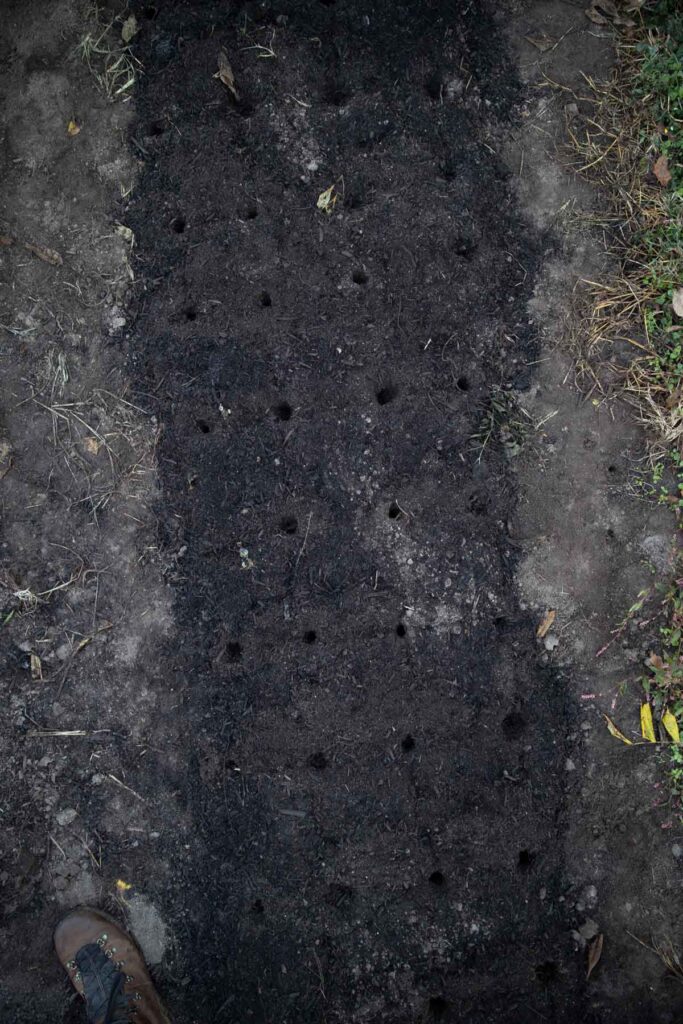
- Once you create your rows, drill a hole every 6 inches with the auger. (If you don’t have an auger, use a spade to dig a hole.) You will want your hole 2 to 3 inches deep, or twice as deep as the garlic is long.
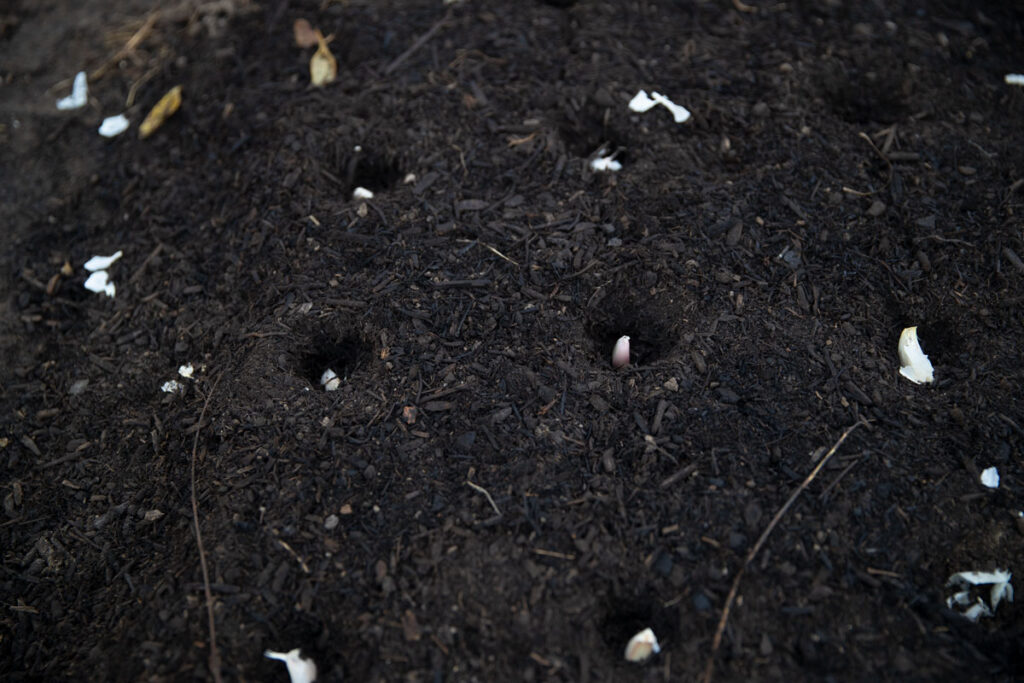
- Take your garlic bulb and break the cloves apart. Do not take the white layers off. Pro-Tip: Using larger cloves will produce larger bulbs. And don’t plant garlic that’s shriveled, damaged or has bad spots.
- Place one garlic clove into each hole with the point up and root down.
- Cover the garlic with dirt and water to settle the soil.
- Place a layer of organic straw about six inches deep on top for winter protection.
Harvesting Garlic
Depending whether you planted hardnecks or stoftnecks will determine when your garlic is ready to harvest.
If you have hardneck varieties, the plant will start to turn yellow and then brown. When there are still a couple of green leaves left on the garlic plant, it is ready to harvest.
If you grow a softneck variety, the stem will flop over, signaling that it is ready to harvest. Harvesting time can occur from mid-June to late August, depending on your climate.
When the plants begin to show signs of readiness, stop watering a few weeks before harvesting to allow the bulbs to firm up in the ground.
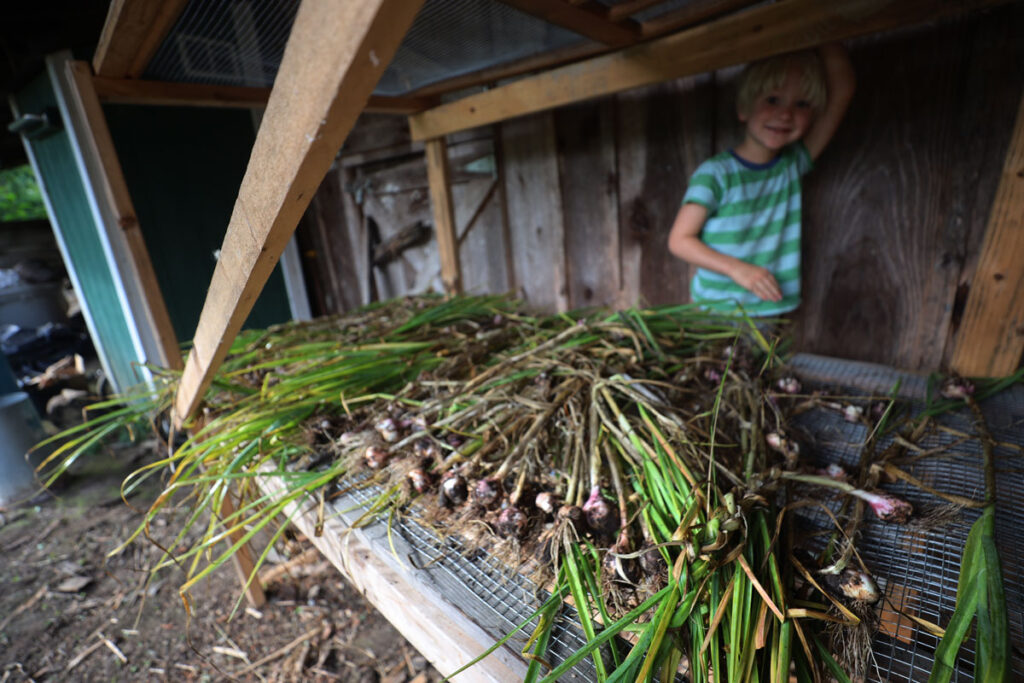
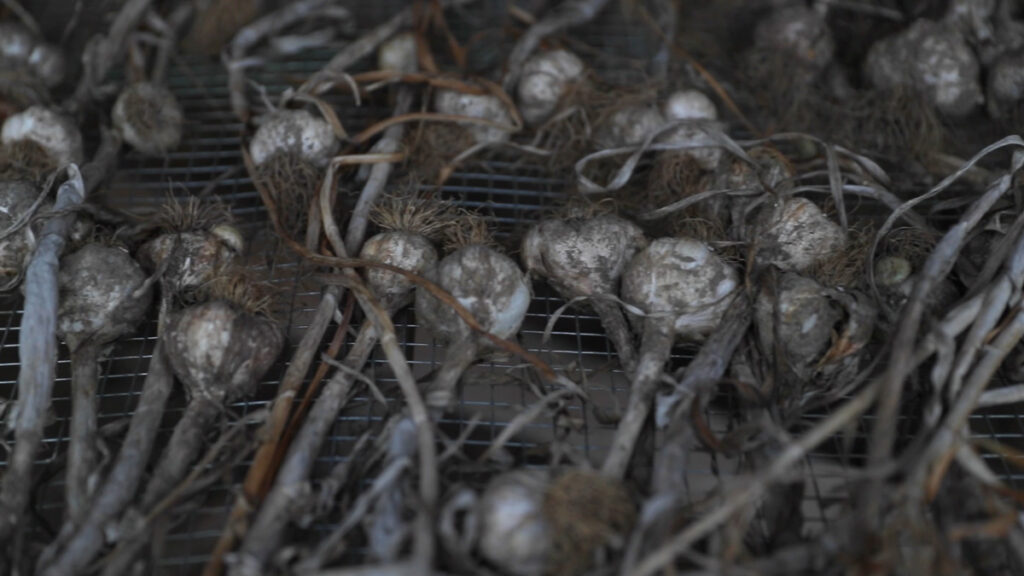
To harvest garlic, take a garden fork or spade and dig up the new garlic bulbs leaving the leaves and stems attached. Lay them out to dry. Gather them, bundle them, and store them in a dry, dark space with good air circulation.

More Posts You May Enjoy
- How to Braid Garlic
- Using Chickens to Fertilize and Till the Garden
- Soil Blocking – Everything You Need to Know
- Using Chickens for Garden Pest Control
- Raised Garden Bed Plans
- Fast Growing Vegetables for a Quick Harvest
- Companion Planting with Asparagus and Strawberries
- How Much Does it Cost to Grow a Garden?
- Homemade Bacon (Cured, Smoked, Cooked)