Once your turkeys have made it past the challenging brooder stage, you’re ready to start transitioning them to pasture. This is part two of a three-part series on raising turkeys. If you missed the brooder stage, read how to raise baby turkeys and don’t forget to check out how to butcher a turkey as well.
What Are the Benefits of Having Your Turkeys on Pasture?
Factory-farmed turkeys are raised in conditions that leave them providing subpar meat. To compensate for the lack of quality, they are injected with vegetable oils and saline solution (sometimes including artificial flavors) to flavor and tenderize otherwise tough meat.
Pastured heritage turkeys, on the other hand, are raised as nature intended and will yield many benefits.
- The Taste – You will know right away when you taste a turkey that it has had access to fresh pasture grass. The white meat is more moist and doesn’t dry out as quickly, and the dark meat is much richer in flavor.
- Saving Money – Having your turkeys on pasture will save you a tremendous amount of money on turkey feed.
- You Know What’s in Them – There’s nothing like the peace of mind of knowing what’s gone into your food. Organic feed and pasture grass will give you the best-tasting turkey you’ve ever had.
- Pride – There’s nothing like sitting down to Thanksgiving dinner and knowing that you raised that delicious bird.
- Care Of Your Land – Having your turkeys on your pasture land will also be good for your pasture. The turkeys will help keep down the bug population, plus having them at pasture will provide your ground with much needed fertilizer.
What Kinds of Turkeys Do Well on Pasture?
Turkeys naturally thrive in a pastured environment. Here are some popular breeds to consider.
- Royal Palm – The Royal Palm is a rare heritage breed with bright white feathers banded in black. Royal Palm turkeys are smaller than other breeds with the male turkey topping out at 20 pounds.
- Broad Breasted Bronze – The Broad Breasted Bronze turkey is one of the largest of the heritage varieties. The feathers range in color from bronze to copper. The male turkey can weigh as much as 38 pounds.
- Broad Breasted White – If you’ve bought a turkey from the grocery store it was most likely a broad breasted white. They are the most commonly eaten of turkey breeds. The birds are mostly white and the males can get up to 40 pounds.
- Bourbon Red – The Bourbon Red is a domestic turkey known for its red plumage. The tom can weigh upwards of 22 pounds.
How Much Pasture Space Do Turkeys Need?
You’ll want to do a square foot measurement of your fenced off space, giving each turkey 6-7 square feet per bird of pasture space. Your turkey flock will be happier and healthier with generous space.
This is a bit different from raising chickens who only need 1.5 square feet of space per bird.
Will Pastured Birds Fly Away?
As turkeys grow, they are able to fly over the top of their fencing, so clipping their wings will be necessary. This is a painless procedure that will keep your birds safe in their enclosure.
How Do I Keep My Birds Safe from Predators?
Depending on where you live, turkeys can have a large number of predators including coyotes, foxes, raccoons, weasels, wolves, eagles, hawks and owls.
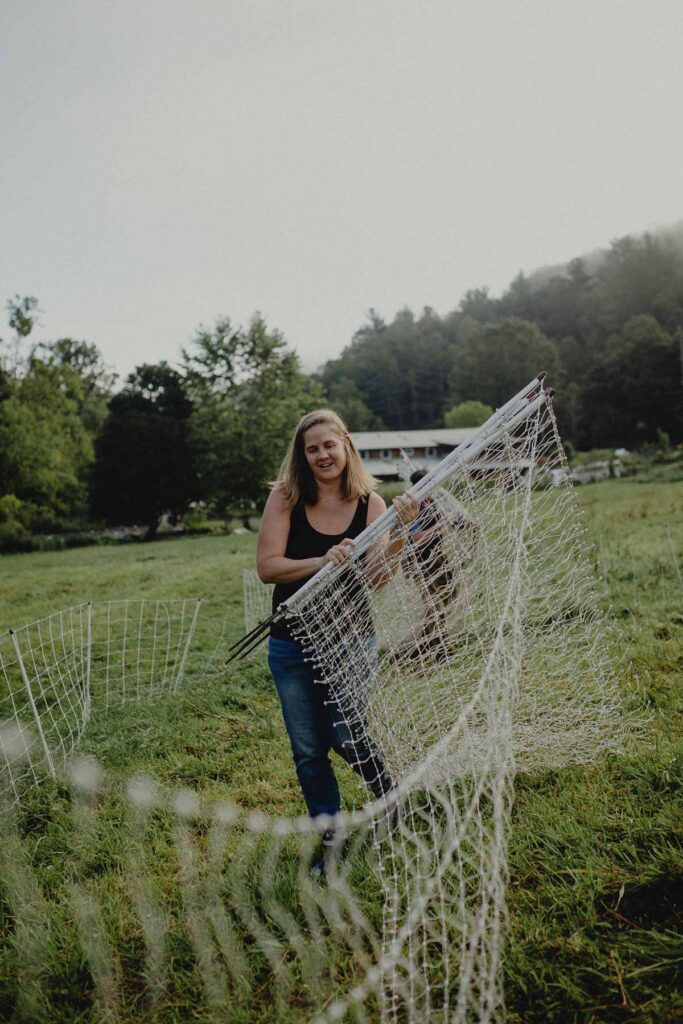
To keep our turkeys safe during the day, we use electrified bird net fencing. This will keep out things like coyotes, foxes and raccoons. At night we put them in their enclosure to keep them safe from owls.
You may be interested in offering them a DIY Turkey Shaw, you can grab my plans with that link for FREE!
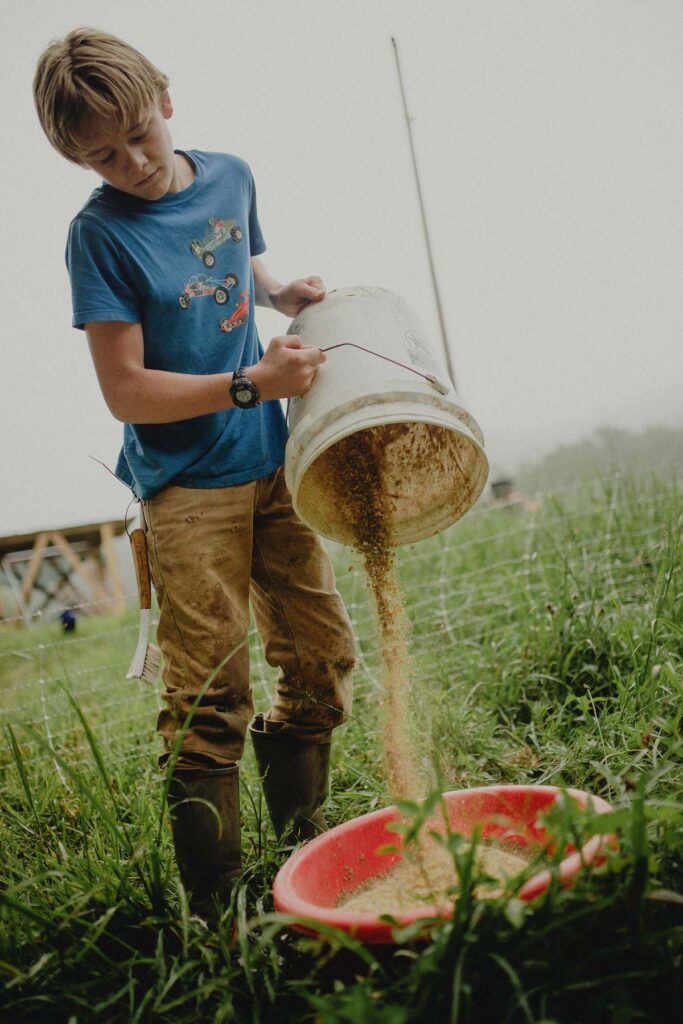
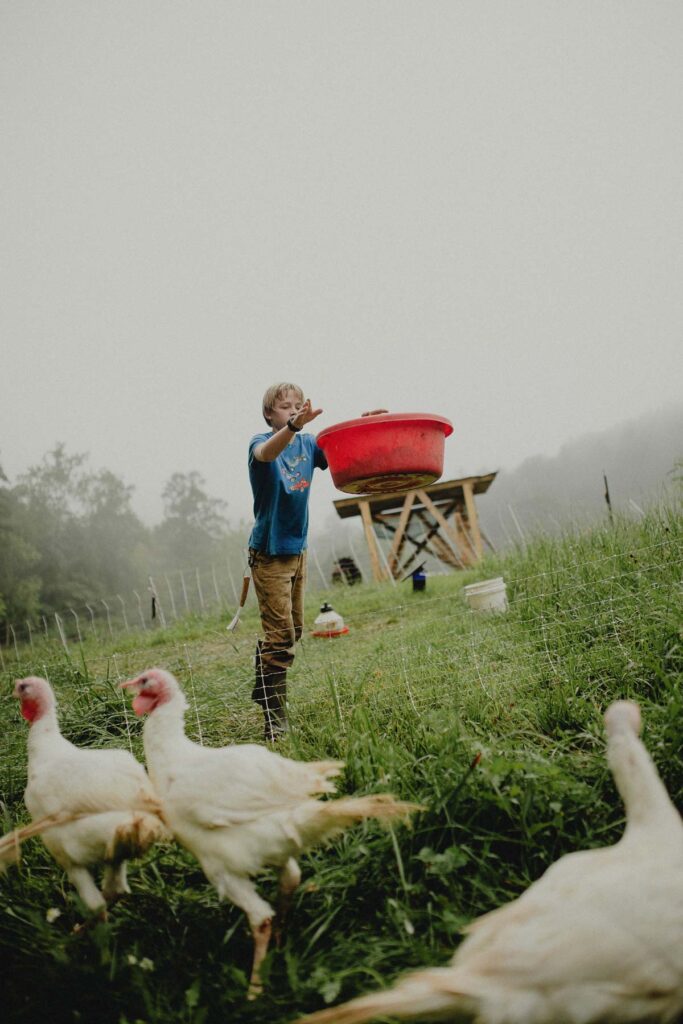
Do Pastured Turkeys Need Feed As Well?
Turkeys at pasture will eat happily from your vegetation. They will eat berries, seeds, plants and grasses, and will also eat a huge amount of insects and grubs.
However, your turkeys will not get the protein they need to grow quickly and be ready by Thanksgiving without supplementation. If you don’t supplement them with the proper feed and water, they won’t grow to the desired size.
Their protein requirements will decrease as they grow, but they will still need to be supplemented with the proper feed.
- Poults – For the first 1-5 weeks, make sure your turkey poults are getting at least 28% protein in their turkey starter.
- Young Birds – From weeks 6-12, your turkeys should have a feed with 20-24% protein.
- Adult Birds – For birds 13 weeks and older, their protein requirements can be met with a feed with 14-16% protein.
When Do I Move My Turkeys Outside?
Once your birds are fully feathered and the nights are warmer, you can start moving them outside.
Around six weeks of age, we transitioned to turkey grower feed and started the transition to being outside free-range turkey growers.
Supplies Needed
- Temporary Shelter – During the transition stage, I used a floorless cage with a shade cloth roof (not too hot and protected from aerial predators). I used cage panels I found in a dumpster, but something could easily be built with wooden frames and poultry wire.
- Transporting Container – This does not have to be specialized equipment, we just used a cardboard box.
- Permanent Shelter – Turkeys prefer a shelter with a roof, a couple of sides to shelter from direct sun, wind, rain or snow, and high roosting bars. We allowed our turkeys to roost on the roof of our shelter, and lost three to owls. I recommend a shelter that can be closed at night to protect from predators, but a large opening during the day so they don’t feel cramped.
- Electric Poultry Fence – I prefer a net fence as opposed to a wire fence, and recommend using the portable Premier One Electric Poultry Net. (Learn more about setting up electric fencing on your property.)

How to Transition Your Turkeys to Pasture
When your turkeys have reached six weeks, they are starting to regulate their temperature better. You can begin your transition if your outdoor temperature is 75°F during the day.
- Set up your temporary shelter, and electric fencing.
- For two weeks transport them from their indoor brooder to the outdoor temporary shelter, and bring them back indoors at night without the heat lamp.
- After a two week transition has passed, move them to their permanent shelter.
To get the most out of your turkeys, move them every week or two to fresh grass to save even more money on feed.
Pro-Tip: Move your birds often enough that they don’t dig down to the dirt. They do this in order to take a dust bath which protects them from mites. You can give them a box of dirt so they don’t completely dig up your land.