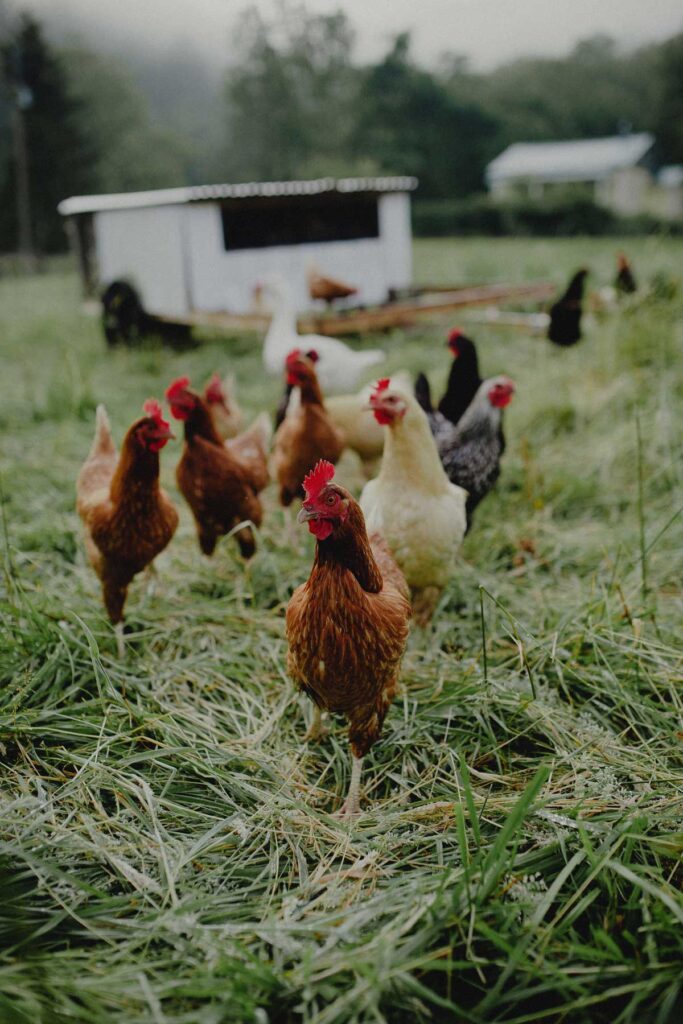
Suppose you’re interested in saving money on raising chickens, improving the production of your flock, and getting closer to living a self-sustainable lifestyle. In that case, you will want to learn how to breed chickens. I’d love to show you how it’s done in these five stages of breeding chickens.
Learn the basics of selecting the best chickens from your flock to breed, what to watch for in regards to the rooster mating, and how to time the breeding… nature will take care of the rest.
How do you Breed Chickens to Mate?
Several years ago I set my first hen. This means I put some fertilized eggs under a broody hen in hopes that they would hatch. As day 21 approached, I became doubtful. Surely, I wouldn’t succeed on my first try.
With doubts about success abounding, I went and checked for rotten eggs. I reached under the faithful hen and felt a small vibration, and then I heard a slight chirping.
Despite my inexperience, nature found a way! I realized that all we have to do is provide a little management to serve our purposes, and the chickens will do the rest.
My evaluation of my first chicken breeding experience and the lessons I’ve learned since then can be summed up as – breeding chickens is easy, but the selection process is harder.

Breeding Chickens Versus Purchasing from Hatcheries
There are many factors that interfere, and not everyone has the resources to breed chickens. If you can’t breed your own chickens, locate a reputable breeder near you.
I had great success with the Sustainable Poultry Network as I found an outstanding breeder only 30 minutes from where I live.
Some of the differences between large hatcheries versus breeding your own or finding a local breeder are listed below.
- Self-sustainable – You become truly sustainable, and you’re not dependent on any outside sources for reproduction.
- Less Stress on Chicks – Shipping chicks in the mail is incredibly stressful for the birds.
- Health of Chicks – Hatcheries produce for quantity, not quality.
- Selectively Breeding – Hatcheries do not selectively breed and rule out aggressive traits.
If you’re not yet at a place where you can keep a 100% self-sustaining flock, we recommend McMurray Hatchery as well. I hadn’t discovered them at the original posting of this blog, but they’re also an extremely reputable source and where we source our meat birds.
Stage # 1 – Selecting Stock for Breeding
Common Mistakes in Breeding Chickens
Poor record-keeping is the number one mistake newbies make. It’s critical to know which birds mated with which birds otherwise, you’re just flop breeding. The flop breeding process will decline the quality of your flock. The better option is to use selective breeding.
Two Ways to Use Selective Breeding
- Pen Breeding – Pen breeding is when you put your best male with three to five females in a separate pen. Don’t use more than 12 hens per rooster
- Pedigree Breeding – This option involves using one male and one female to improve on a single trait found in both birds.
How Many Chickens Should I Choose to Breed?
The top 10% to 20% of your flock. If you have a flock of thirty birds, you’ll select your top three to six hens and your top rooster. If you only have a small flock of six birds or less, then use one male to breed all of them and be more selective about the progeny.
What Qualities Should I Look for in my Birds?
Quality # 1 – Vigor and Vitality
Vigor and vitality are the absolute most important qualities in selecting birds. If your backyard chickens aren’t well-adapted, then they won’t be good producers.
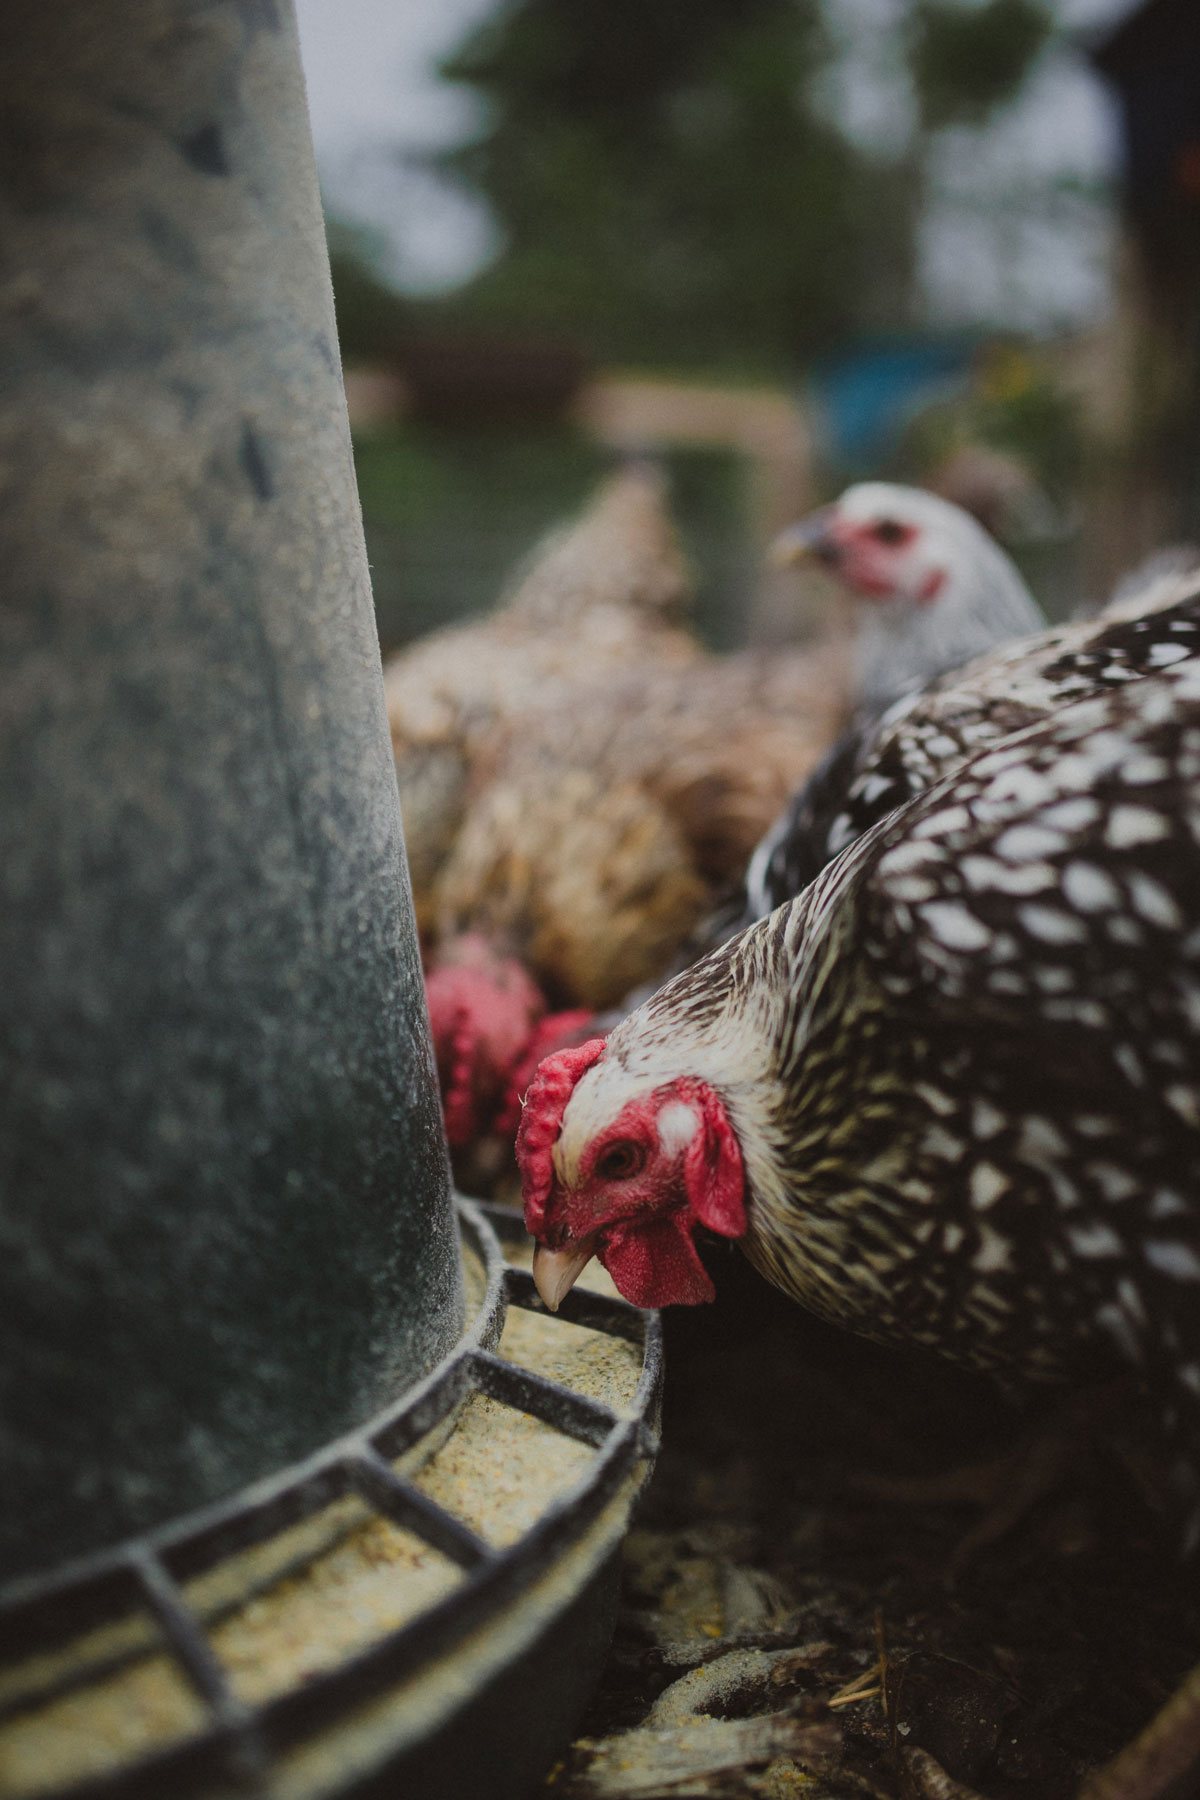
To measure vigor and vitality, look for birds that are active, eat well, have mating interest, forage well, are protective but not aggressive, healthy, and get up early and roost late at night. All of these attributes must be observed and recorded.

Quality # 2 – Production Quality
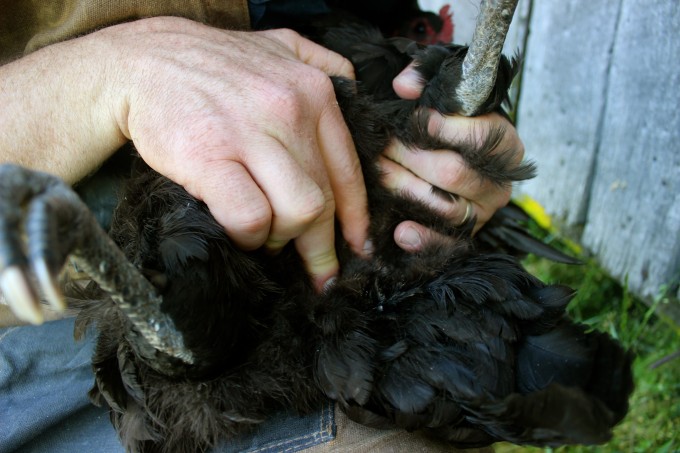
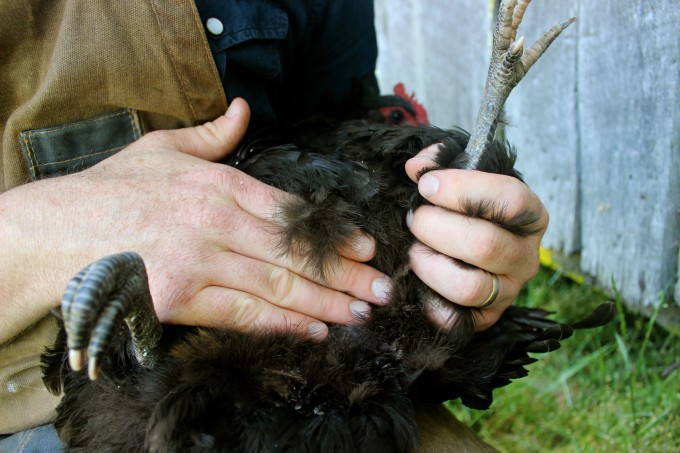
Production quality is the chicken’s ability to produce chicken eggs and meat. To measure egg production, you can use frequent observation along with record keeping, incorporate trap nests, and do an exam of each bird. Signs of a good layer are as follows:
- A Good Overall Appearance – Bright eyes and a wide, deep body. Comb and wattles will be red and full, not sagging.
- The Distance Between the Protrusion Bones – These are located on either side of the abdomen. You can measure them with your hand. Know that the wider the bones, the more likely it is she’ll be a good layer. Expect a width of about three fingers in average-sized breeds.
- The Distance Between the Breastbone and the Vent – This can also be measured with your hand and is usually about four fingers wide. The wider, the better.
- Skin, Beak and Legs – These should lose some of their color or pigment as these resources go into egg production. Although all birds lose color, it’s much more noticeable in yellow-skinned breeds.
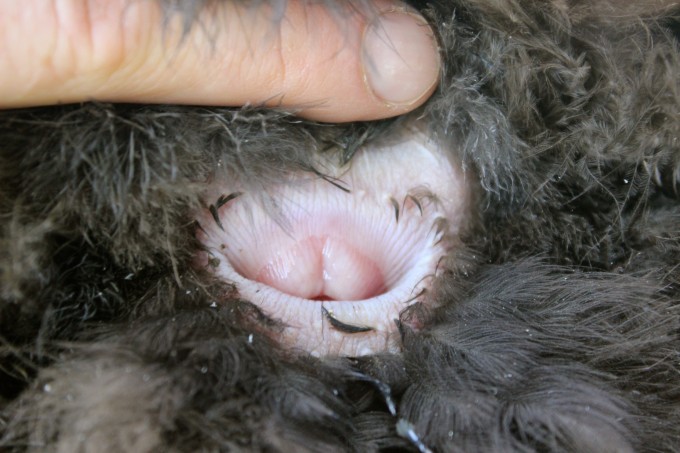
- Vent – The vent should be moist in appearance.
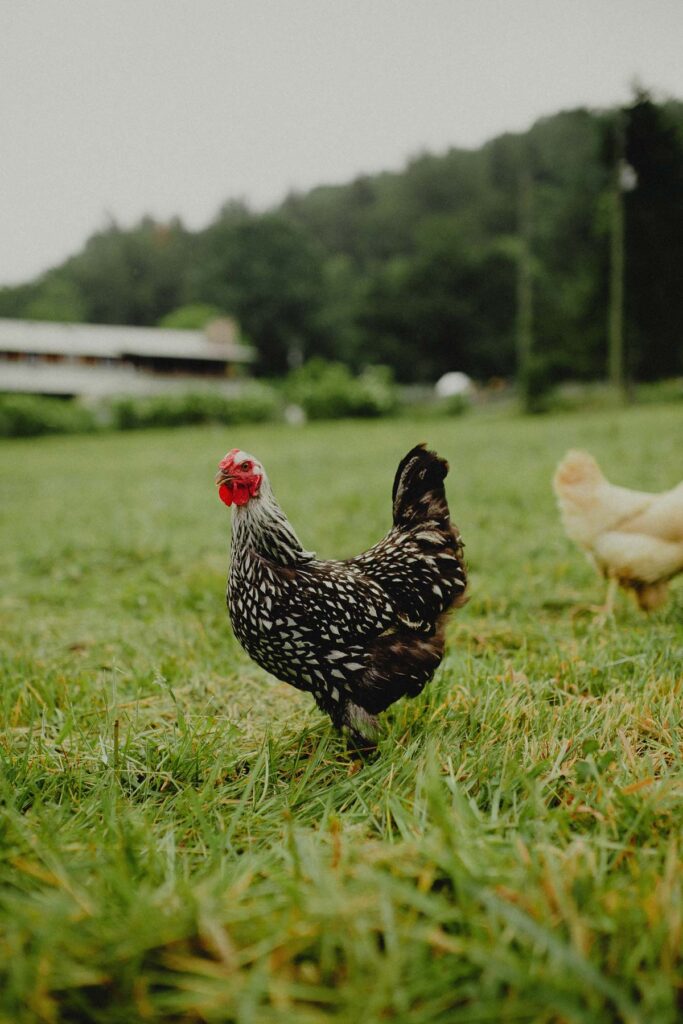
Quality # 3 – Standard Quality
Standard quality is meeting the standard of your particular breed found in the American Standard of Perfection. Abiding by the standard will take you a long way in restoring and maintaining what our chickens were originally bred for.
Additional Notes on Choosing Stock
Measuring for Meat Production Stock
When raising meat chickens, weigh each bird at eight and sixteen weeks old, consistently through the generations. Look for your quickest and heaviest growers. Hanging scoop scales work great for this purpose.
How to Mark Flocks and Individual Birds
You can use plastic bands to mark individuals and toe punches for marking entire flocks.
Stage # 2 – Managing Breeder Chickens
How Old Should a Chicken be Before I Set Her Eggs?
Wait until she’s laid for a couple of months, and then you can start setting her eggs.
What Breeding Program do you Recommend?
There are many breeding programs like Out and Out Breeding, Flock Sourcing, Flock Mating, and Rolling Mating. If I had to choose just one, it would be Spiral Mating also known as Clan Mating.
Spiral mating involves line breeding, but a closed flock can have amazing results. Breeding father and daughter chickens is ok. It’s breeding siblings that you want to avoid.
I’m personally going with Spiral Mating. As I only have a flock of 30, I don’t really have enough for three breeding flocks. I’ll pick my two best roosters and six best hens and set apart two different breeding families.
Spiral Mating (Clan Mating) Step by Step
- Select your breeding stock from the top 10% of your entire flock.
- Divide your breeding stock into two or three families. A family can be as small as one rooster and one hen. If you don’t have enough for two families, you can breed everyone and be more selective in the next round. I only have enough for two families, so I’m starting there.
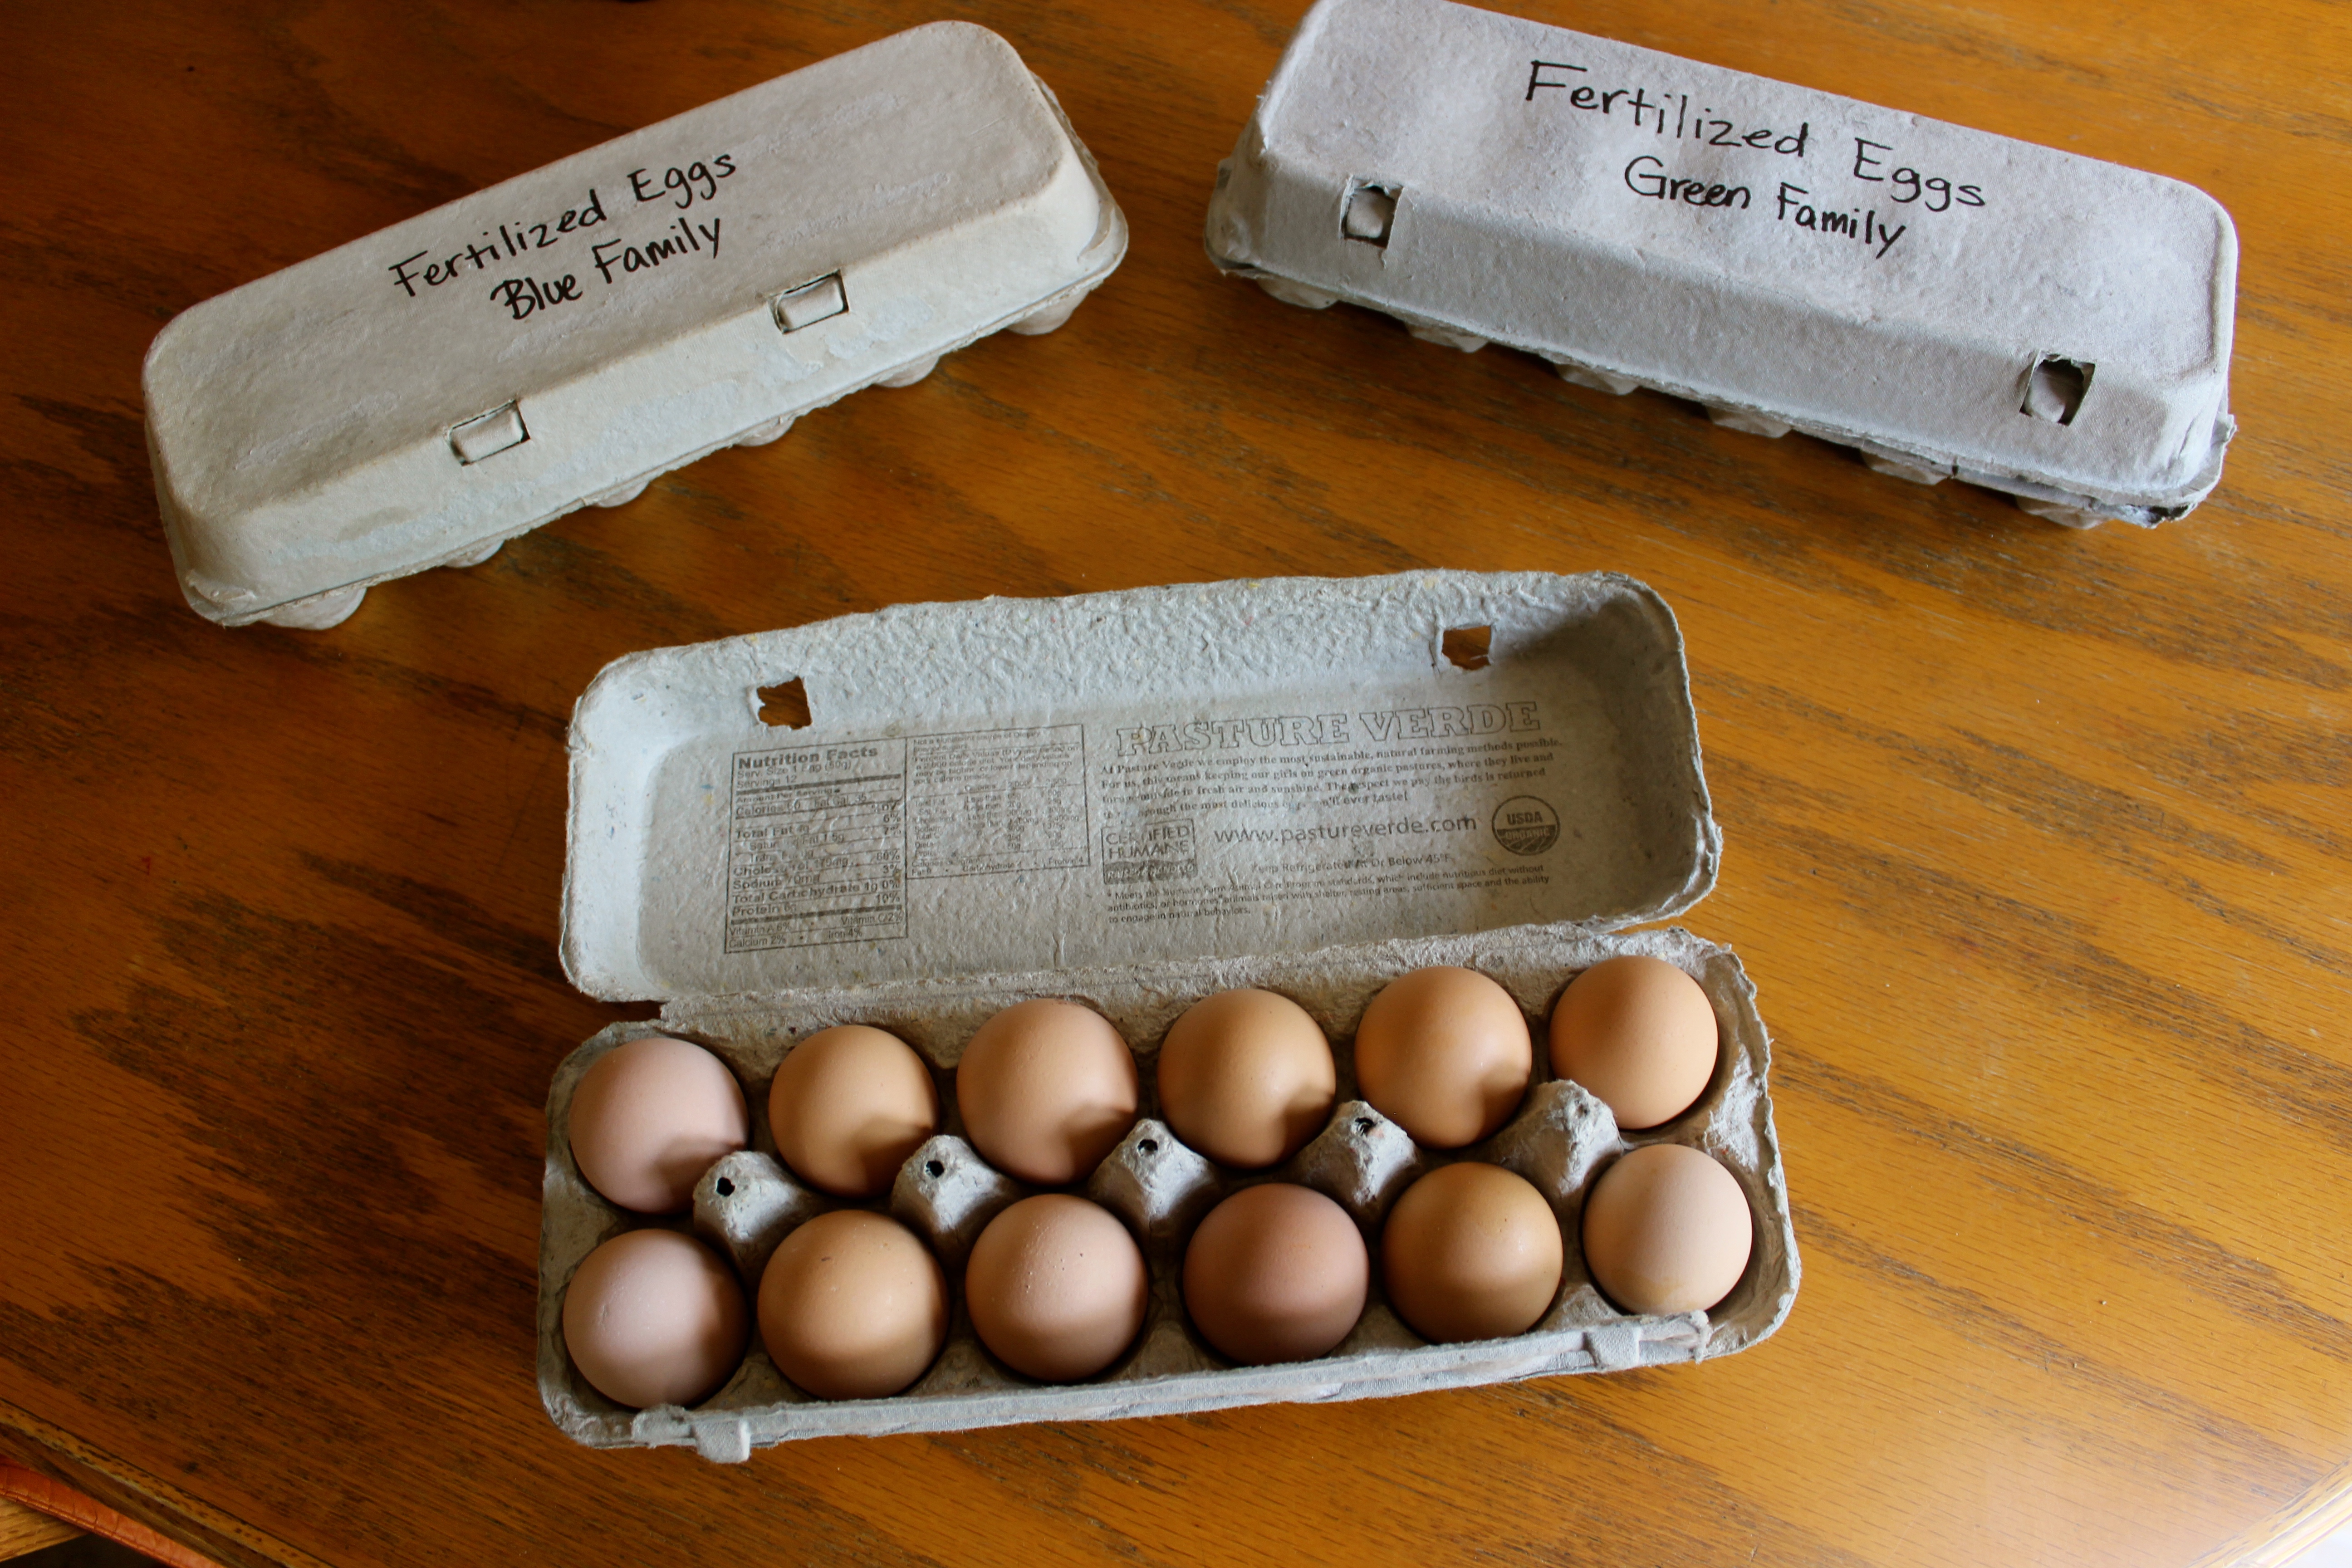
- Mark your families. I like to use zip ties that are colored and numbered. Name each family to identify them with your mark. I’ll be calling my two families, the Blue and Green families, and I will place the appropriately colored band on each family.
- Separate your breeding families from the flock and the other breeding families.
- Mark your chicks according to the family they were born in. You can’t place leg bands on chicks, but you could do a toe punch to identify them as a group. Once they’re older, you can do leg bands. The leg bands come in handy for quick reference, and if the leg bands are numbered, they’re great for identifying individuals.
- Once breeding is over, you can return everyone to the main flock or wherever desired.
- The following season you’ll breed roosters of one family to the hens of the next family over. In my case, I’ll breed my blue rooster with my green hens and vice versa.
- Use your roosters once or twice and then cull.
How Do You Separate Breeders?
Simply separate them into another complete system with a house, run, feed, and water.
How Long Should I Keep Breeders Together?
Keep the breeders together until you’ve gotten the desired amount of fertilized eggs.
Stage # 3 – Handling Fertilized Eggs
Once your breeding stock is separated from the main flock, you’ll want to give them about ten days together before you start saving eggs for setting. The rooster’s fertilization stays viable for up to two weeks.
As the days pass, any undesired breeding fertilization wears off, and you’ll soon be sure that your selected stock genetics is what will pass on to the eggs.
Start collecting fertilized eggs. Keep in mind how many chicks you want to hatch, how many a broody hen can sit on, and how many broody hens you’ll think you’ll have.
If you are planning to use an incubator to incubate eggs, you don’t have to consider the mother hen. For teaching purposes, I’ll be addressing the scenario using a mother hen.
Save eight eggs per broody hen. For my flock of 30 Australorps, I can expect two to three to go broody. You want to be careful not to place too many under a broody hen as she can only adequately heat what she can cover.
You might be tempted to set extra eggs just in case of failure, but that will increase your chances of failure. Since the mama hen constantly moves the eggs around underneath her, rotating them from center to the edges, the large number of eggs would all end up being too cool.
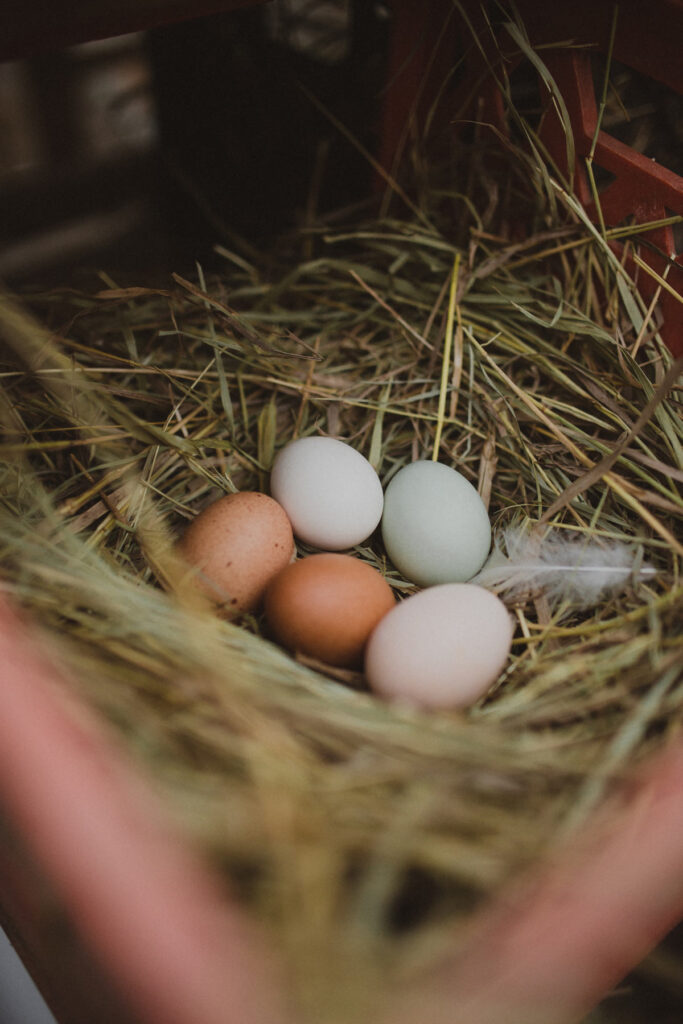
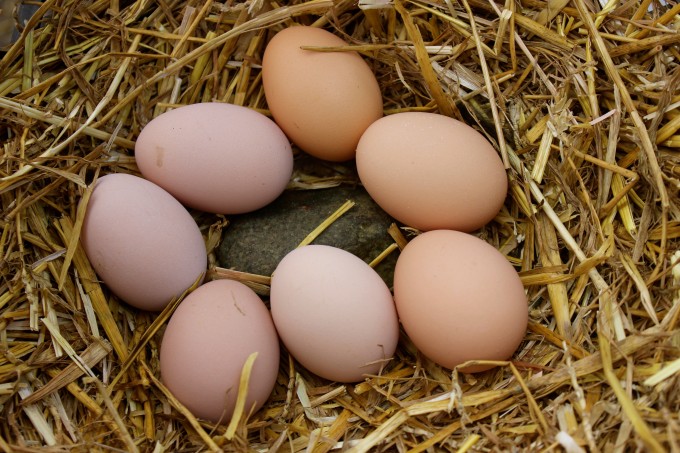
Only save the cleanest eggs while avoiding the large and small extremes. Store your eggs in an egg carton clearly marked for the breeding family. Once you get more than twelve, you can begin rotating out the older eggs and replacing them with the newer ones.
Store the fertilized eggs at room temperature and don’t wash.

Stage # 4 – Managing the Broody Hen
Now that you have a consistent flow of desirable fertile eggs, you’ll have to wait for a broody hen. What I mean by a broody hen is a hen that is naturally ready to sit on some eggs. The broody hen will be the one that sits on the eggs until they hatch.
It is not necessary that the breeder hen (biological mother) sits on the eggs. Our broody hen will happily accept anything that hatches underneath her, including other similar species like ducks or geese.
Broodiness has been bred out of many lines as it is seen as a less desirable trait for egg production. A hen won’t lay eggs while she’s broody. This is yet another reason to go with old standard breeds like Australorps or Orpingtons who are still naturally broody.
Let’s go ahead and set up a broody area for our future mother.
Supplies Needed for a Broody Station
- Space – The broody hen needs separation from the rest of the flock. This can be an area built among your existing operations such as a wire mesh partition or in a separate location. I use an old homemade brooder box located in my garage. Pro-Tip: Make sure she has an area to relieve herself. Deep bedding or wire mesh floors will work. If you’re using a wire mesh floor suspended over the ground, make sure it’s off the ground and push the manures through on a regular basis.
- Small Waterer and Feeder – A broody hen will consume less than normal. A small waterer and feeder will allow for the area to be more spacious.
- Fake Eggs – This will encourage your hen to go broody while you are finishing collecting the fertilized eggs.
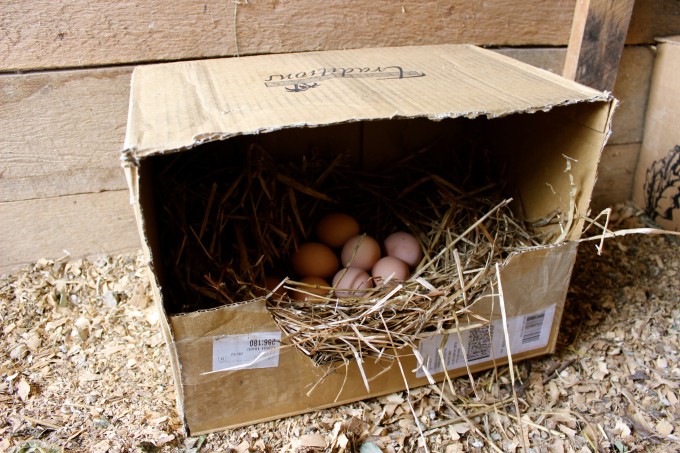
- Nesting Box – Make sure your nesting box has fresh material like straw, shredded paper, or pine shavings.
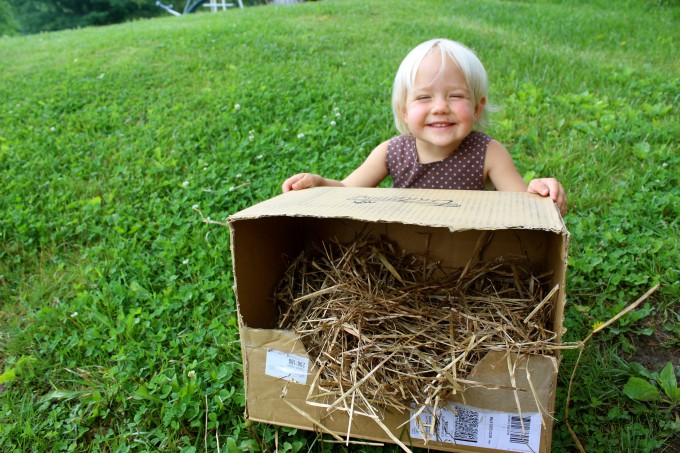
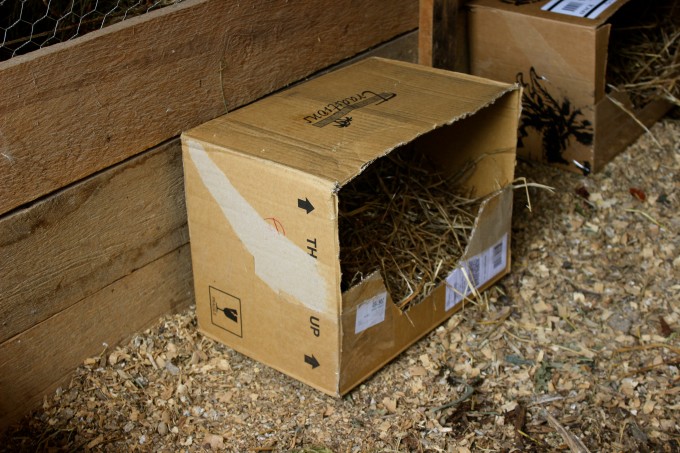
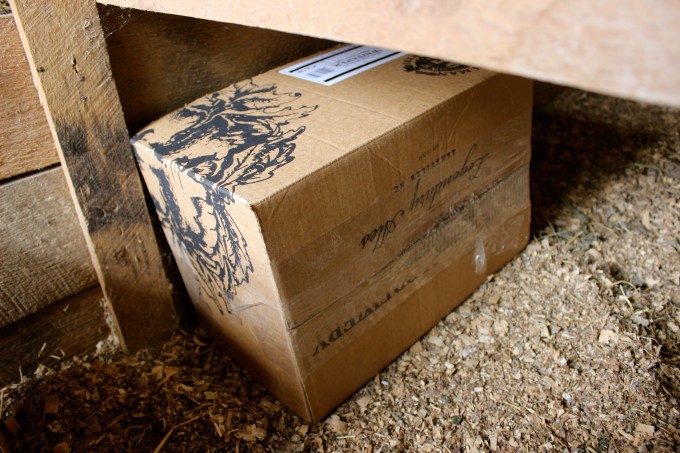
Building a Nesting Box
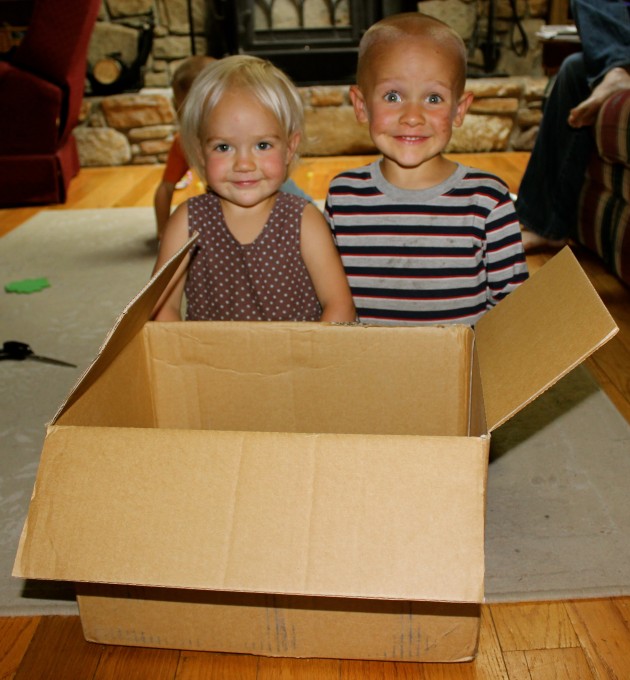
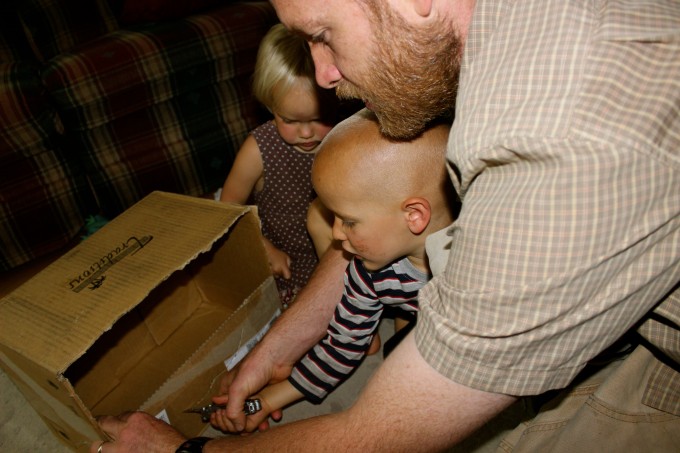
- Get a box and some helpers if you have them!
- Cut and tape the box to have an entrance.
- Fill the box with straw.
- Place the box in the broody station.
4 Ways to Encourage Hens to go Broody
- Hopefully, you have a breed that will go broody. Avoid hatchery birds and strive for traditional breeds like the Black Australorps, New Hampshire or Orpingtons.
- Leave a fake egg in the nest at all times. Having something to sit on that resembles an egg could encourage her to go broody.
- Make sure your nesting area is secluded and dark. The chickens need to feel their nesting area is a safe place from predators.
- Keep the nesting boxes clean and free of mites or other annoying insects.
Three Ways to Tell if You’ve Got a Broody Hen
- The hen is continually on a nest.
- The hen puffs up, pecks you, or is overly aggravated when you reach towards her or collect eggs from underneath her.
- A sure fire way to know is if she stays on the nest through the night and doesn’t perch.
Setting the Broody Hen
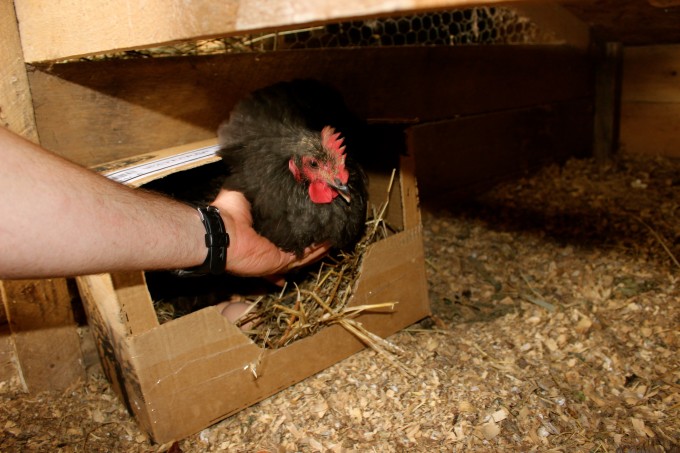
- Remove the broody hen at night when she’s tranquil and will be most disoriented from the move.
- Place the broody hen in her broody station, inside of her nesting box, directly on the fake eggs. If she acts like she’s ready to jump, gently hold her down for a few seconds. Pro-Tip: If she continues to try to leave the nest after you release your hand, turn her nesting box around against the wall, so that she can’t get out. Turn her around in the morning.
- Leave her in the broody station on the fake eggs for a day. If she stops being broody, then it’s not meant to be. If she’s continually broody, then place your fertilized eggs underneath her. I set eight, and wouldn’t suggest any more than that for a beginner. You can set as much as she can adequately cover, so it does vary by breed and size of the individual. Be careful not to push this thinking – it’s ok if a few don’t hatch. The mama will equally rotate every egg from the center to the edges. If she has too many, chances are they will all be too cool. You can keep her broody without fertilized eggs for at least a couple of weeks. Believe it or not, she’ll happily sit there until she gets her eggs, plus the three weeks it takes to hatch the eggs.
- Mark your calendar 20 days out. Most of the time, they’ll hatch within 21 days, but it can take longer.
- Make sure you check her feed and water daily. She won’t eat or drink much and will lose as much as ⅓ of her body weight.
- Clean out any poop throughout the process. Don’t be alarmed if her poops are rare, massive, smelly, or diarrhea.
- About ten days in, check the eggs for viability if desired. Working at night, you can “candle” the eggs to see if there’s life. You’ll pull out the infertile eggs as they are rotting and could crush or even explode, creating a smell and attracting harmful bacteria that could penetrate the other eggs. To “candle,” get a strong flashlight and hold the egg directly on the lamp. If you see veins in the eggs, it’s doing well. If you see a solid lump, it’s no good. If they all seem to be bad, you should leave them alone as you might not be candling right.
- On day 20, you can do another check for viability. This time, hold each egg to your ear and gently flick it. You’re likely to hear a chirp inside.
- Once the first chick begins to hatch, it can take up to 3 days for all of them to hatch, but I’ve never seen it go longer than 12 hours. The mama will instinctively lay there until they’ve all hatched. If she gets up, and there are still whole eggs, they are no good.
- Resist the temptation to assist a struggling chick hatching by trying to get it out of its shell. As harsh as this sounds, it’s a very strong indication of weakness and will more than likely remain weak and sickly.
- Enjoy watching the mama shelter and feed her chicks.
Check out this VLOG where I set a broody hen against an incubator!
Notes about Setting a Broody Hen
If you don’t have fertile eggs but you have broody hens, you can acquire fertile eggs from a local breeder or online.
If you don’t have broody hens but you have fertile eggs, consider buying a few hens known for their broodiness. Silkies or classic homestead breeds like Buff Orpingtons or Black Australorps are a good place to start.
If your hen is truly broody, and she’s sat for several days, you could place some live chicks directly underneath her. Chances are she will assume she hatched them, and she’ll gladly adopt them.
I once set a mama on eight eggs. Seven of them hatched, and one failed. I got a call from my local breeder who had four extra chicks she needed to get rid of. I happily took them and set them under this new mama, and she happily adopted them. I even set them under her a day after she finished hatching the eggs she had been sitting on.
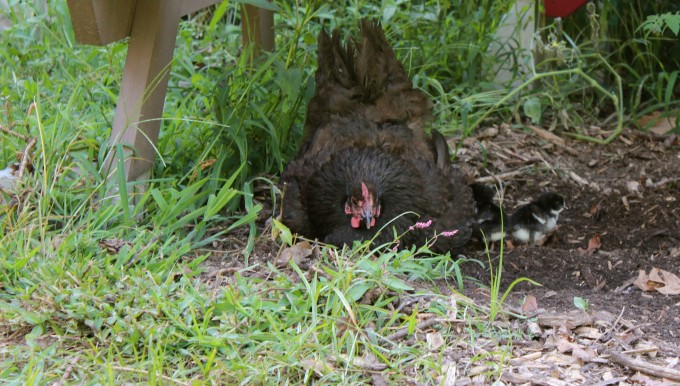
Stage # 5 – Managing Mama and Chicks
I like to move the new mama and chicks out as soon as they’ve all hatched. It’s amazing to watch Mama hunt for food, break it down for the chicks, and periodically shelter them.
You can keep them in their brooder station if necessary, but you’ll need to make an effort to bring live foods to them since they can’t source it themselves. You can prep the food by chopping it or enjoy watching Mama hen do it for them.
Be sure not to feed adult pre-mixes as they contain calcium that will harm the chicks. Take note that the Mama hen won’t need calcium either as she’s not producing any eggs.
You can put mama and chicks out to free-range depending on your predator situation. I can’t let the little ones run free as hawks will get them despite Mama’s best efforts.
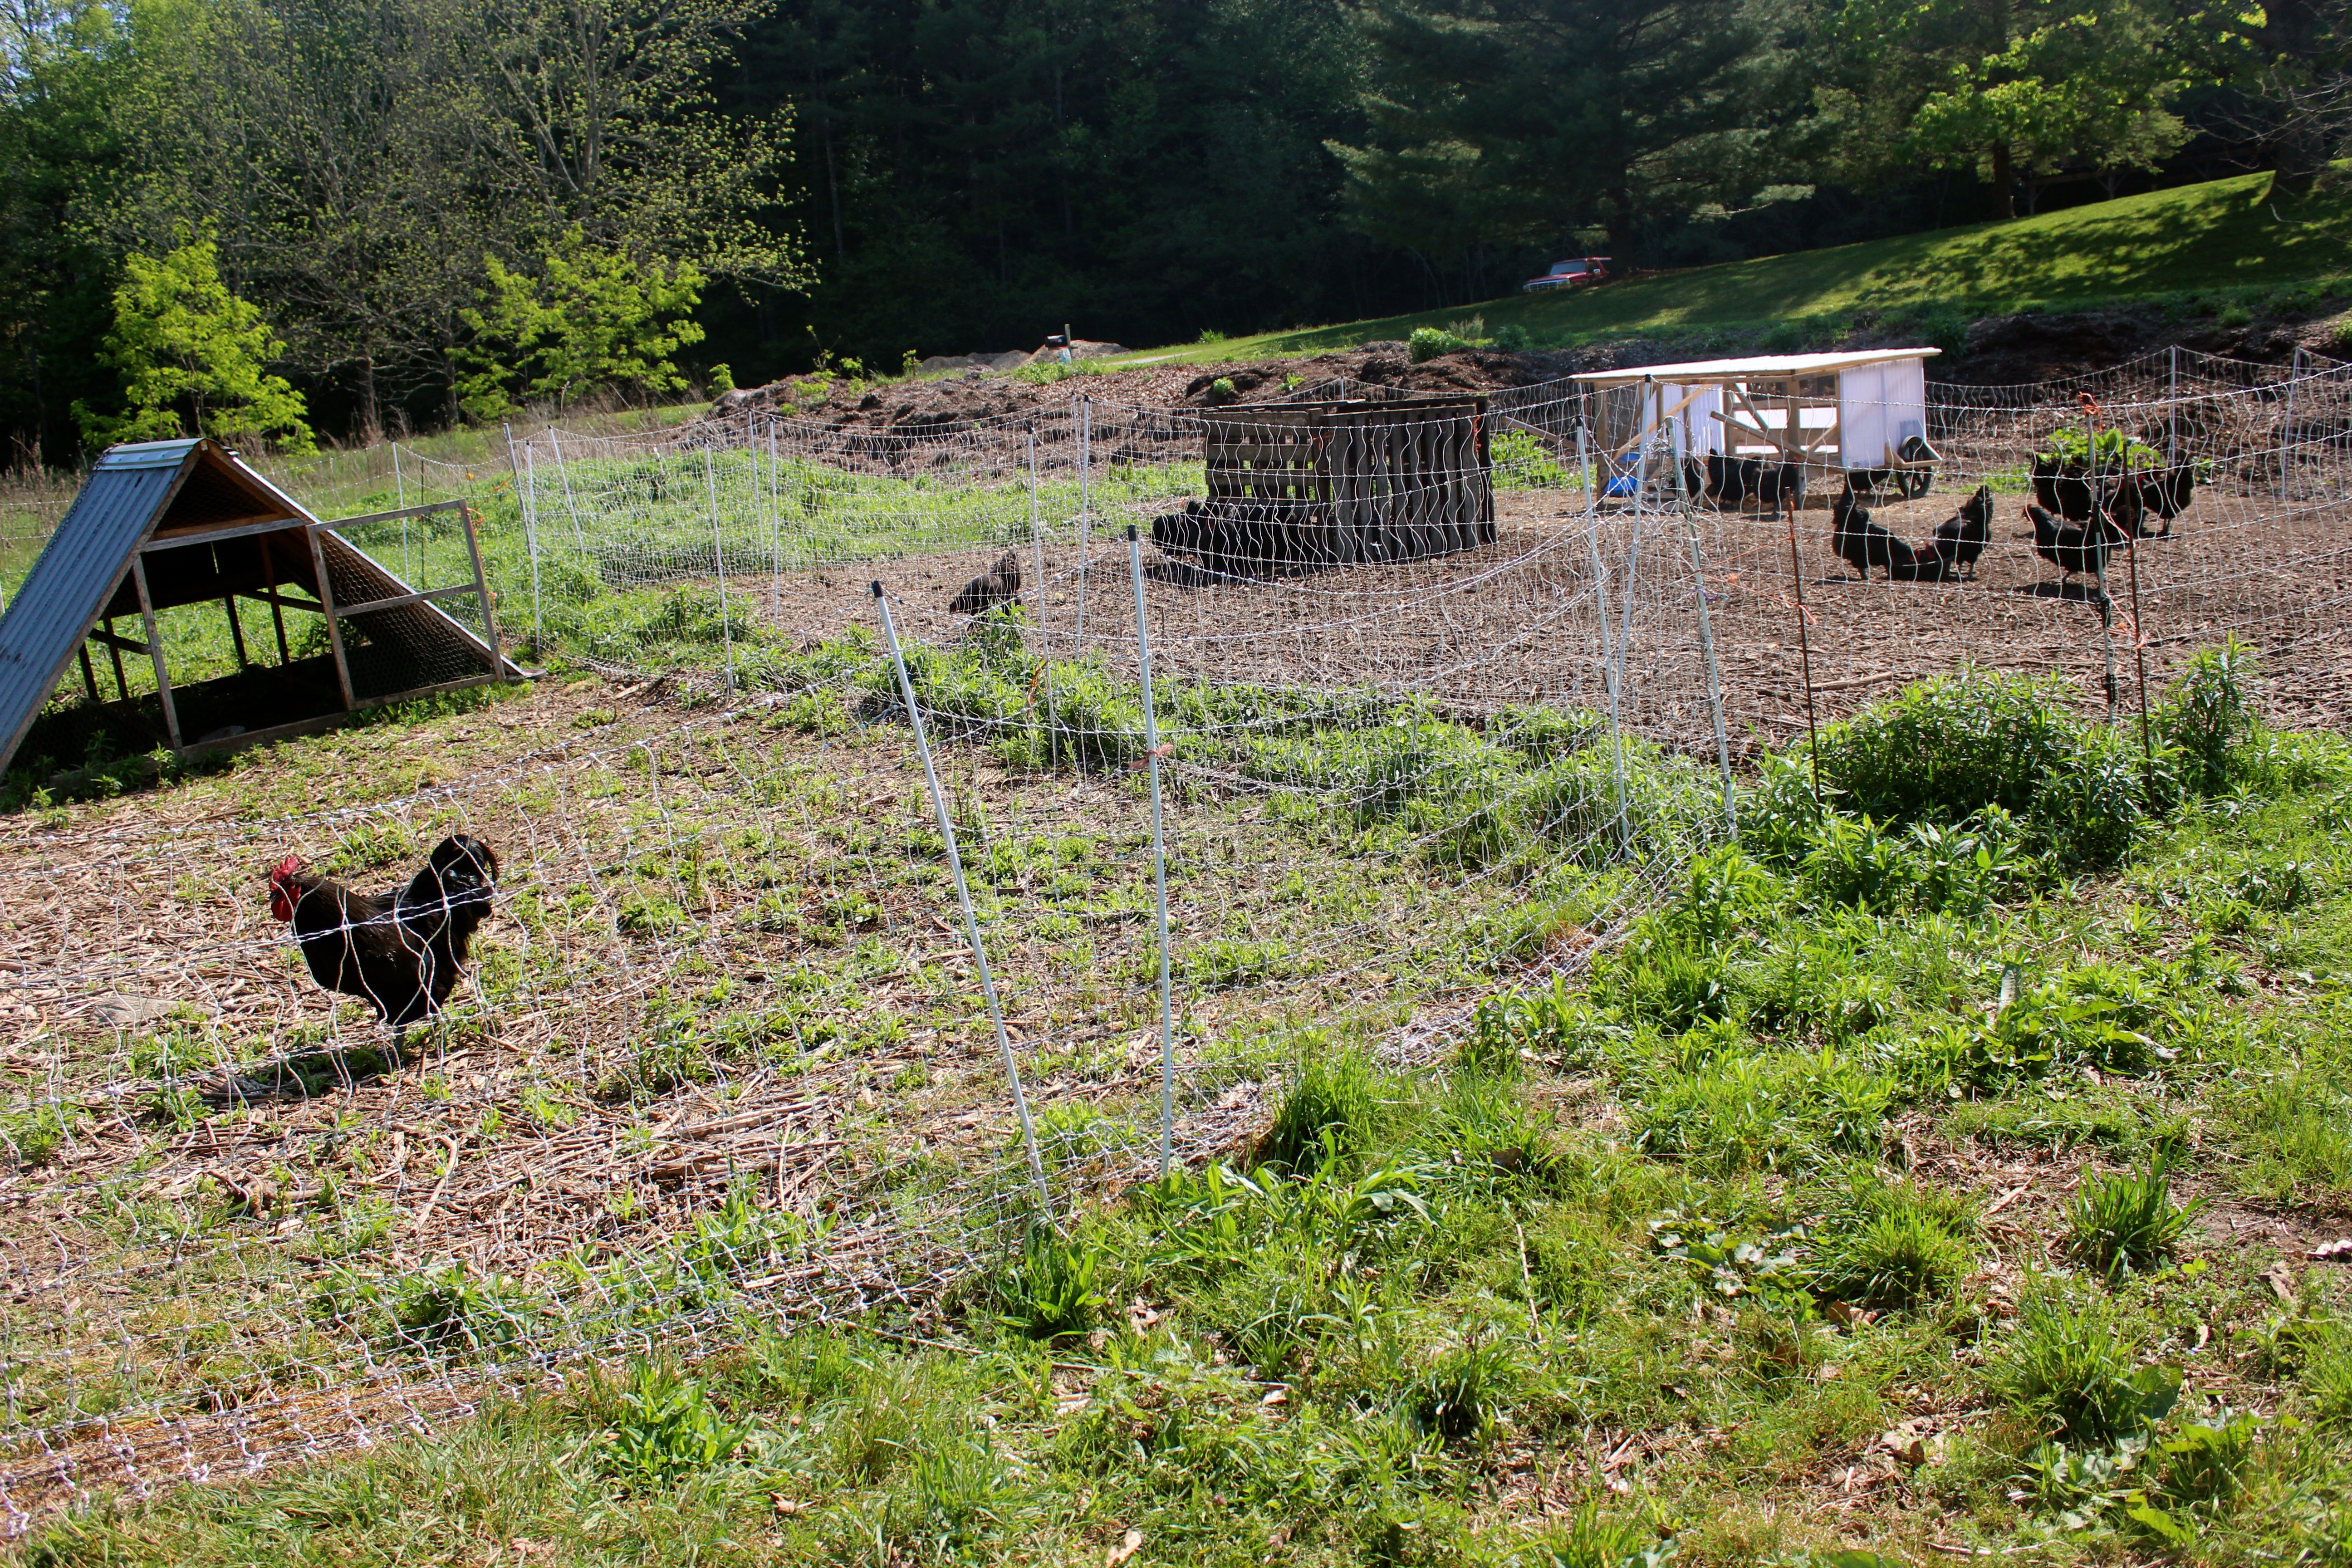
I run my new family in a pastured poultry pen, but you could certainly use any chicken tractor or system with a cover and the basic design necessities for a coop. Here are my top 5 chicken coop ideas that work.
One year, I ran a new mama and chicks with the main flock and didn’t have any problems with the other flock members. However, the little ones were able to escape the electric net, and the mama hen wasn’t. This made them especially vulnerable to predators.
Here is a step-by-step guide on how to care for your new baby chicks.