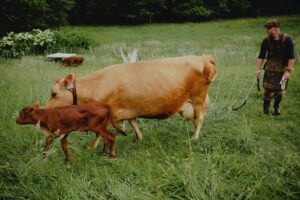
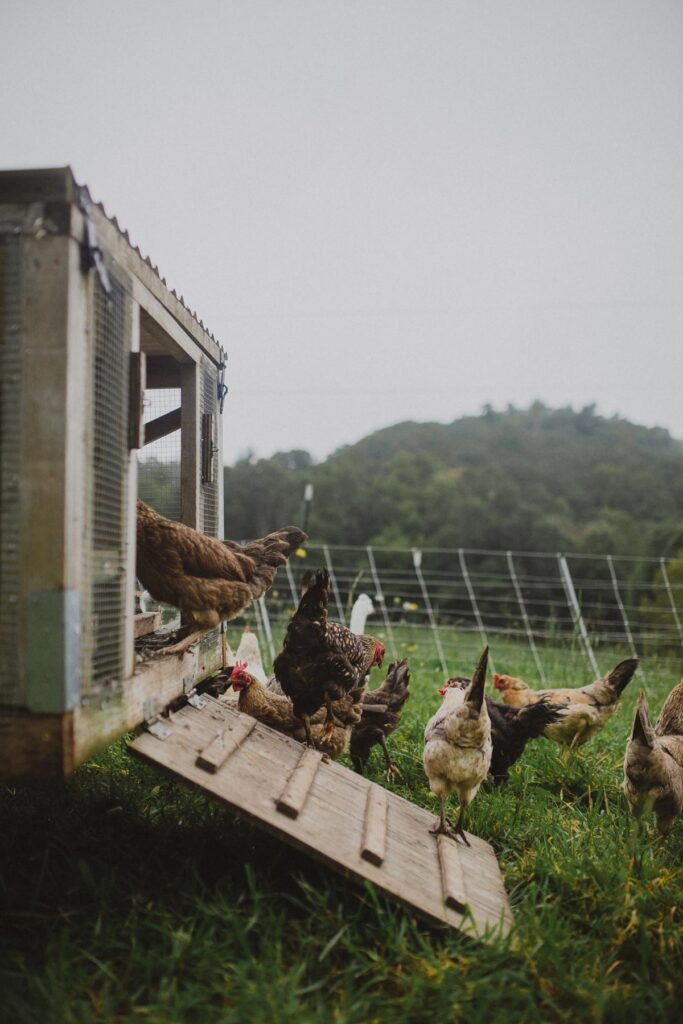
Keeping animals confined to their designated areas can be challenging. With the permaculture approach to homesteading, I always have my animals working for me and want them to stay where they should for safety and to complete the job assigned.
Electric fencing is the solution! However, not all electric fencing is created equal. The design of this guide is to equip you with the knowledge you need to get started.
Abundance Plus
Abundance Plus is full of in-depth how-to and quick-tip videos from me and many others sharing their knowledge as they learn in their homesteading journey.
A membership will give you access to my DIY video library (with new content added weekly). Plus, a private community group where you can ask fellow homesteaders questions.
Right now, we’re offering the first three videos of my electric net masterclass for free! Be sure to grab that, and if you plan to purchase your fencing materials through Premier1, you can receive an exclusive 10% discount on orders over $100 when you sign up for Abundance Plus.
In addition to Premier1, Abundance Plus members also receive exclusive discounts through New Country Organics (where we get our organic alfalfa feed pellets), McMurray Hatchery, Johnny’s Selected Seeds, Meadow Creature and many more.
Why I Prefer Electric Fencing
If you have multiple animals of different species and want them to perform the job you intend, then you will want to keep them confined to the designated area. For us, that means putting up fencing. Your location, size, and general homestead setup will help determine whether you need fencing.
Some animals get moved daily, while others stay in one place for two weeks or more. Animals like to explore, and if moved constantly, they struggle to recognize boundaries.
Traditional fencing is a physical barrier, while electric fencing is a pain barrier. If animals bump up against an obstacle that sends a slight jolt through their body, they will soon decide not to get near that location.
If the fence isn’t electric, they will tend to push against it, eventually weakening the fence.

What Energizes the Fence
An electric fence energizer takes power from an outside source and pushes the energy out through the positive terminal. The result is short, high-voltage electrical pulses.
The negative terminal is connected to the ground rod, absorbs unnecessary energy, and routes it back to the energizer. There are several different ways to harness electrical power.
- Solar Energy – Solar units get their power from the sun. They are portable and straightforward but require more maintenance than a plug-in.
- Plug-In – You need to install a plug-in inside an enclosed area for protection from the weather. Best for whole-farm fence systems and to connect to ground rods and the fence with insulated wires.
- Battery – Battery fence energizers rely on an external battery that will need recharging. The type and size of the battery will indicate the energy requirements.
Electric Fencing Equipment
Energizers
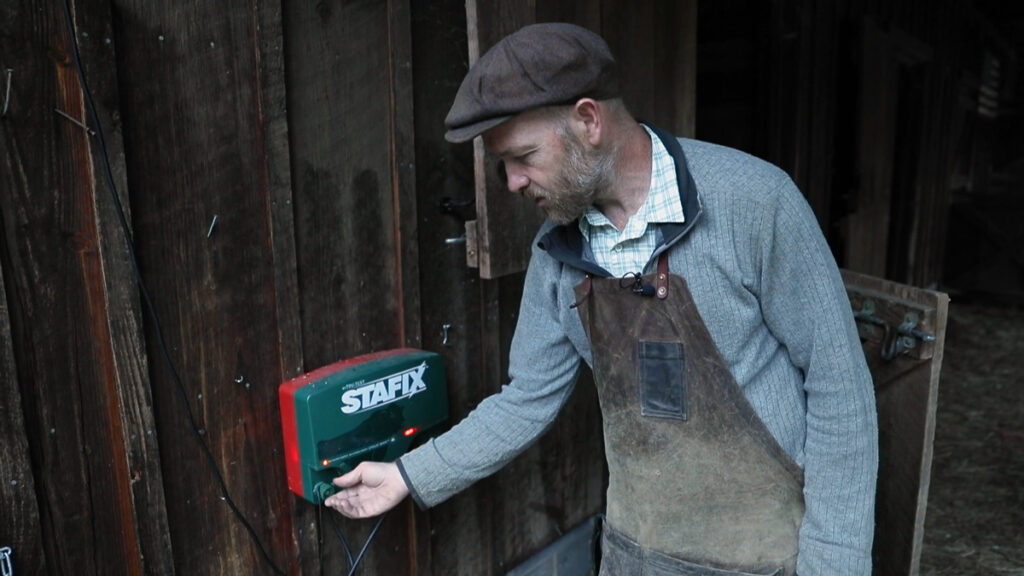
I have tried different energizers and multiple combinations. I have learned the importance of the number of joules an energizer provides rather than the focus on volts. The more joules you have, the more tolerance the fence will have against grounding out along the line.
When grass or branches touch the wire, the electricity goes through it and to the ground, weakening the electrical pulse. The Stafix M36R is a no-nonsense “Mac Daddy” energizer. It should be more than enough to operate your entire homestead.
Although the investment is pricey, I recommend purchasing one larger unit rather than multiple smaller energizers.
Electric Rope Fencing
Rope fences are semi-permanent fencing. These fences are simple to install and move while being visible and effective. It consists of electrified rope or twine that is hand-stretched between wood or metal corner posts.
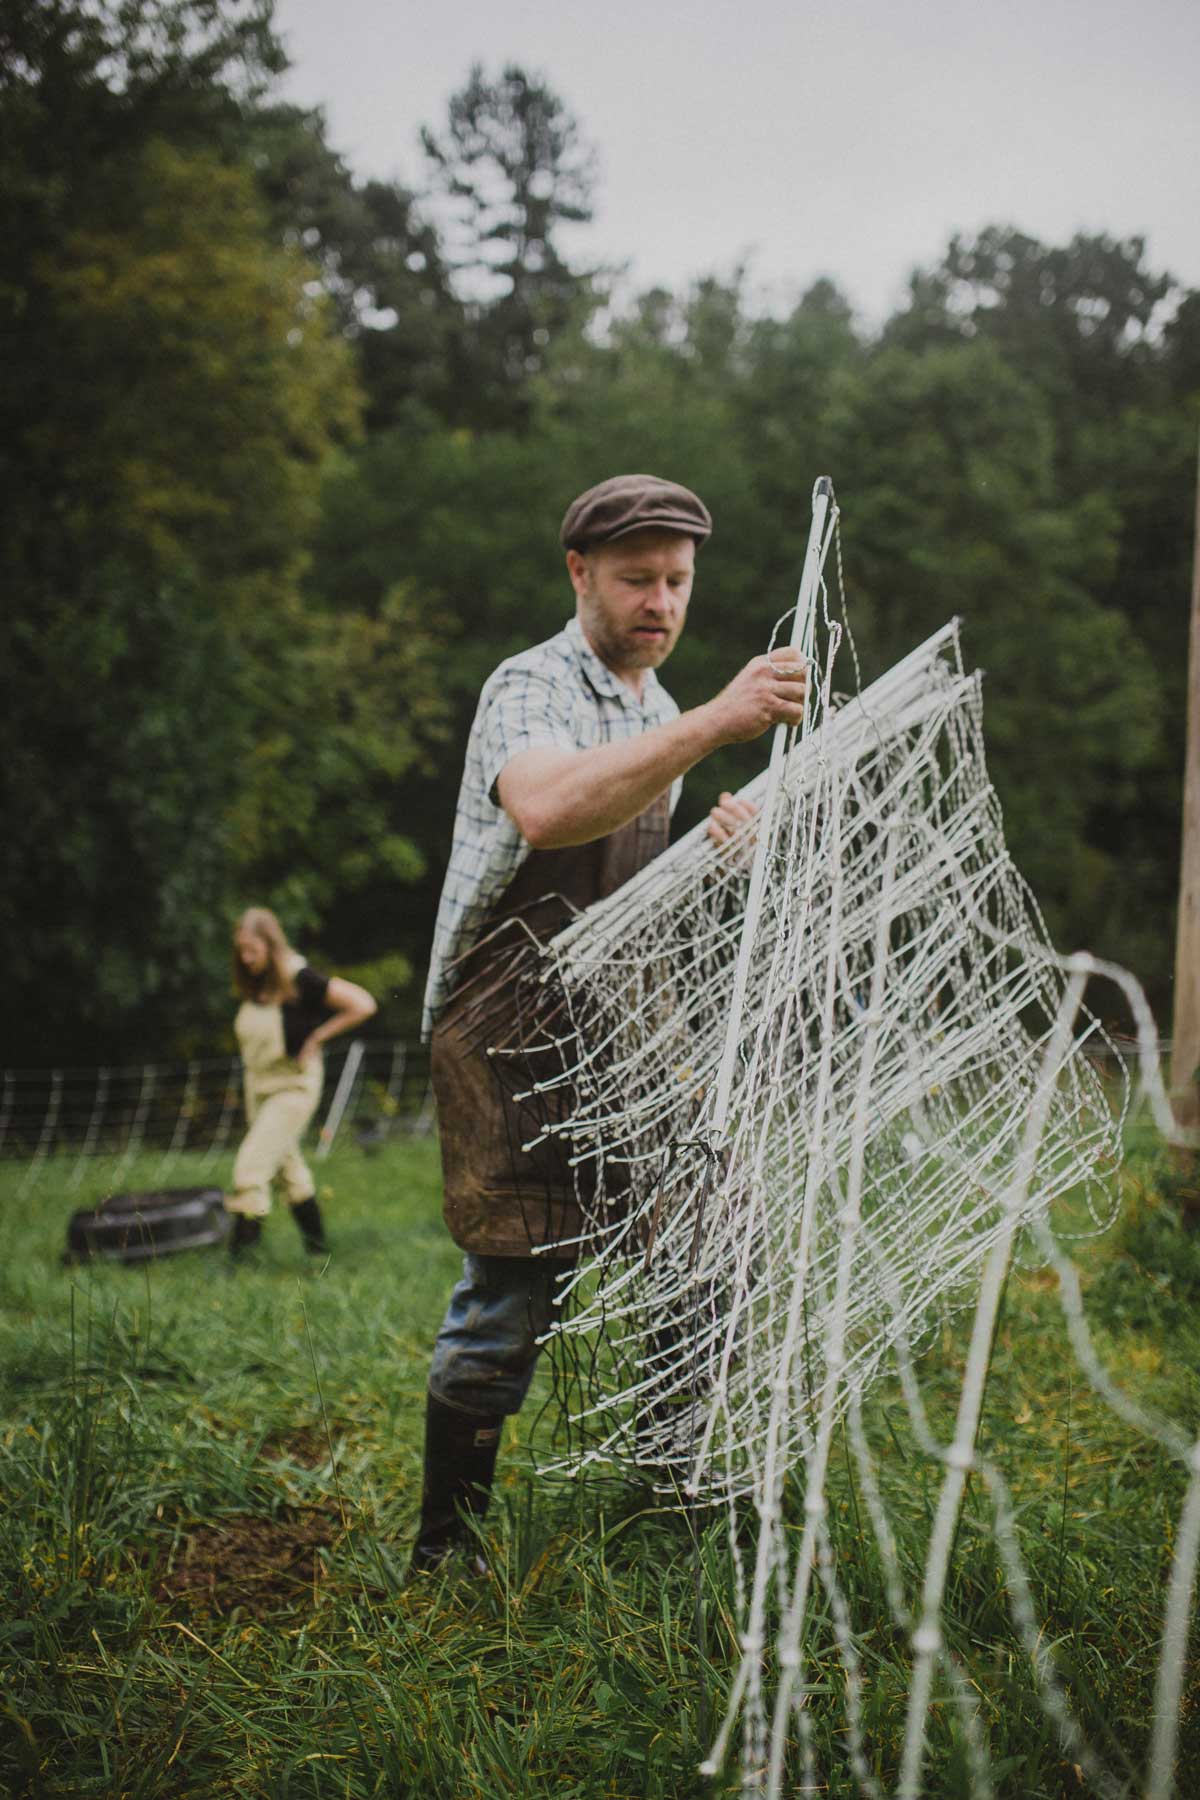
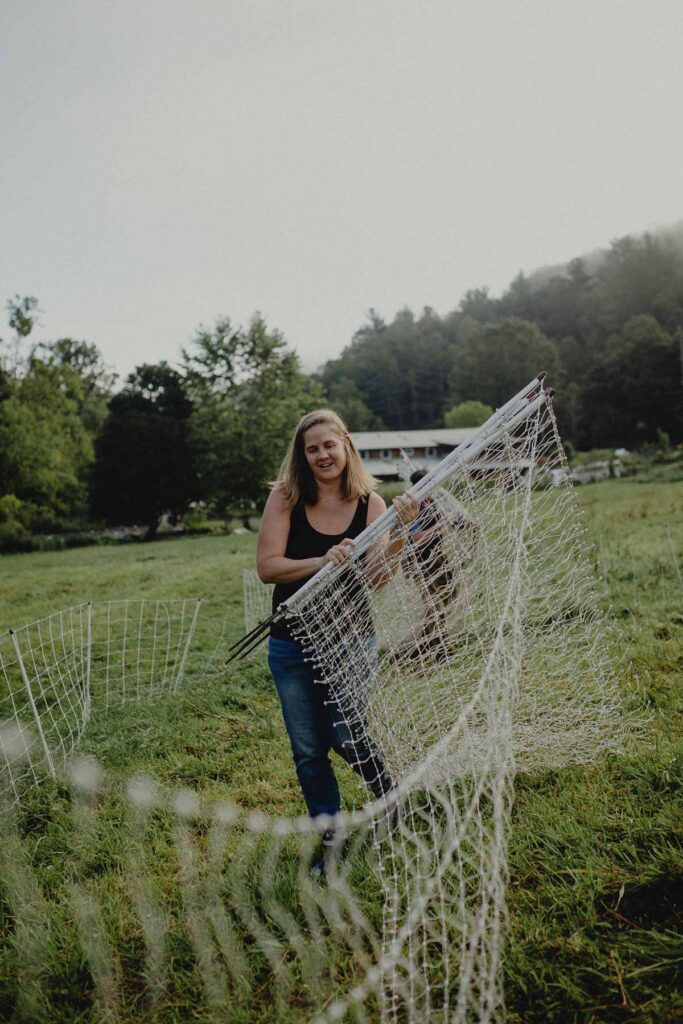
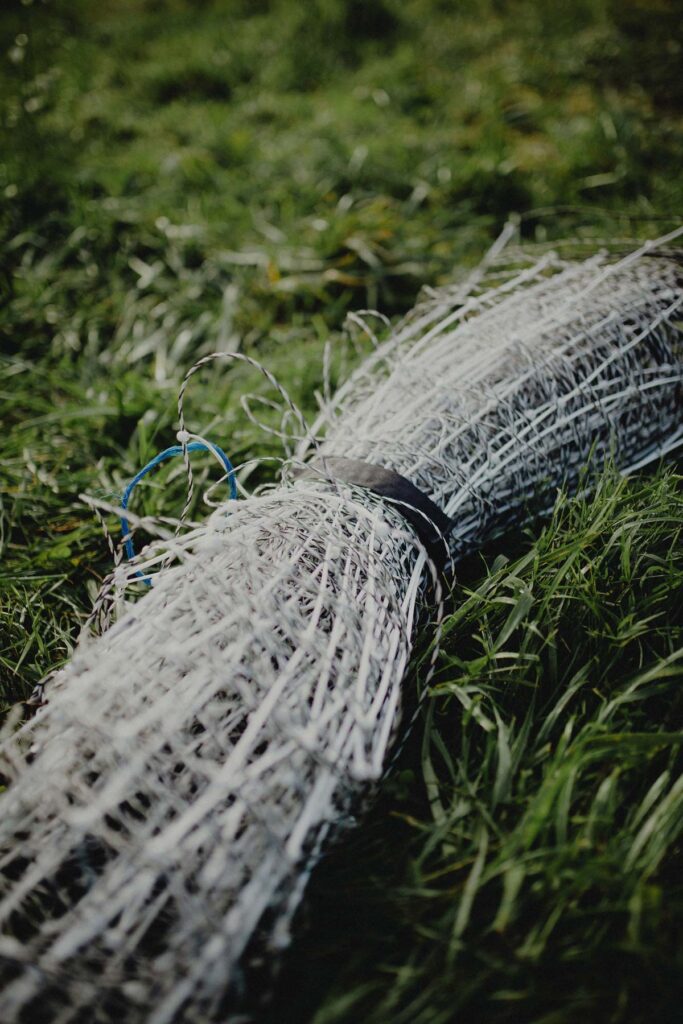
If you are new to electric fencing, consider buying an electric netting kit. These kits contain all the items you will need to install and use.
Cut Out Switches
You can purchase cut-out switches through Premier 1. These hook into the main line and allow you to turn on/off electricity to the areas you want to use. It’s much easier than continuously moving energizers and testing to see if the voltage is transferring correctly.
I like to run my main line and have a cut-out approximately every 100 feet.
Insulated Wire and Cable
Insulated wire is a game changer as it is more durable than regular wire. Premier 1 has options intended for different uses. If you install permanent fencing or want to run it underground, purchase a Maxishock double-insulated cable.
Running Wire Underground
As with most projects, running an electric wire will require a degree of ingenuity. Our barn sits across the road from some pasture areas, so we had to figure out a way to get the electricity across this well-traveled area without needing to unhook a wire every time we drove through.
My boys helped me dig a shallow trench about ten to twelve inches deep. We made sure it had some slope to drain water. We ran the insulated wire through a PVC pipe to protect it from general pressure, wear, and tear.
We chose not to glue the PVC pieces until we knew this was a permanent solution. After we pushed the wire through the PVC, we backfilled the trench, and it seems we solved our problem!
Pro-Tip: This is a great place to run your water source! Bury it in the same trench, and you’ll accomplish two functions simultaneously.

Installing an Electric Rope Fence
Supplies
- Electrical Rope – The electrical rope comes in various lengths and strengths for the animals you are fencing. Premier 1 has detailed information on all of their rope stock.
- T Posts – I recommend using galvanized steel posts, but you can use wood posts or wrap around trees if necessary.
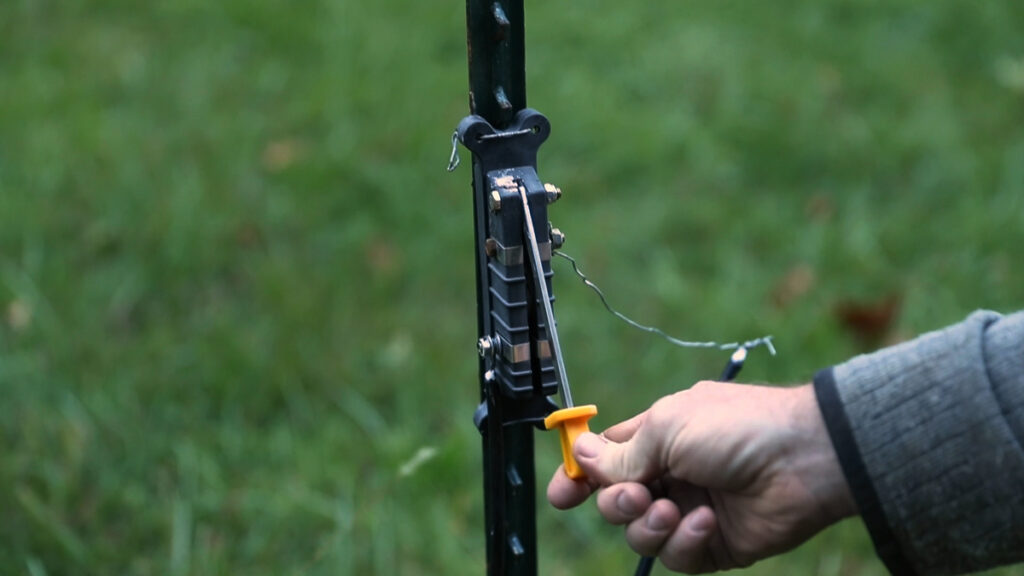
- Insulators – Terminal insulators work well to attach rope at corners, and combo insulators are excellent for wrapping around posts and securing rope along the length of the fence.
- Connectors – These power link rope connectors are easy to connect power between fences or mend a broken connection.
- Energizer – Read the information above to choose the best energizer that will suit your needs.
- Tester – This fence and digital battery tester allows you to test the voltage of the electric fence in the field.
Instructions
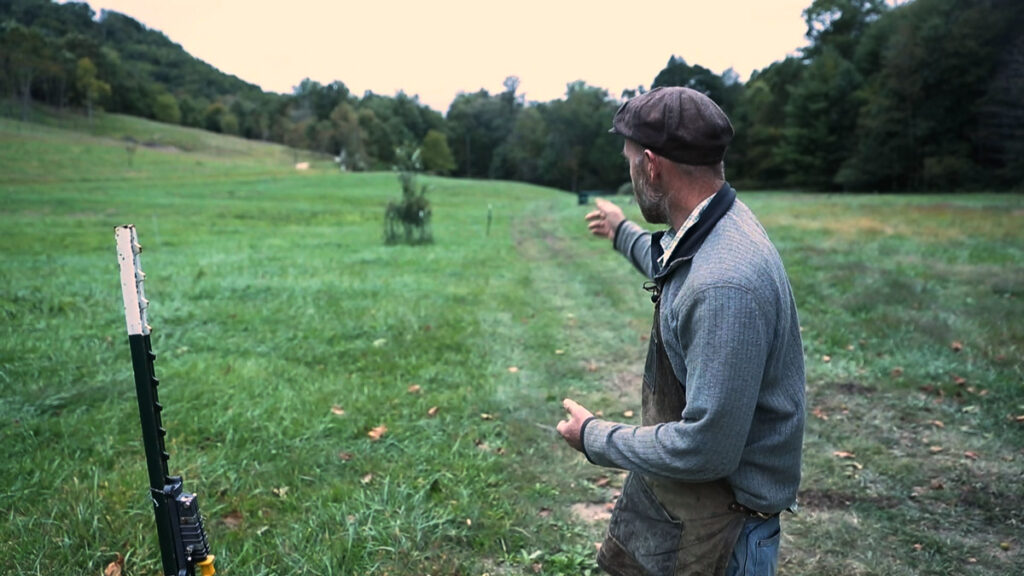
- Insert the T Posts at the ends and corners of the fencing area. Line posts can be spaced up to 35 feet apart.
- Attach the rope to the terminal insulator with the connectors.
- Walk along the fence and attach the rope to post insulators as you walk.
- Attach the energizer and turn it on.
- Check the fence for voltage.
Other Posts You May Enjoy
- Best Cow Breed for Milk
- How to Raise Turkeys (Pasture Stage)
- Chicken Coop Ideas – 5 Methods That Work
- Basics of a Chicken Coop – Design Necessities
- Chicken Tractor Plans: Affordable & Functional
- What Farm Animals Eat in a Day
- What To Know Before You Buy A Homestead
- Using Chickens for Garden Pest Control & Disease in Orchards
- How to Butcher a Turkey
- How to Buy Homestead & What to Look For in a Homestead Property
- Companion Planting with Asparagus and Strawberries
- Raised Garden Bed Plans