After all that effort, many are disappointed that their garden didn’t do as well as they had hoped.
One of the most commonly overlooked gardening tasks is soil testing. Whether using a home kit or sending a sample to a county extension laboratory, soil testing to know the pH level of your garden is crucial for plant growth.

Abundance Plus
This blog post is based on a tutorial for testing your soil inside Abundance Plus. If you’d like to get access to hundreds of teaching videos, you can sign up for a FREE seven-day trial of Abundance Plus.
The “DIY Abundance MEMBER Area” gives you my DIY video library (with a new one added weekly). PLUS, a private community where you don’t feel so “crazy,” and at the PREMIUM level, you receive direct access to me.
Anyone who signs up for A+ will also get exclusive discounts to Premier1, New Country Organics (where we get our organic alfalfa feed pellets), McMurray Hatchery, Johnny’s Selected Seeds, Meadow Creature and many more.
Why You Should Test Your Soil
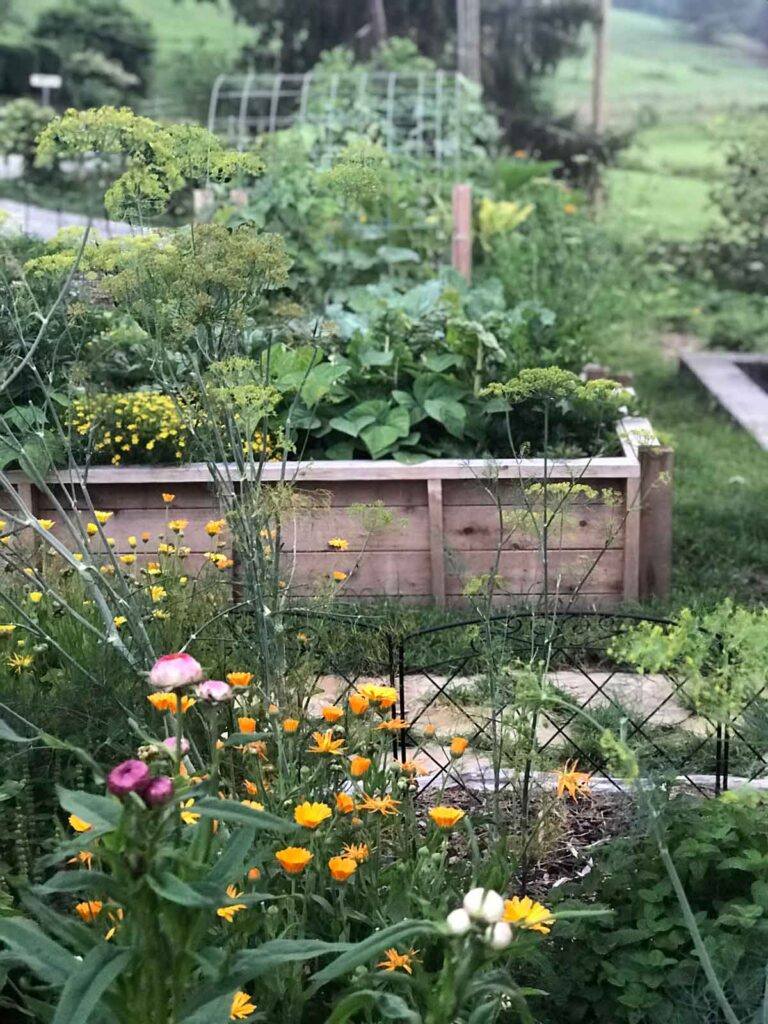
The soil in our gardens is the heart of the growing machine! If the earth has nutrient deficiencies, the plants we put in the soil will have difficulty growing and producing. Soil testing gives you a diagnosis of the health of the ground.
Soil testing takes the guesswork out of amending your soil. Without knowing what our garden soil needs, we can do more harm than good if we start fertilizing. A soil test shows you precisely what your soil is missing and the correct amount of fertilizer or organic matter to add to gain the proper nutrient balance.
Most soil testing kits will have a form to fill out asking about your plans for the soil you have tested. Some plants will need more acidity in the soil than others. The laboratory’s recommendations will be specific to the intended purposes of the tested ground.
What Does a Soil Test Report Show?
There are different purposes for soil testing. Some tests are specifically for construction sites and test for soil density.
Since we grow our food, our focus is gardening. We want our tests to show the soil pH levels of acidity, calcium and magnesium levels, the soluble salts in the soil, and basic nutrient levels.
Where Can I Purchase a Soil Testing Kit?
There are options for soil testing depending on whether you want to test through a state university laboratory or use a private company. Most local cooperative extension offices will have free or low-cost soil test kits.
Woods End Laboratories is an excellent option for a natural approach to soil testing. These tests will be more expensive, but you will get more information on natural amendments.
An online search will give you options for purchasing kits at department stores such as Lowe’s or Home Depot. However, I do not have experience with these tests and cannot vouch for their validity.
Another great option is from Redmond Agriculture. They offer inexpensive soil testing that gets sent to your house with a pre-paid envelope to send it back. It includes step-by-step directions, and once you send it back, they’ll give you online results instantly.
The Best Time to Test Soil
Timing depends on what you are planting. If you are seeding your yard, you may need to test in late summer for a fall planting of grass. However, you can do testing for your garden in early spring.
The most critical aspect of timing is to allow time for shipping and at least two weeks for the soil test results to come back to you. Don’t wait until you are ready to plant to test the soil! You will also need time to add amendments correctly.
Pro-Tip: Re-testing the following season is a great idea! Compare notes with the previous test to see if the amendments have improved the health of the soil.
Supplies Needed
- Soil Test – The soil test will have the instructions and a bag for shipping the soil.
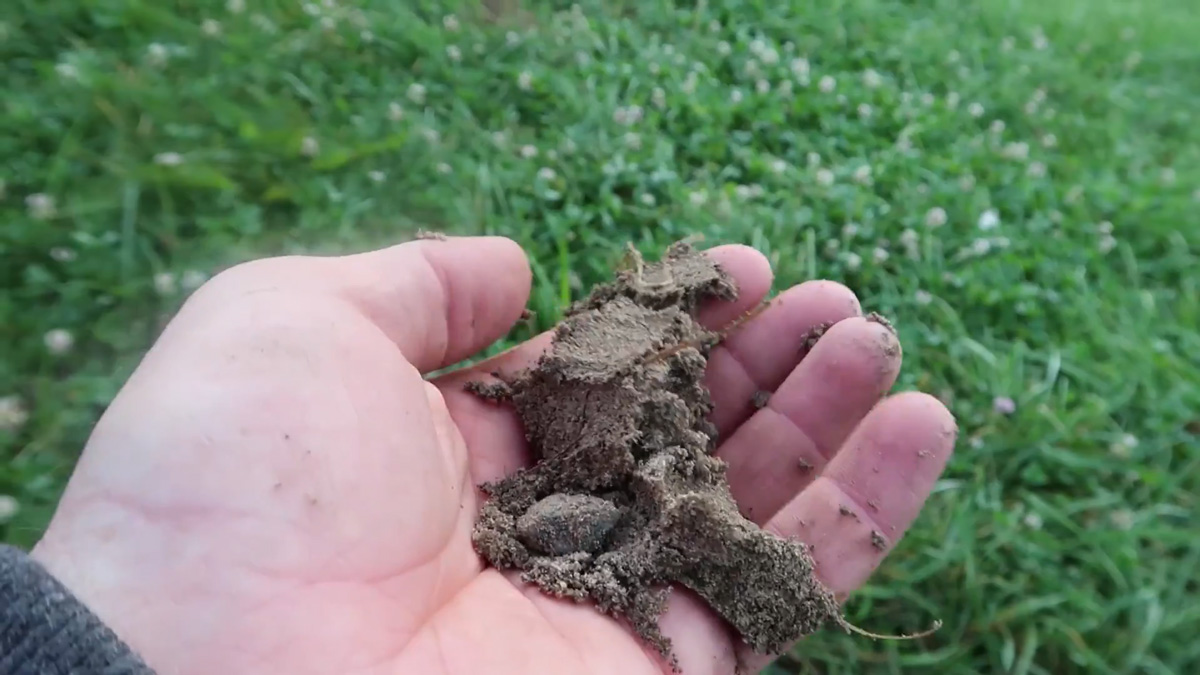
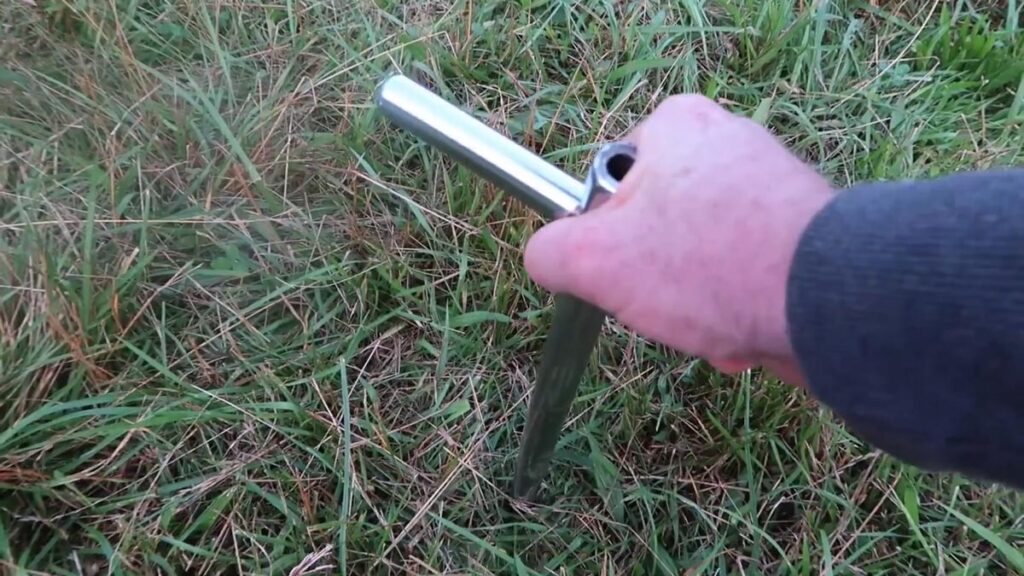
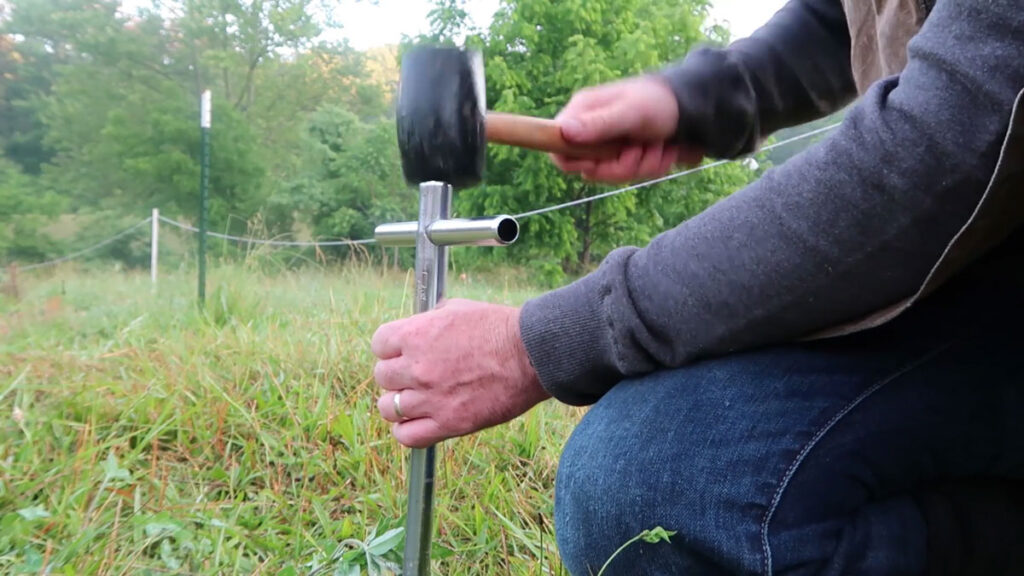
- Soil Probe – A soil probe is ideal, but you can use a clean garden spade. You will need approximately fifteen probes into the soil to gather enough soil for the test. It should be equivalent to about two cups.
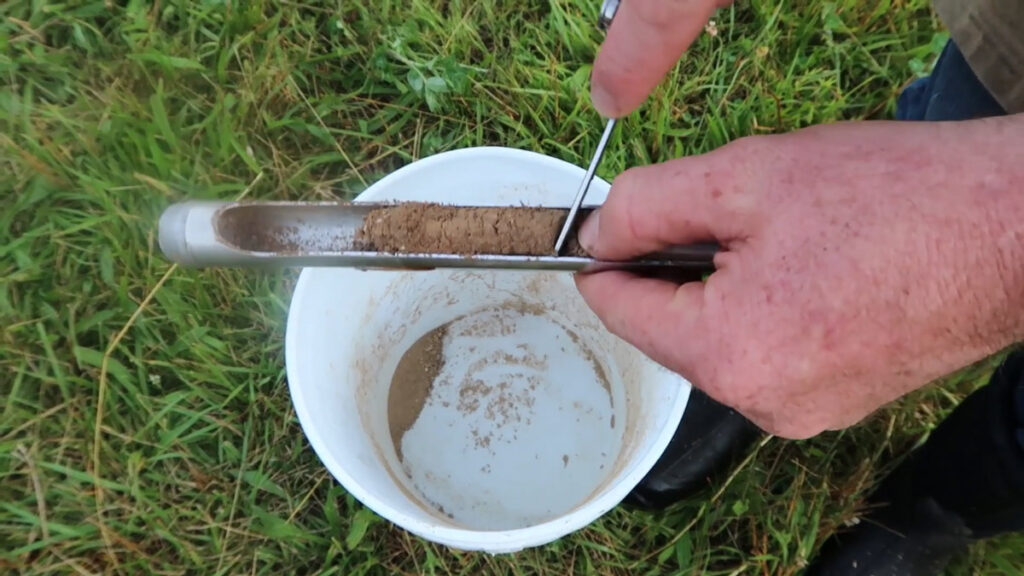
- Bucket – A clean plastic bucket works great.
- Mallet – If your soil is very compacted, you might need a mallet for some extra force in getting the probe into the ground.
- Knife – You can use a pocket knife.
Step-by-Step Testing Instructions
- Gather all of your tools and head outside to the test area.
- Probe down into the ground to the bottom of the top soil layer. Use the mallet to pound the probe into the soil if you need it. Pro-Tip: The topsoil is the darker brown top layer.
- Pull the probe out of the ground.
- Use a knife to pry the soil from the probe. Cut below the grass-root level and above the next layer of soil.
- Dig out any rocks or unnecessary stuff in the sample for testing and drop it into the bucket.
- Repeat this fifteen times across the area. Pro-Tip: Collect samples in different locations across your testing area. I like to go in a zig-zag pattern across the region to ensure I gather various samples.
- Mix the soil in the bucket and let the moisture dry overnight.
- Place the soil samples into the recommended testing kit vessel and mail them to the correct soil testing laboratory.
- You should have the results in approximately two weeks. Make sure to follow the recommendations on the information sheets for the proper amendments to build healthy soil!
If you do this on a yearly basis, you’ll start to learn your soil and your land. You’ll know the minerals your plants use up each year and know how to sufficiently supplement minerals in your soil for the best garden ever.
More Posts You May Enjoy
- How to Grow More Food in Less Time (In Less Than 10 Hours A Week)
- How to Start a Garden
- Building a Winter Greenhouse
- How to Build a Drip Irrigation System
- Soil Blocking – Everything You Need to Know
- Companion Planting with Asparagus and Strawberries
- Raised Garden Bed Plans
- Using Chickens for Garden Pest Control & Disease in Orchards
- Chickens in Garden Spaces to Till and Fertilize