In this article, I’m going to give you ten steps you can take to grow MOST of your own food, working less than ten hours a week.
From dreaming big and making plans to saving the harvest for winter. I’ll teach you the tricks I use at every step of the way to make this dream a reality.
Let’s jump right in…
Step #1 – Identify Your Goals and Limitations
Goals
How do you identify your goals? Write down what you want to grow and prioritize it.
- I suggest starting with chicken and veggies.
- Just grow the things you like.
- Grow things that you’re already buying that are expensive.
Now, prioritize each goal by ranking it according to importance.
Limitations
It’s also important to identify your limitations ahead of time. Write down your limitations or draw them on a map. Limitations include things like:
- Amount of space
- Amount of time
- Obstacles
- Family difficulties
- Health issues
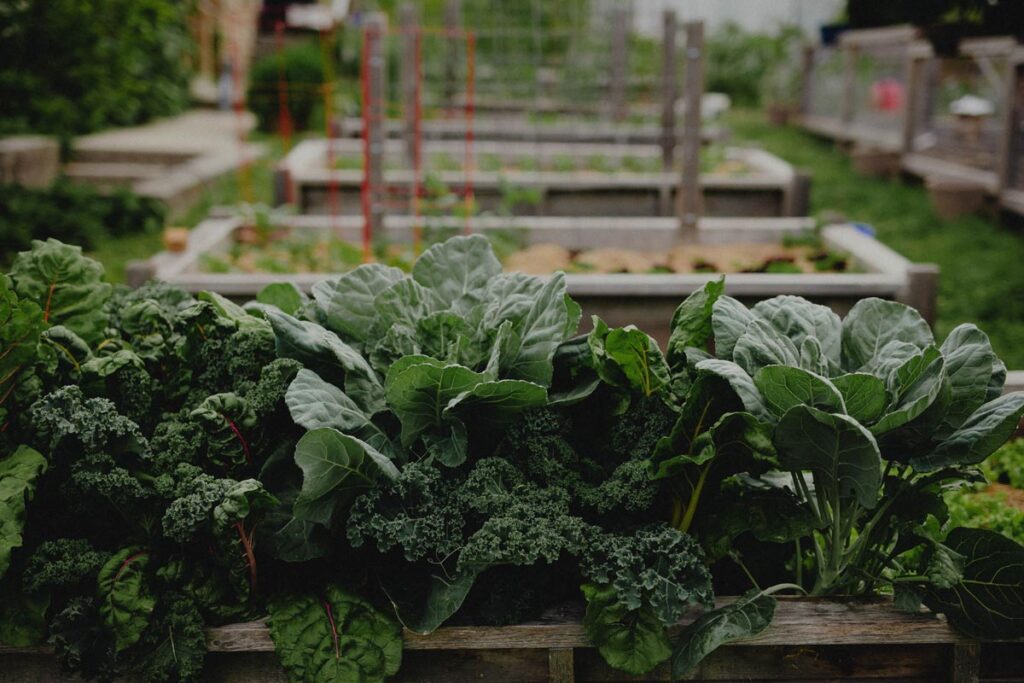
Step #2 – Design
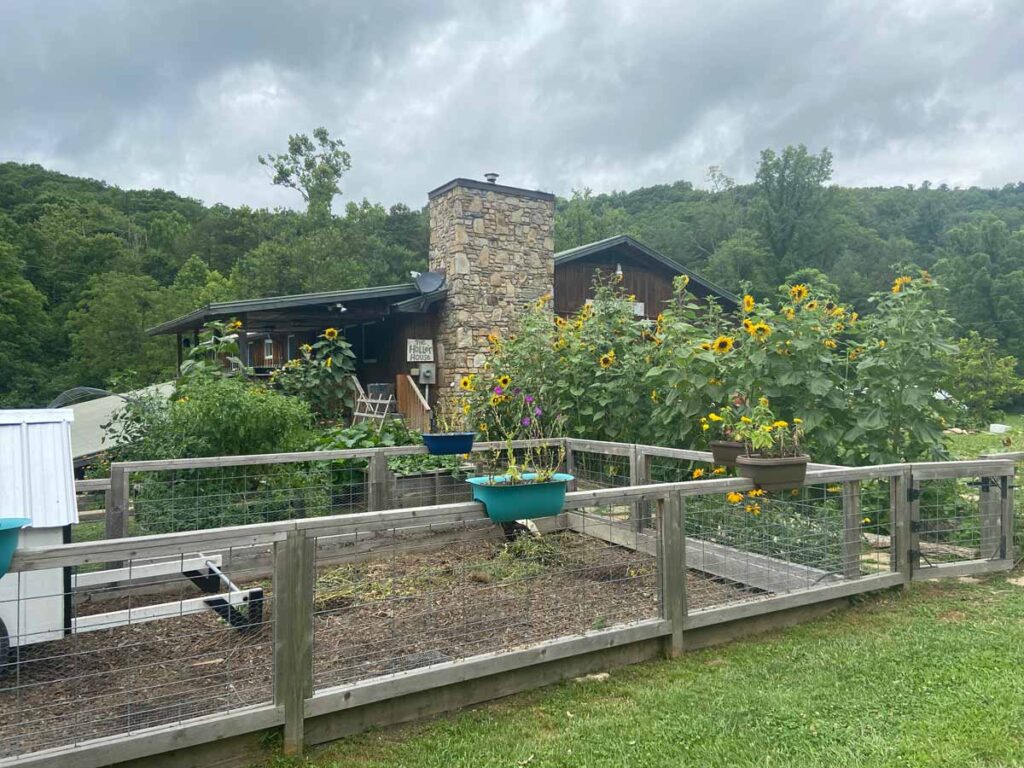
Draw a crude map of your potential garden and chicken areas. I suggest keeping things closer to the house if they need more visits throughout the day and week.
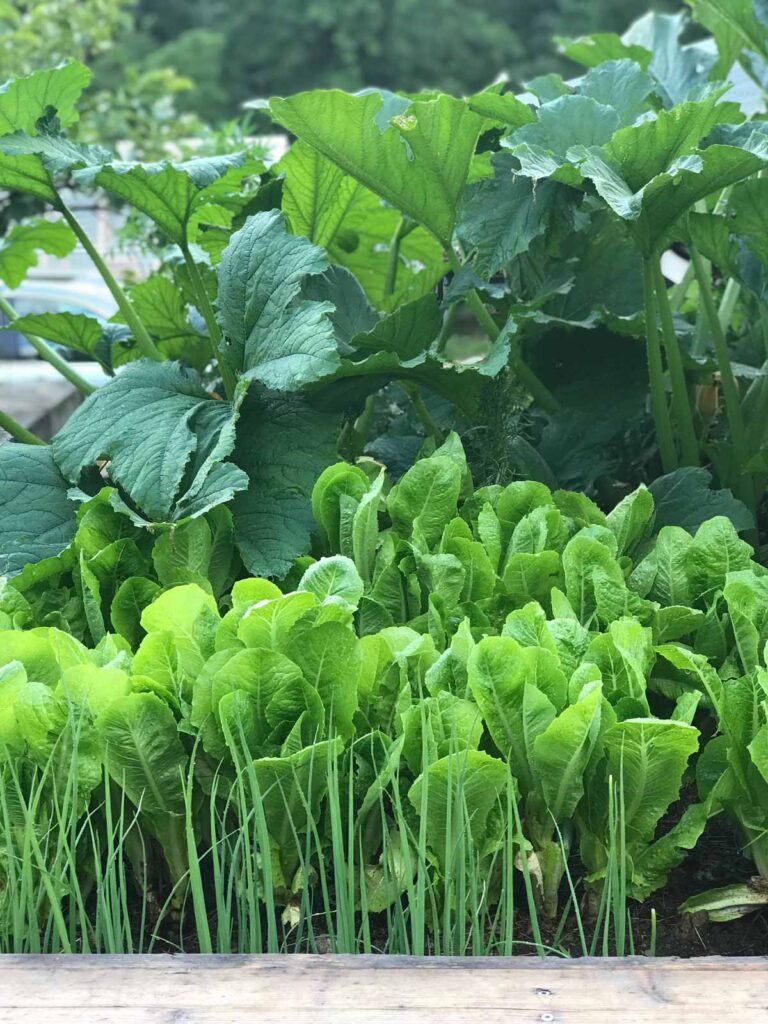
- Kitchen Gardens – These are going to be the items you want to grow and use in the kitchen on a daily basis.
- Herb Gardens – Your herb gardens may be visited daily, but they also may be further out, depending on the quantity of herbs you’re growing and your plan for them. If they’re for fresh eating, keep this close to the house, or even incorporate it into your kitchen garden. If you’re growing herbs to harvest all at once and preserve, those can be further out.
- Crop Gardens – The crop gardens can be a little further out from the house. These are the crops you’re growing to store or preserve for the year.
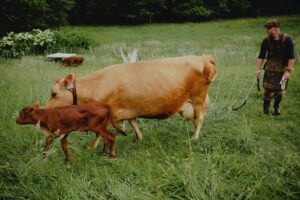
- Chickens – You’ll want your egg-laying chickens closer to the house. Ideally, you want them close to the garden as well because it’s extremely convenient to be able to toss garden scraps to the chickens as you’re out there.
Remember, it’s easier to make a mistake on paper than in real life.
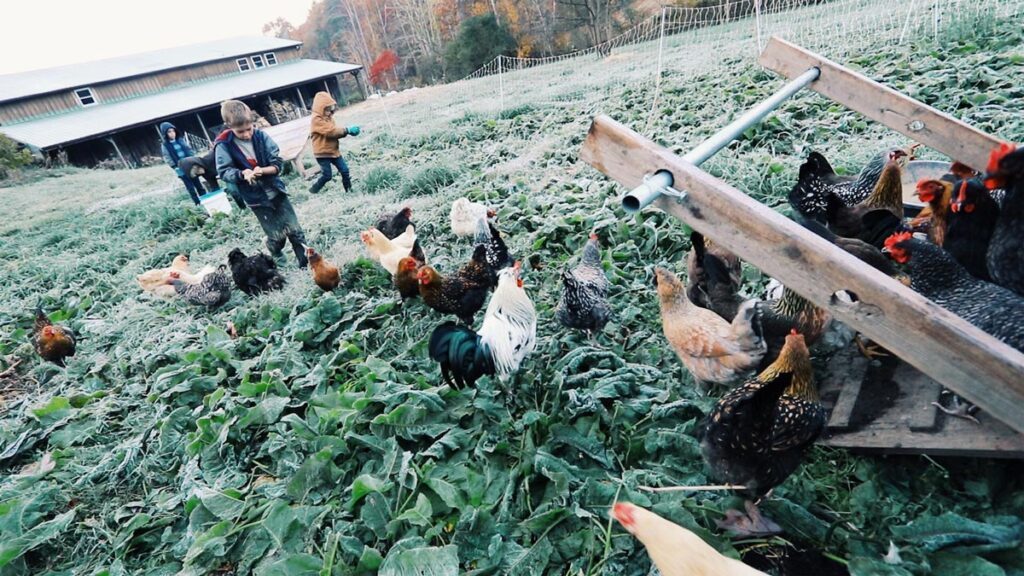
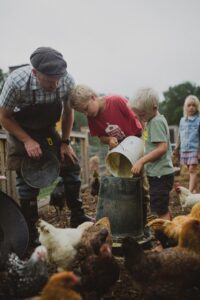
Step #3 – Prep a Future Garden Area, Using Chickens
I have a whole blog post on using chickens to create, turn and spread compost, and also using chickens to till and fertilize the garden. Read those for more information on preparing a future garden area.
- Move chickens into your future garden area.
- Use mobile chicken coops like my Chicken Tractor or ChickShaw
- Use the Chicken Tractor for:
- Smaller flocks, less than 12 birds
- Smaller garden jobs
- You could place this over a garden area and leave them in it.
- Or, you could place this inside a pastured poultry net and use it as a coop.
- Use the ChickShaw for:
- Flocks of 12 to 50 birds
- Larger garden areas (600 to 1700 square feet)
- Wild terrain
- Remember, one chicken can till 50 square feet of sod in 4-6 weeks, so make sure you have enough chickens for your garden area or make the area smaller.
Here are some ideas for deciding which chicken coop design is right for you.
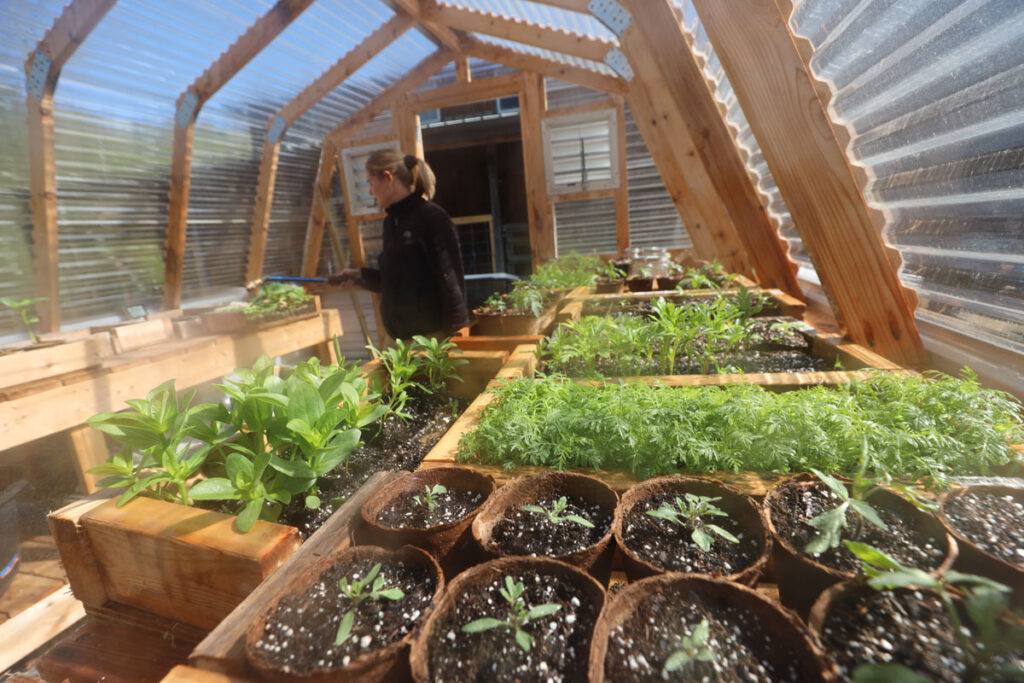
Step #4 – Slap Together a Greenhouse
A greenhouse is critical to the system. With it, you can easily grow plants WHILE your chickens prepare the garden area. So good, it’s almost magic. Check out our winter greenhouse garden here.
- Use scrap lumber and build it into a sizeable A-frame.
- Use scrap windows or plastic for the greenhouse walls.
- Put together a makeshift table using scrap lumber on top of metal sawhorses. (Use metal so that mice can’t climb up to get your seeds.)

Step #5 – Start Plants in Soil Blocks (or similar)
- Try to time this right. It takes about four weeks for the plants to grow, so think about when your chickens will be ready to move on and start your plants four weeks before.
- I like to use soil blocks for starting seeds. Learn everything you need to know about soil blocking here.
Step #6 – Prepare the Soil
The next step is to prepare the soil for planting. Without going into too much detail, this is where you’ll want to test your soil for proper amendments, broadfork to aerate the soil (especially if it’s compact), and then add the amendments needed.
If you’re still a while out from planting, you’ll want to cover the soil with mulch or tarp to keep that soil protected.
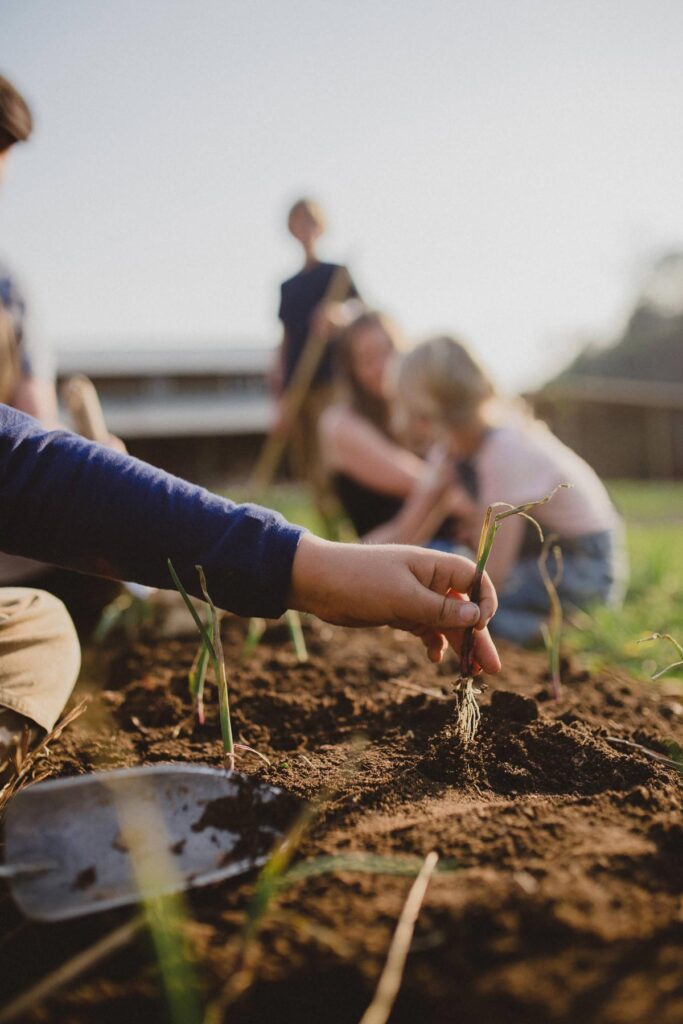
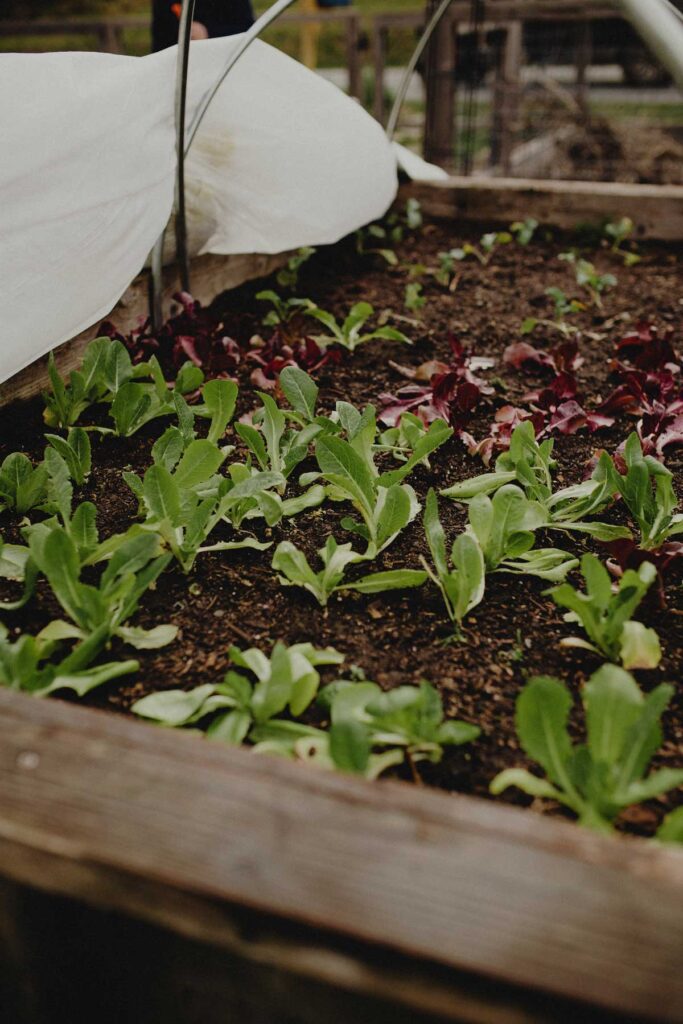
Step #7 – Transplanting
It’s now time to transplant your crops! As long as the weather is right for planting, go ahead and do the following:
- Move your chickens out of the garden area and mark your rows accordingly (I like to do 42”-wide beds with a foot in between beds like Elliot Coleman.)
- Mark a row for planting.
- Plant your starts from the greenhouse.
- Give it some “insurance” by applying vermicompost, liquid kelp or similar.
- Water with diluted urine for an extra boost.
- Spray with Shaklee H if needed.
Step #8 – Maintenance
Once your garden is planted, you simply need to maintain it:
- Water/fertilize as needed.
- Spray with Basic H to prevent bug attacks.
- Sheet mulch with cardboard if lots of weeds are present.
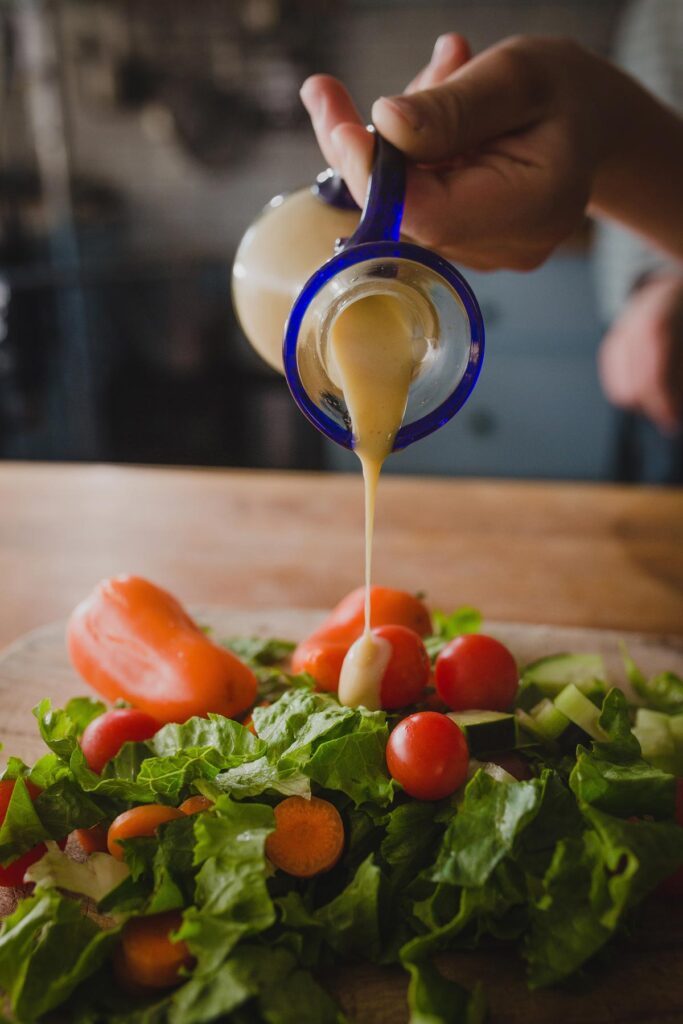
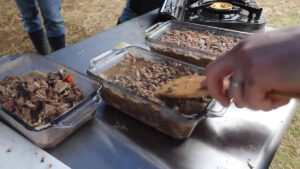
Step #9 – Meal Planning (Time to Eat!)
This is where most people get hung up when it comes to gardening. Most often, we’re not growing the exact same foods as we would buy from the grocery store. The beauty of homegrown food is that we can try different varieties and figure out exactly what our family likes.
But sometimes, we spend all this time and energy on growing food and never utilize it.
- Look at your meals differently. Where can you use homegrown food?
- Every time you use food from your own land, you make a difference.
- Need some ideas? Take an item and ask Mr. Google pants for ways to prepare it.
If you need more inspiration, check out this video where we eat breakfast, lunch and dinner from the garden.
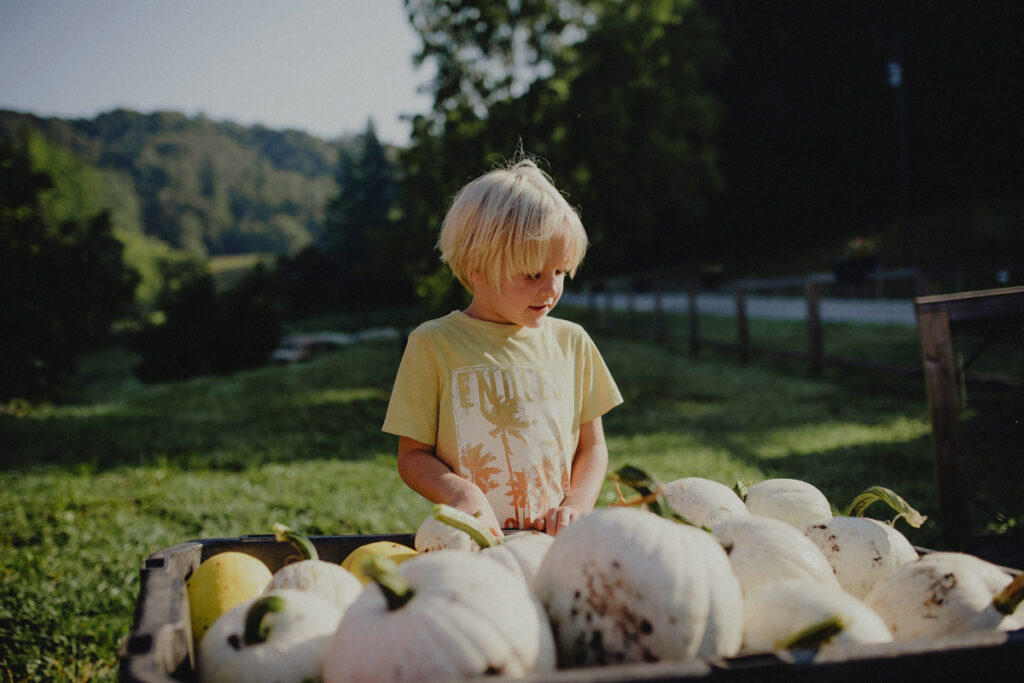
Step #10 – Ideas for the Abundance
Have too much food? You can’t have too much of a good thing. If you have more food than you can eat you can always:
- Feed it to the chickens
- Give it away
- Store it by
- Dehydrating
- Canning
- Freezing
- Keeping it in the root cellar or a cool, dark place
- A lot of foods will keep on the counter for several days
Be sure to check out our blog post on how to braid and store garlic and onions. And if you need more inspiration, check out how the Beautiful One is going to eat two pounds of tomatoes in two days!
Those are the ten simple steps to grow a large amount of food in less than ten hours per week.
Remember some of the tricks are:
- Having the chickens till a future garden area while the plants grow. This is a HUGE time saver.
- Transplanting the crops while they’re bigger will eliminate most of the need for weeding, and will help the plants survive cold temperatures or pest pressure.
- Mulching to cut down on weeds.
- Learning to eat what’s on the land is key to the amount you consume.
- Store food for later and rest in the future.